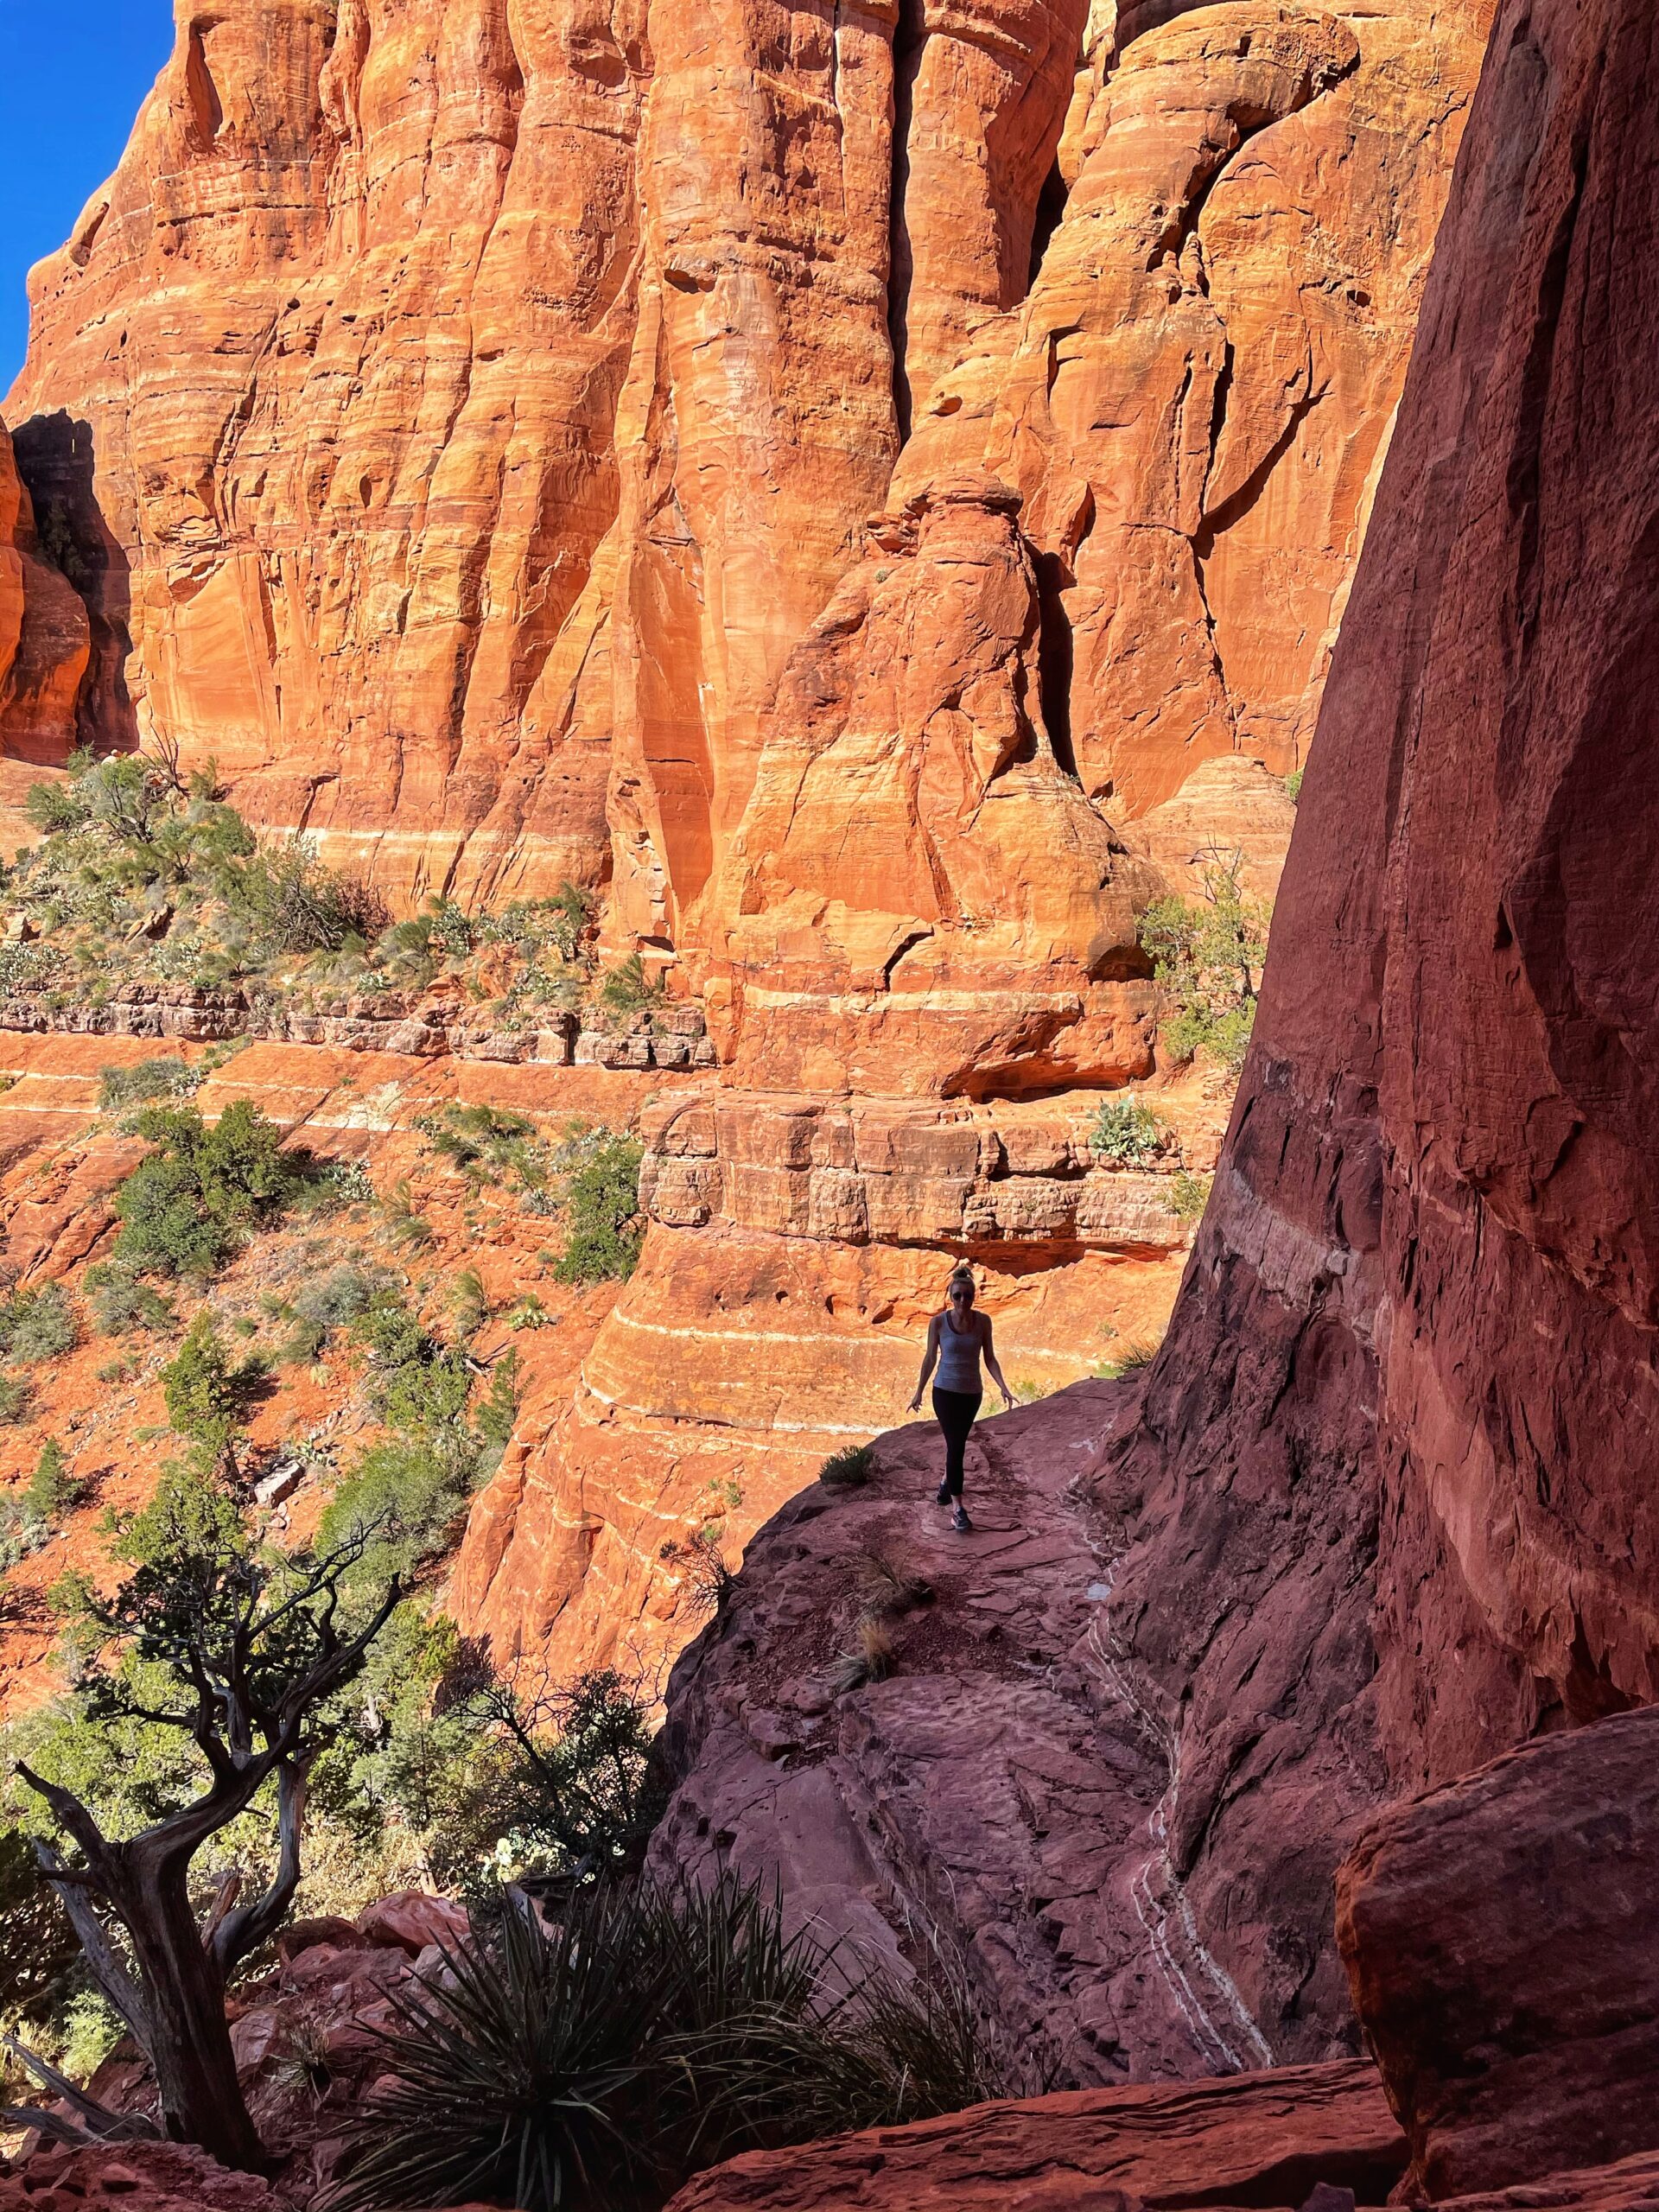
Discover the Cathedral Rock Hike Secrets & Best Photo Spots
Absolutely no question about it – The Cathedral Rock hike holds the crown as one of Sedona’s best hikes, and it just so happens to be my absolute favorite!
Brace yourself for an adventure filled with the most spectacular views and striking red rock formations from start to finish! Oh, and if you’re looking for a killer sunrise or sunset – you’ve got the best seats in the house up at the top!
In this post, I’ll spill the tea on everything, from finding alternative parking spots when the main lot’s full to the best photo spots, a secret trail, and the discovery of the vortex.
It’s time to spill all the Cathedral Rock hike secrets.
Let’s Go!
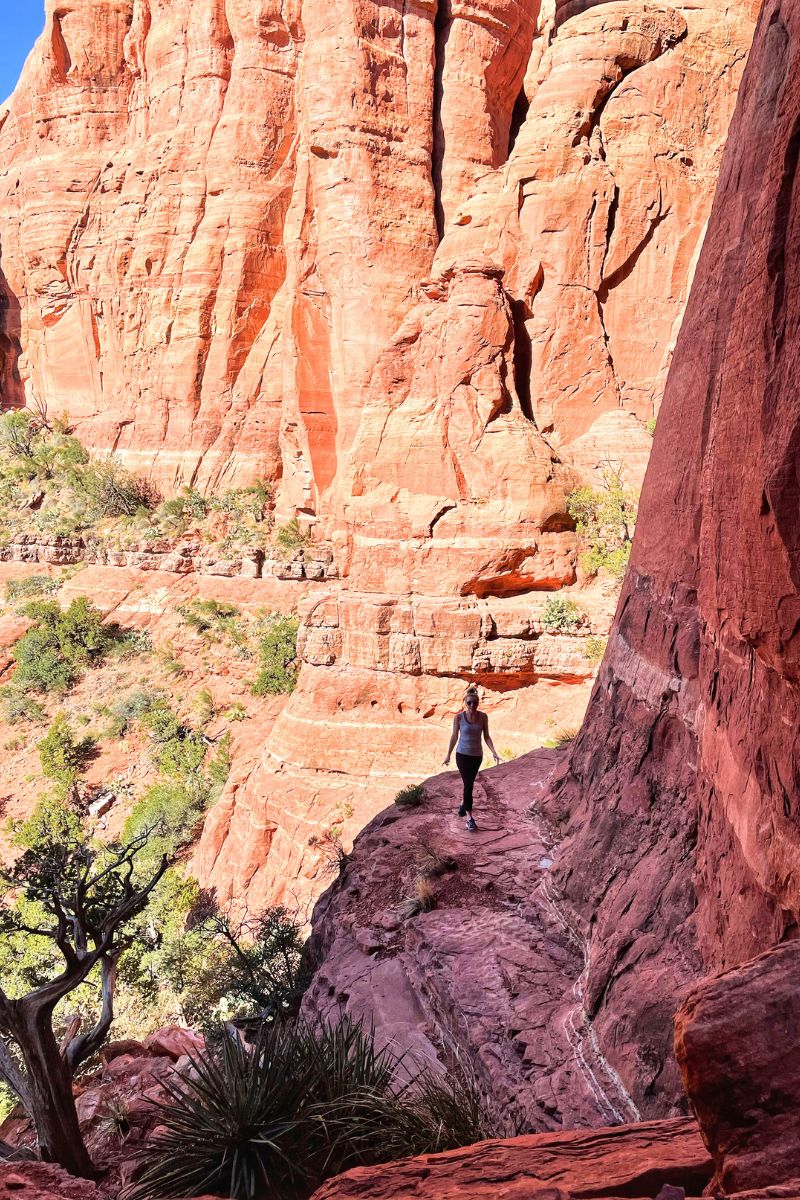

Cathedral Rock Hike Stats
Where: The trailhead begins at 500 Back O Beyond Road, Sedona, AZ 86336
Distance: 1.2 miles total
Elevation Gain: 741 feet
Difficulty: Rated Moderate. Although this trail is short, it’s steep, with some challenging vertical areas requiring your hands to scramble up the rocks. Get ready for a bit of a climb!
Length of Time to Complete: 1-3 hours
Best Time to Hike: Sedona can be a scorcher! I’d recommend hitting the trail in Spring or Fall when it’s not too hot, but be warned – these seasons draw larger crowds.
For the most comfortable hiking experience, aim for early mornings or late evenings. Given its popularity for sunset views, consider sunrise or a weekday hike to dodge the weekend rush!
Pet Friendly? Yes. But your four-legged furry friend needs to be on a leash!
Fee: Without a Red Rock Pass, parking will set you back $5. Payment is accepted only via credit card at the trailhead’s parking machine. Consider buying a $5 daily or $15 weekly Red Rock Pass online.
If you hold the Annual National Parks – America the Beautiful pass, parking is free.
Let’s be sure to give this beautiful spot and its surroundings the respect it deserves! Always practice LEAVE NO TRACE – no graffiti, be kind to fellow hikers, and whatever you bring in, take it back out! Let’s work together to preserve these places for many generations to come!
Are you looking for more Sedona hikes? If so, then you’ll love reading my other posts:
Devils Bridge Hike 101: Everything You Need to Know
Soldier Pass Trial: Finding The Hidden Cave
Step-by-Step Guide to Hiking Cathedral Rock Trail
Ready to conquer one of Sedona’s most iconic trails? Follow this step-by-step guide to hiking Cathedral Rock for an awesome adventure with breathtaking views.
Parking at Back O Beyond Road
GPS: 34°49’30.6″N 111°47’19.1″W
The main parking lot for the Cathedral Rock Trail is located on Back O Beyond Road.
To get to this parking lot, you will need to take AZ-179 toward the Chapel of the Holy Cross. Follow this road to the traffic circle for Back O Beyond Road. About 0.7 miles down the Back O Beyond Road, you will see the two parking lots on your left.
There is enough room for roughly 45 cars in total.
I did this hike in mid-September on a Tuesday, and at 6:30 am, both parking lots were full, with a line of five cars waiting for a parking spot. If you want to park here, you will need to get here really early!
🛑 Parking Restrictions:
The parking lots on Back O Beyond Road are closed to the general public during the hours when the shuttles are running. Shuttle hours are from 7 am to 5:30 pm on Thursday through Sunday. All visitors are asked to use the shuttles to access the trailhead to minimize road traffic and congestion for the locals who live along this route.
Outside of shuttle hours, the parking lots will be open.
Alternative Parking for Cathedral Rock Trail
Finding parking for the Cathedral Rock Trail can be tricky, especially during peak times. Here are two alternative parking options to make sure you get a spot and start your hike stress-free.
Option 1: Yavapai Vista Point Parking Lot
GPS: 34°48’27.1″N 111°46’10.4″W
If the main parking lots are full, there’s the designated overflow parking area called Yavapai Vista Point. It’s about 2 miles south of the Back O Beyond Road roundabout on AZ-179.
Choosing this spot means adding another 2.5 miles one way (a 5-mile round trip) and tacking on an extra two hours of hiking.
To get on the Cathedral Rock Trail from here, take the Templeton Trail for 2.5 miles until you hit the Cathedral Rock Trail. Hang a left, and you’re on your way!
Option 2: Little Horse Trailhead Parking Lot
GPS: 34°49’27.2″N 111°46’32.3″W
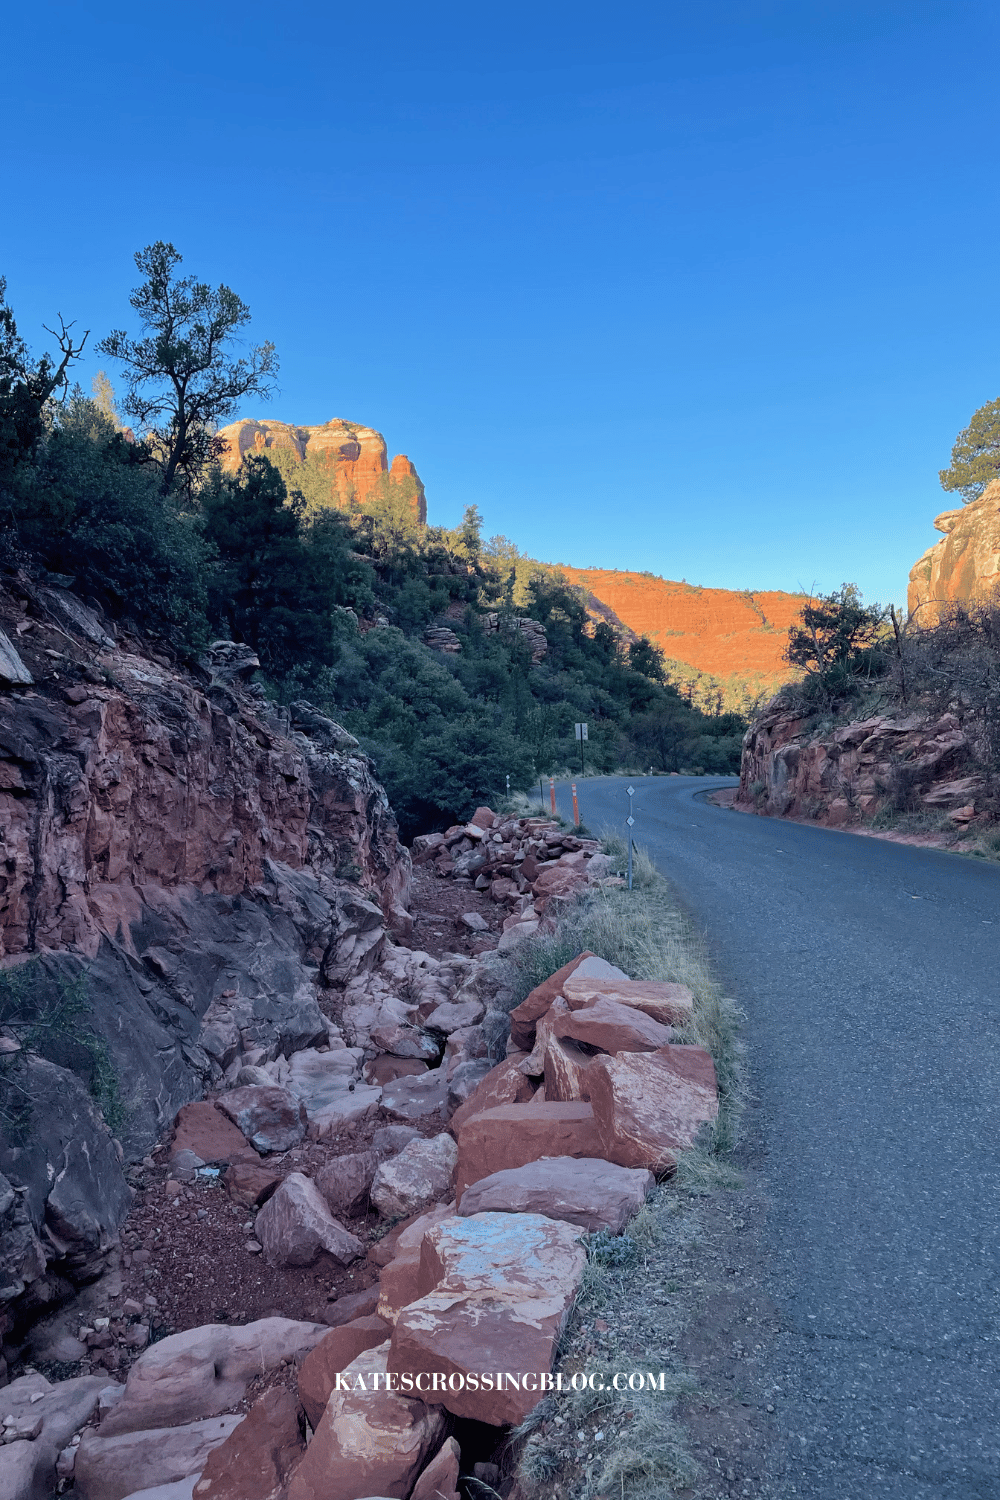
This parking area is way closer, cutting down your hike time to reach the Cathedral Rock trailhead. Just around half a mile south of the traffic circle where you’d turn for Back O Beyond Rd, it’s a convenient pick.
Picking this option means adding a mere two miles round trip and around 40 minutes more to your overall hiking adventure.
To get to the trailhead, walk 0.3 miles along AZ-179 to the traffic circle, cross over onto the main Back O Beyond Rd, and follow the paved road for 0.6 miles.
When the main lot was jam-packed, I went with the Little Horse Parking area for my backup – it worked like a charm!
Ride The Sedona Shuttle
Catch the Sedona Shuttle at the North SR 179 Park and Ride lot, situated at 1294 SR 179. It’ll transport you to both the Cathedral Rock Trailhead and Little Horse Trailhead.
Good news – both parking at the Park and Ride lot and the shuttle ride won’t cost you a dime!
Hiking the Cathedral Rock Trail
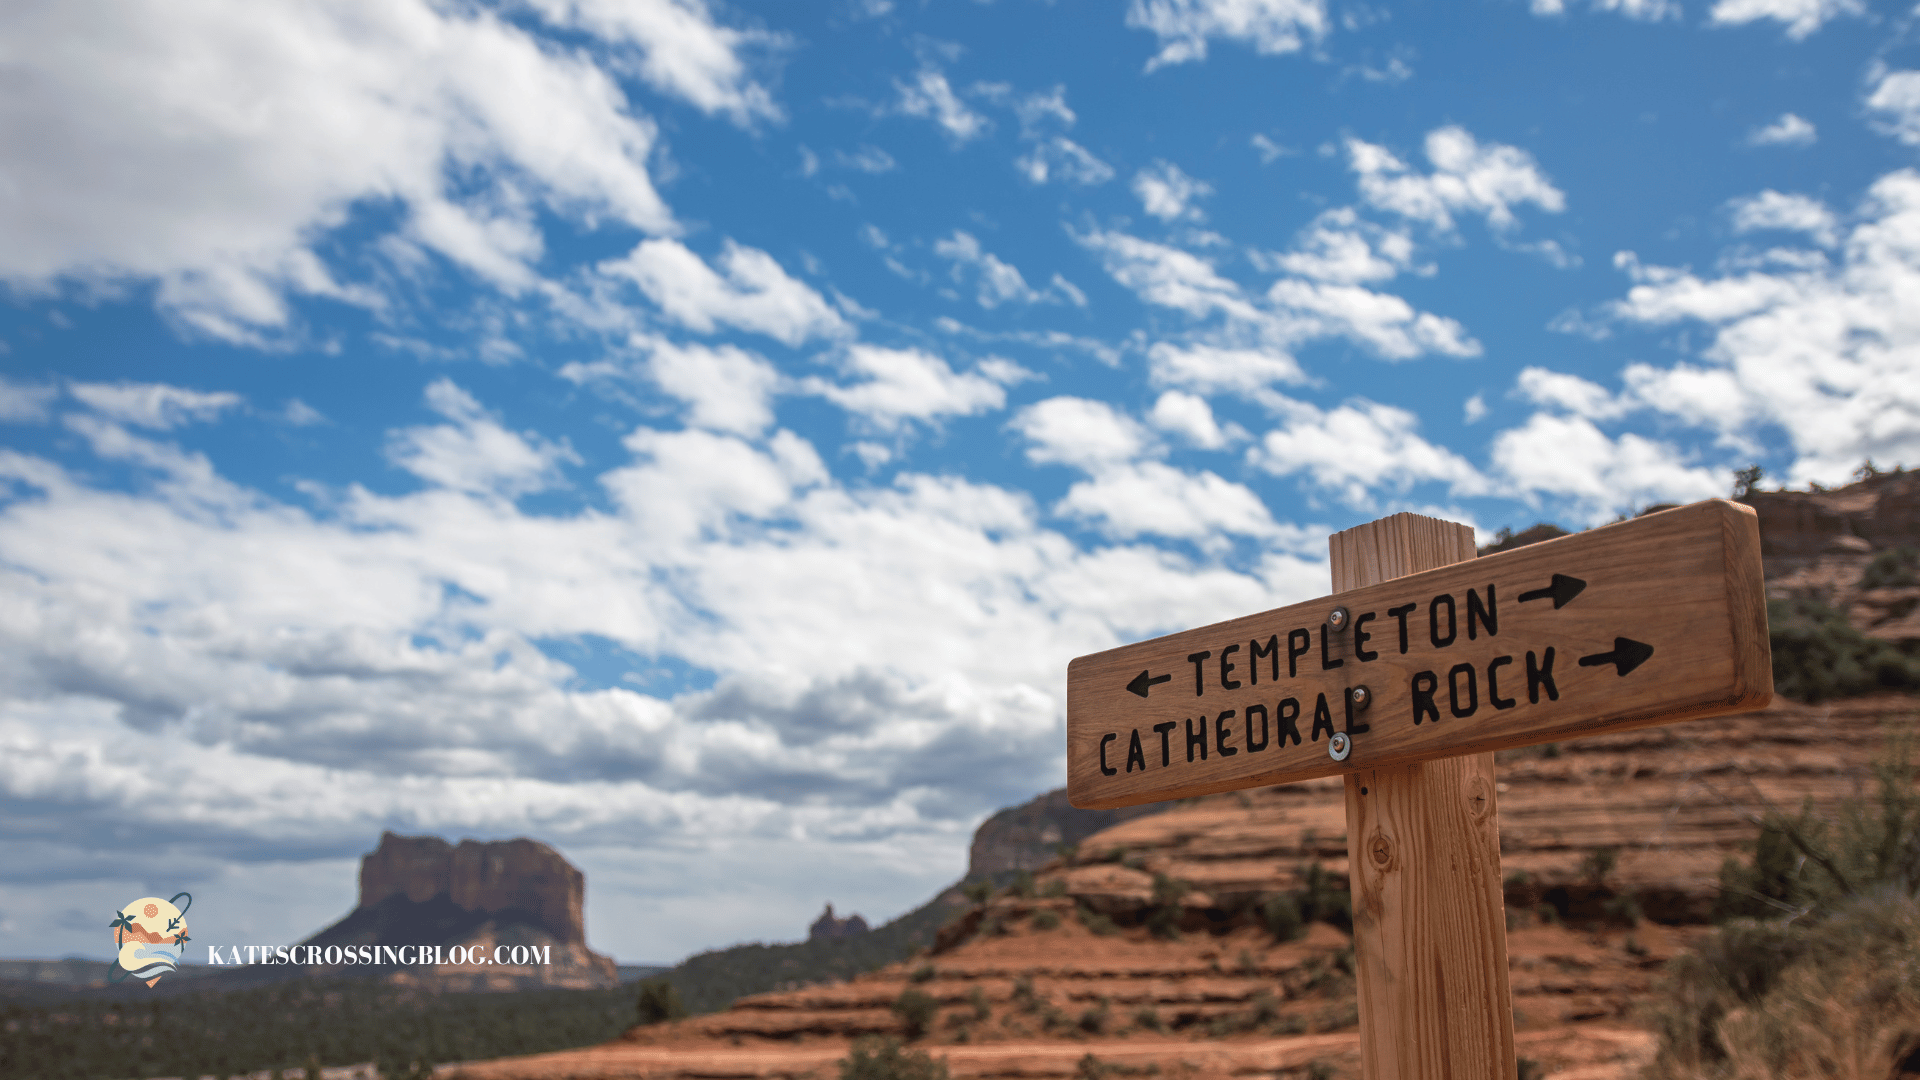
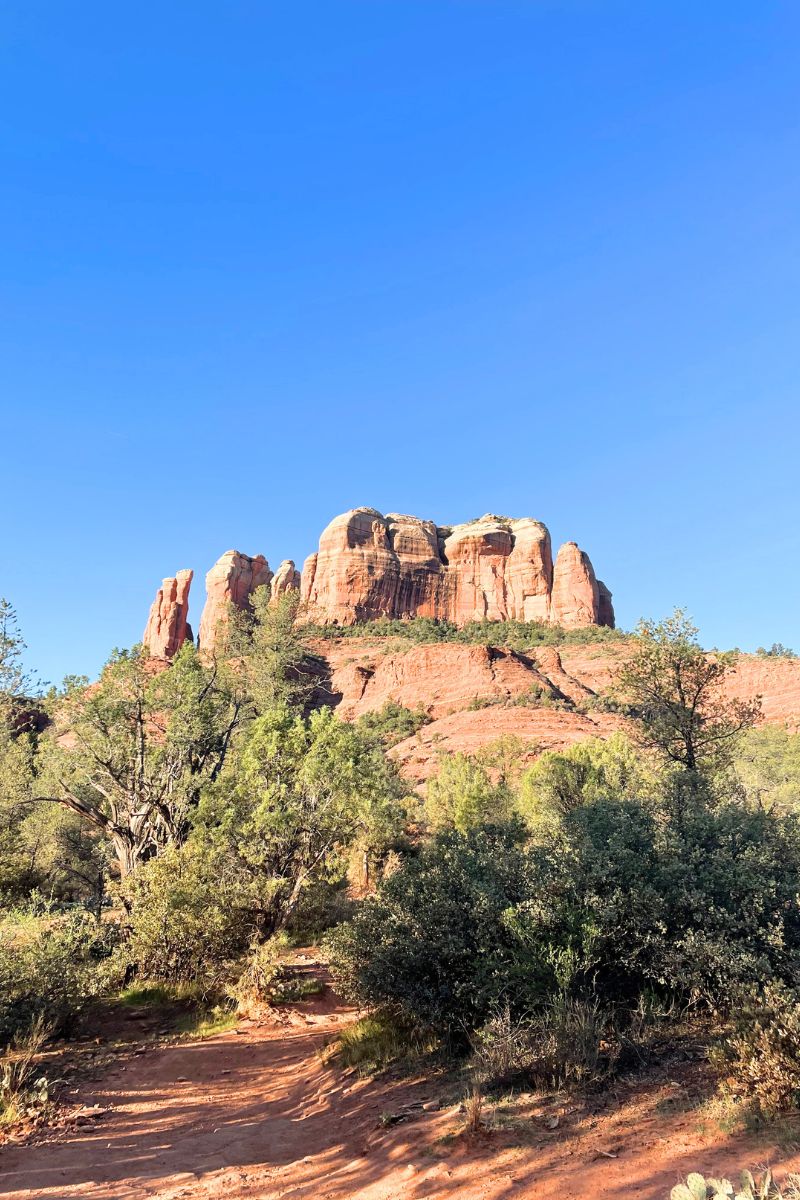
Locating the hiking trail to Cathedral Rock’s summit is a breeze – it’s clear and well-marked right from the main parking area. As you start your hike, look for the Cathedral Rock Trail sign pointing the way.
The trail begins with an easy stroll until about 0.3 miles in, where you’ll hit the intersection of Cathedral Rock Trail and Templeton Trail. Beyond this point, the hike becomes much steeper.
From here, you’ll follow the wire rock basket cairns marking the trail and pick your own way up the rock face.
This trail is well-traveled, so finding your way won’t be difficult. You most likely will just follow the line of people in front of you.
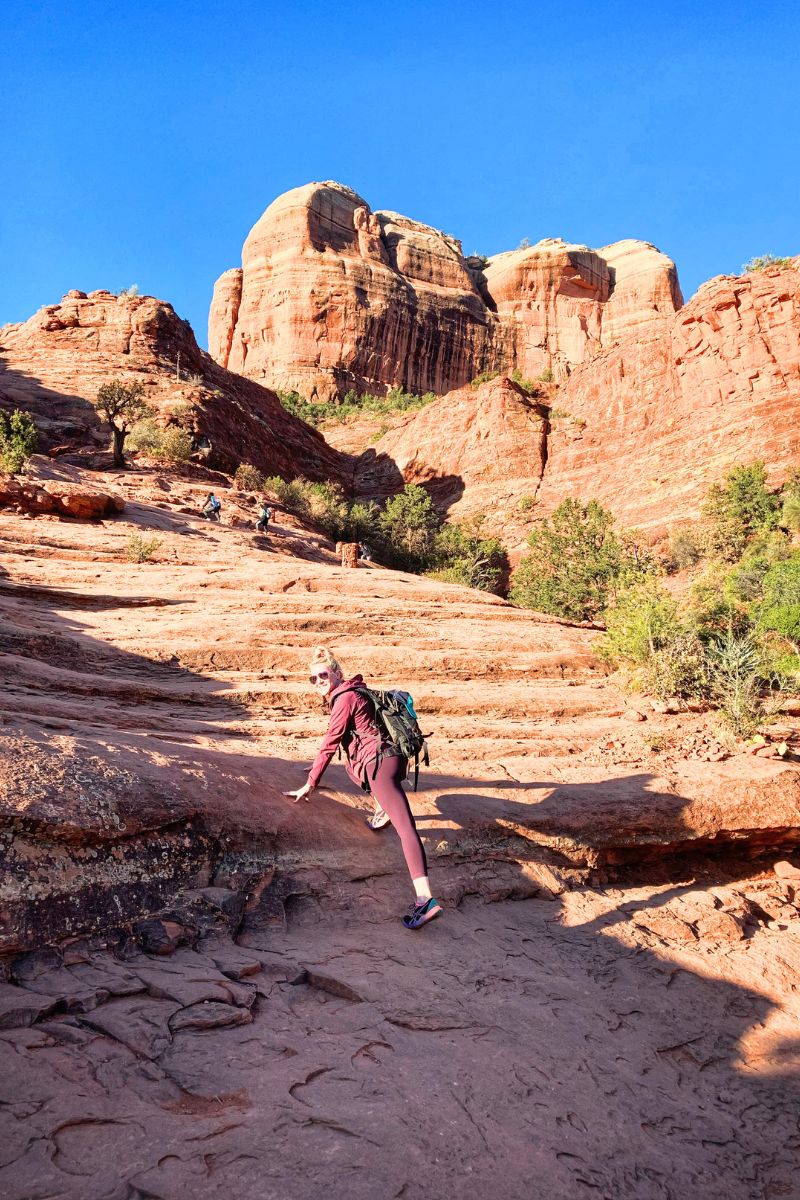
Word of Caution: Much of the trail is uphill along rock that has been worn completely smooth because of the sheer volume of people who have hiked this trail. Parts of the trail were challenging, so be sure you have hiking boots with great traction!
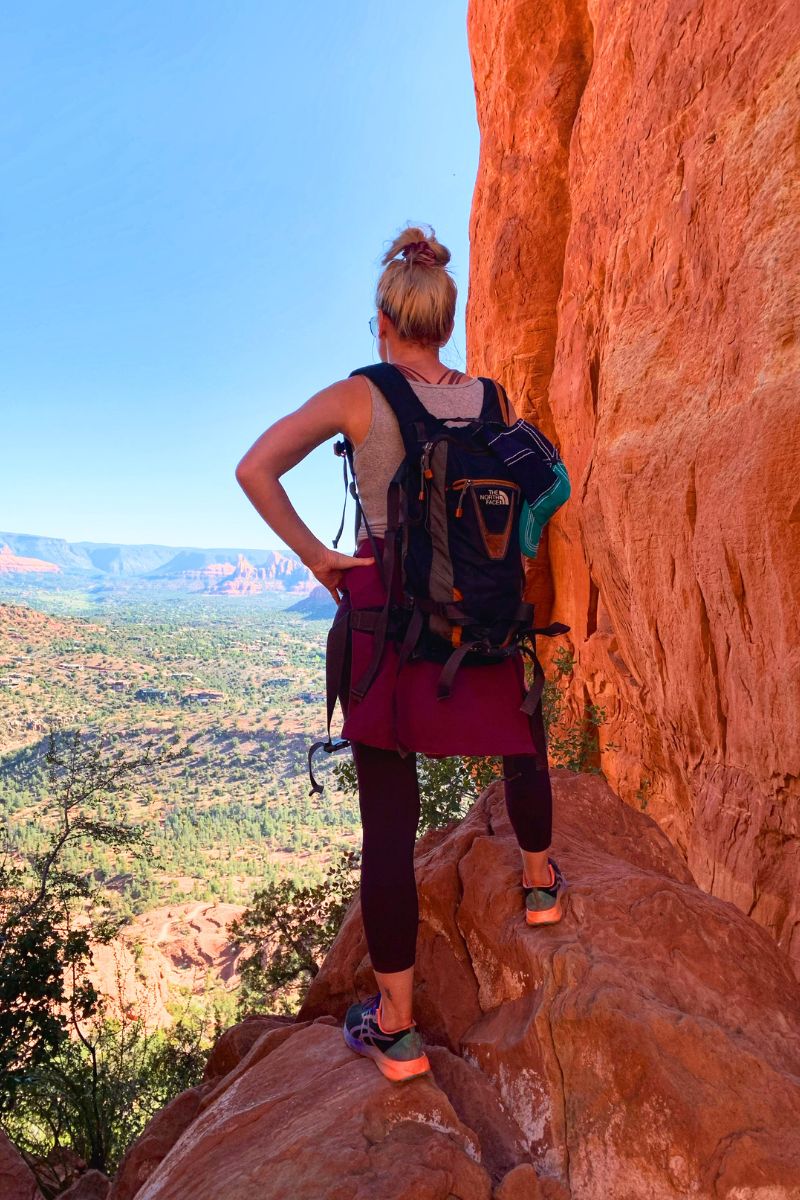
As much as you will be focused on the rock scramble in front of you, don’t forget to look back and enjoy the amazing views behind you.
The Most Difficult Part of The Trail
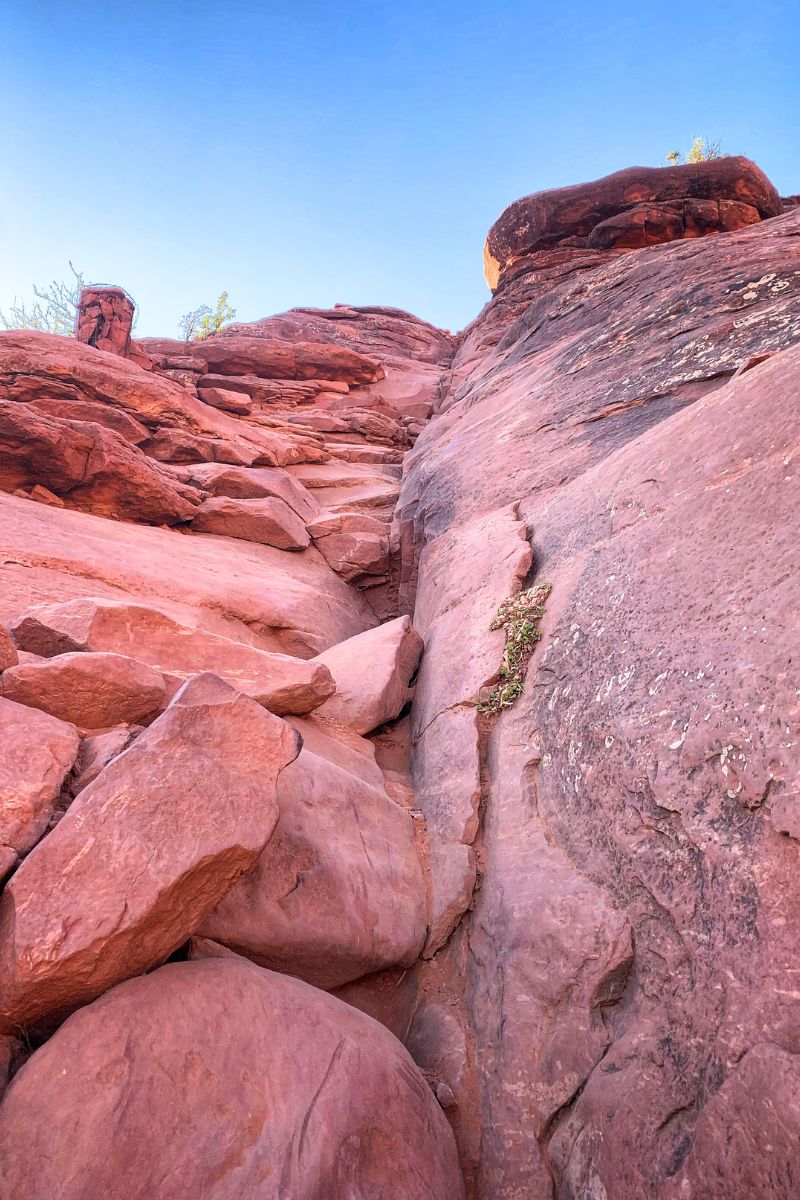
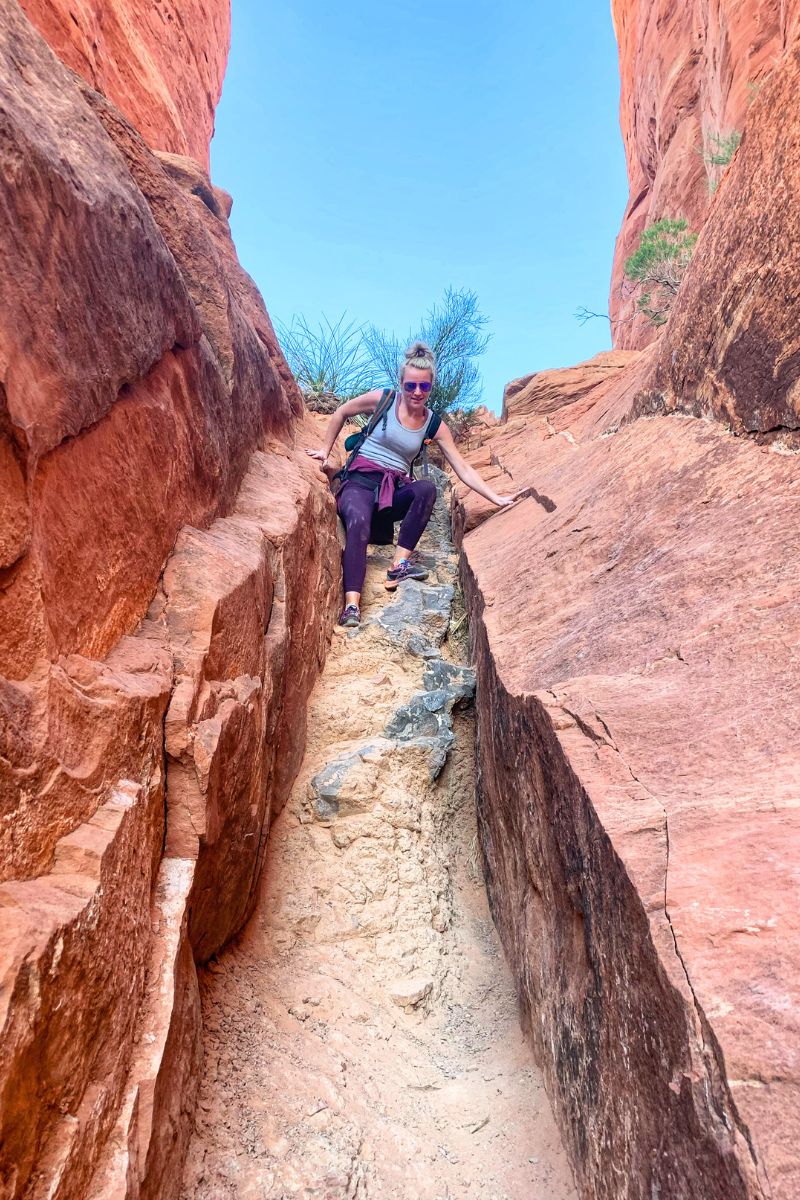
Once you arrive up the first slippery section of the rock face you will then come to a rock crevice. This is said to be the most difficult section of the hike and where a lot of people will turn around.
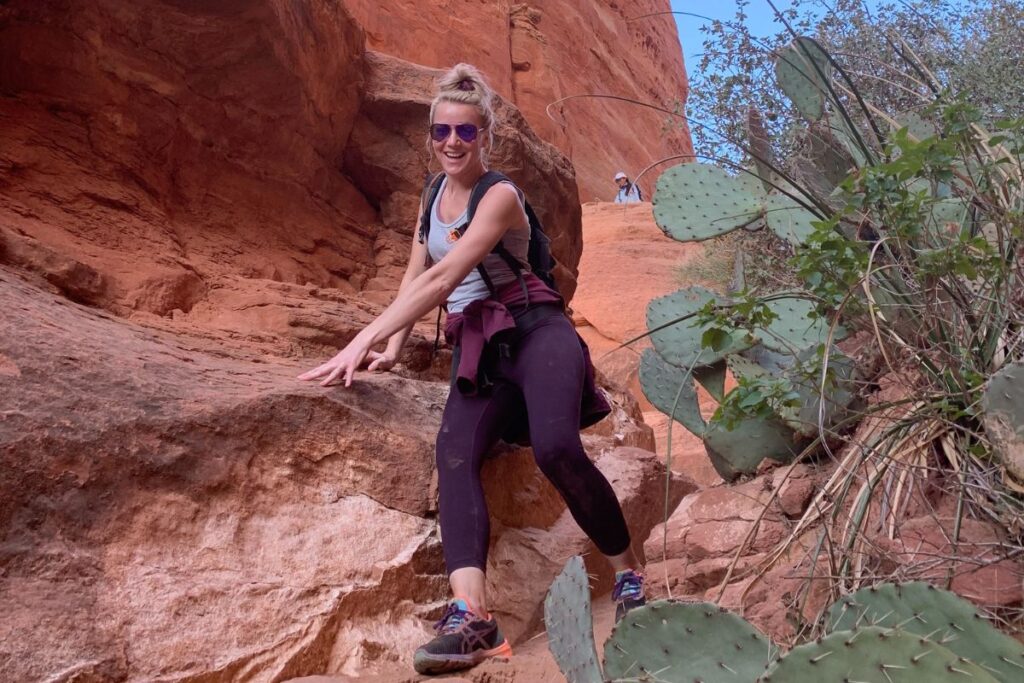
For me, I found this to be the funest part of the climb, but then again, I love stuff like this.
This crevice is quite a vertical climb and will require you to use your hands to scramble up it. Luckily, it’s a short climb of maybe 40 feet and has a lot of hand and foot holds to make it easier.
Don’t worry about coming back down this way. It was much easier on the way down than it was on the way up. Trust me!
Once you get to the top of the crevice, there is a plateau where you can stop to regain your composure and catch your breath.
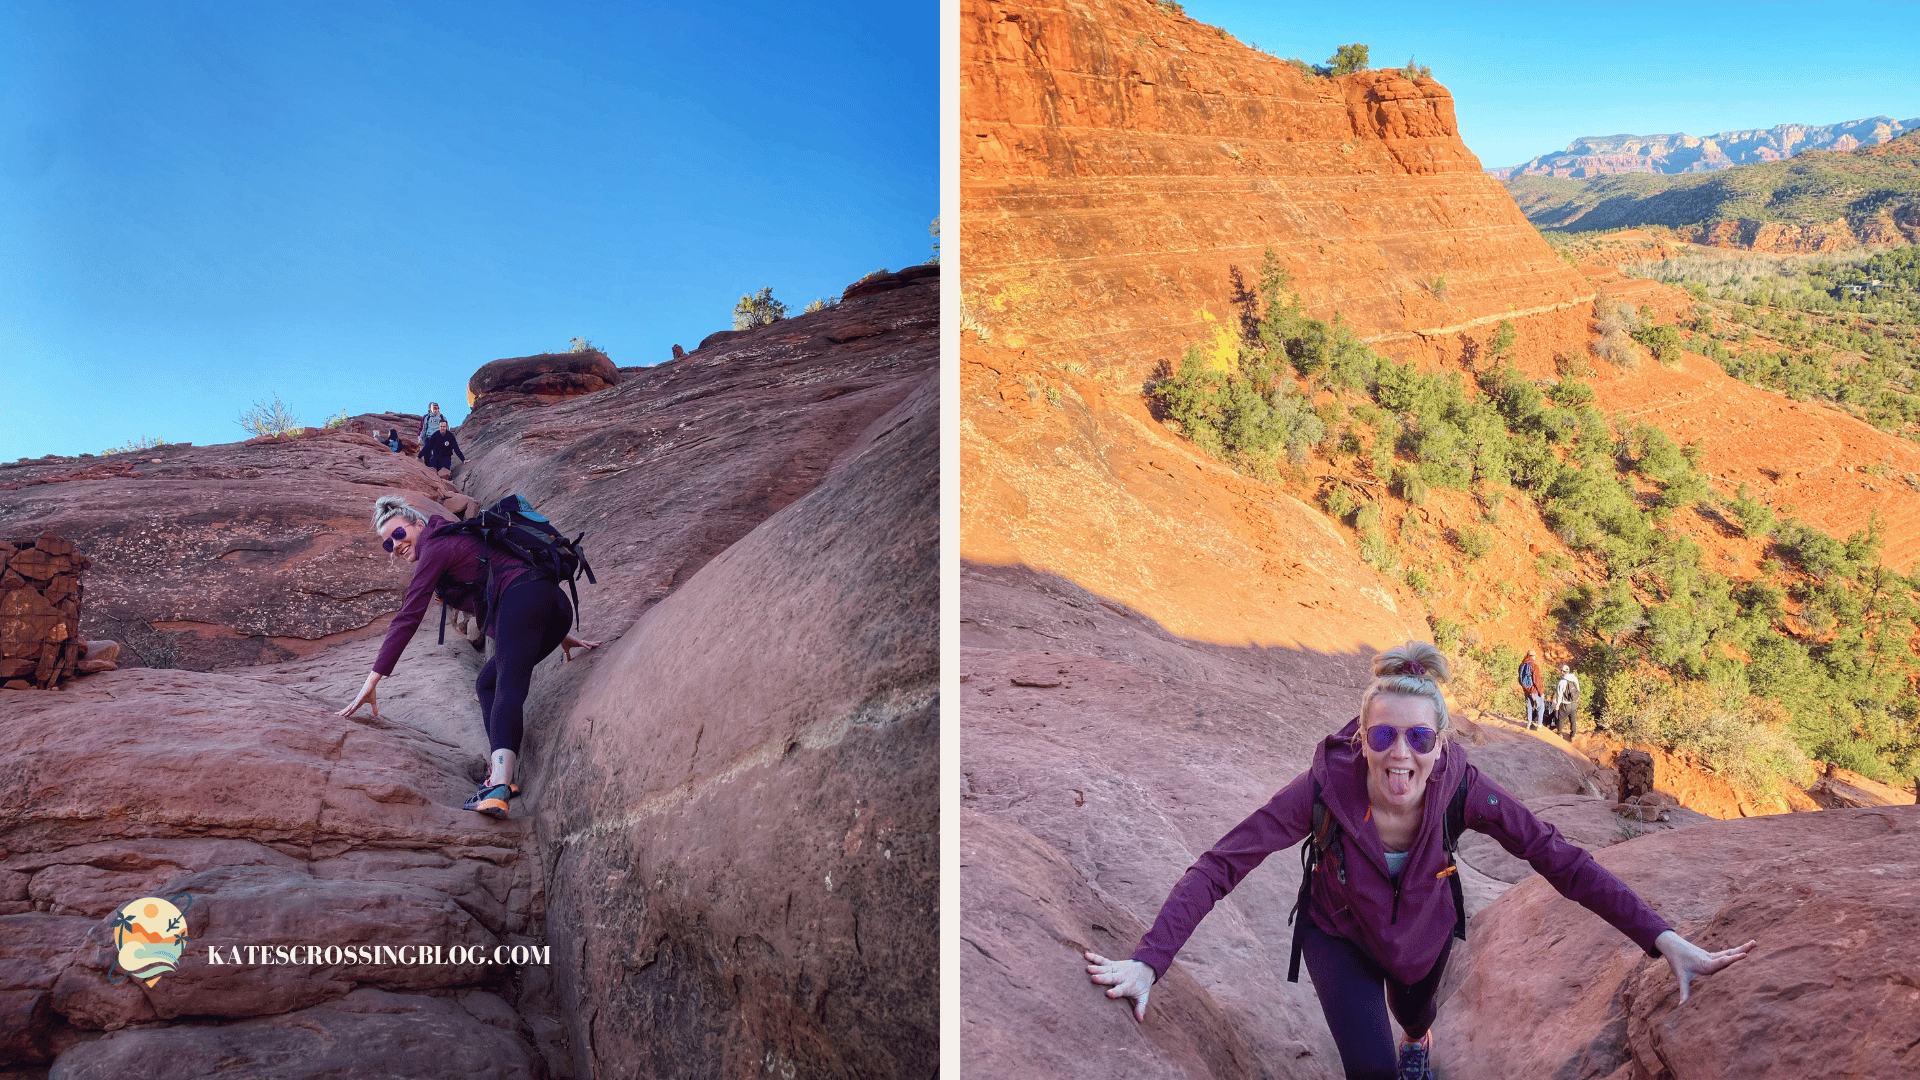
Congrats! You made it past the worst part!
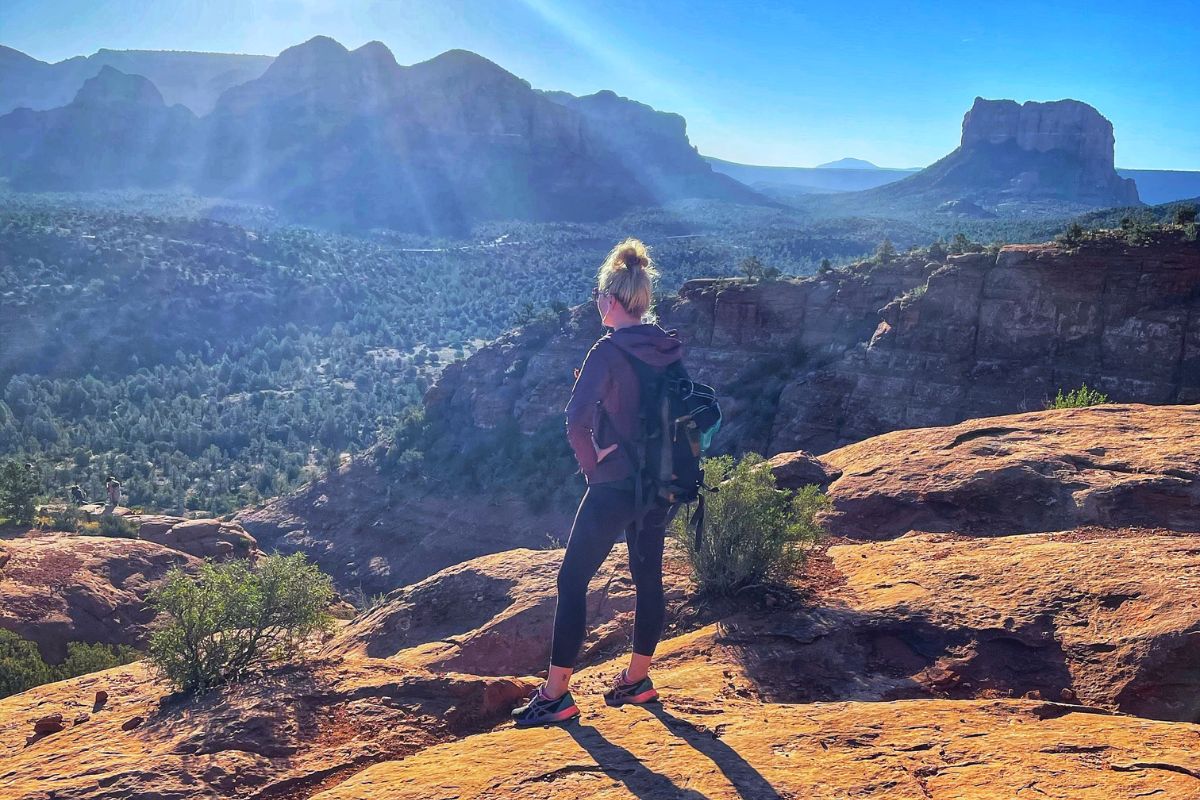
Don’t worry. The trail becomes a lot easier from this point onward. But before you continue up, stop here and take in the panoramic views!
The final stretch of the climb turns into a “normal” trail that’s easy to follow and then turns into a rock staircase all the way to the top.
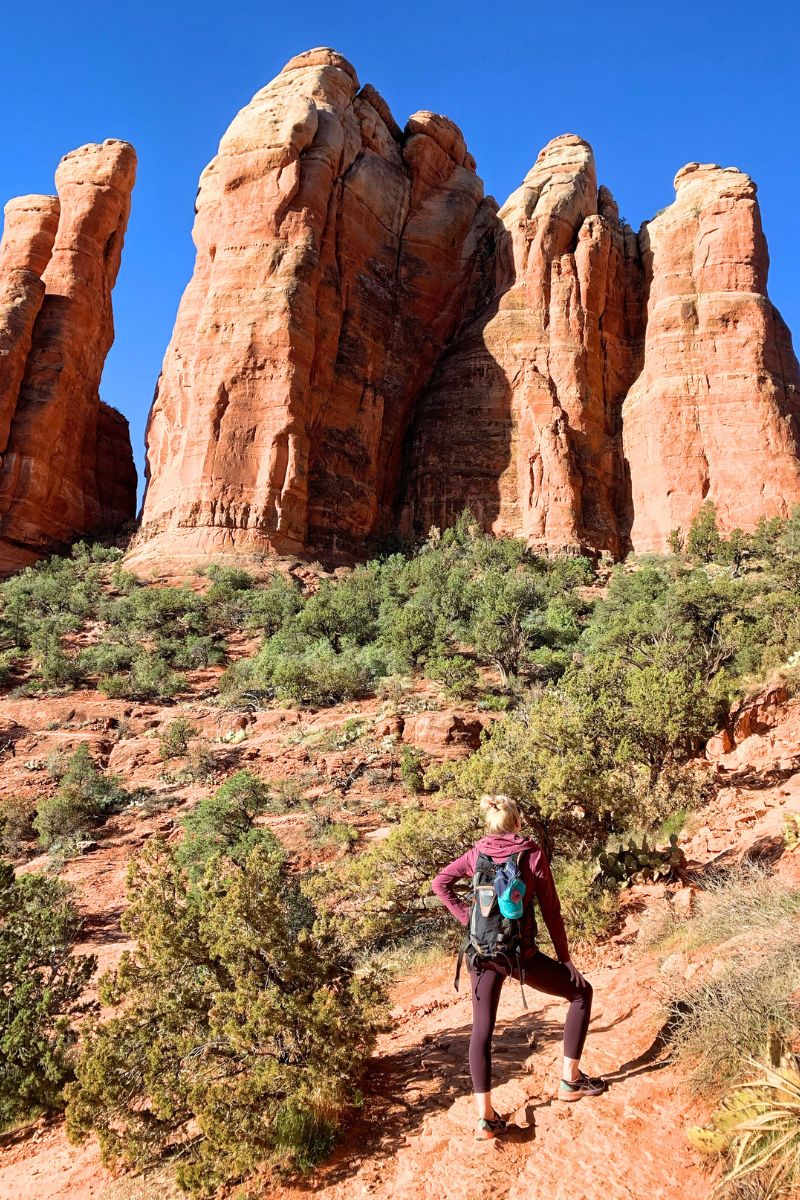
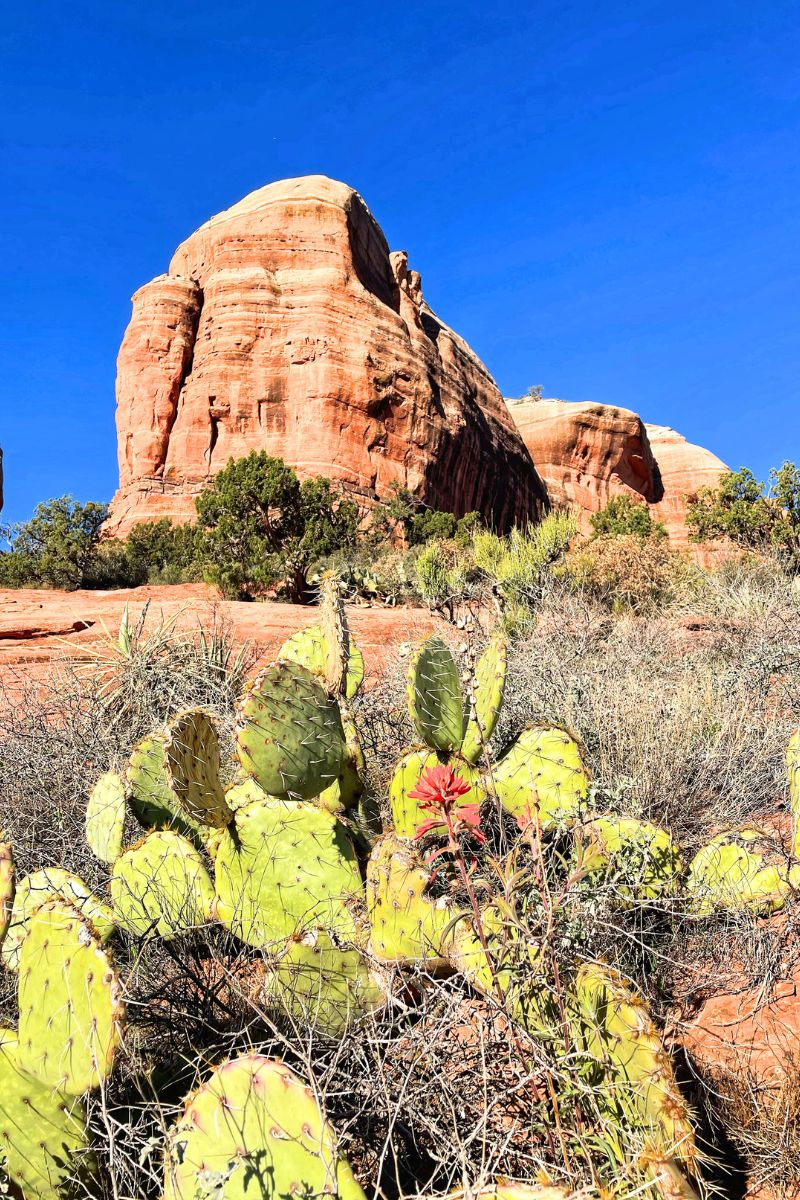
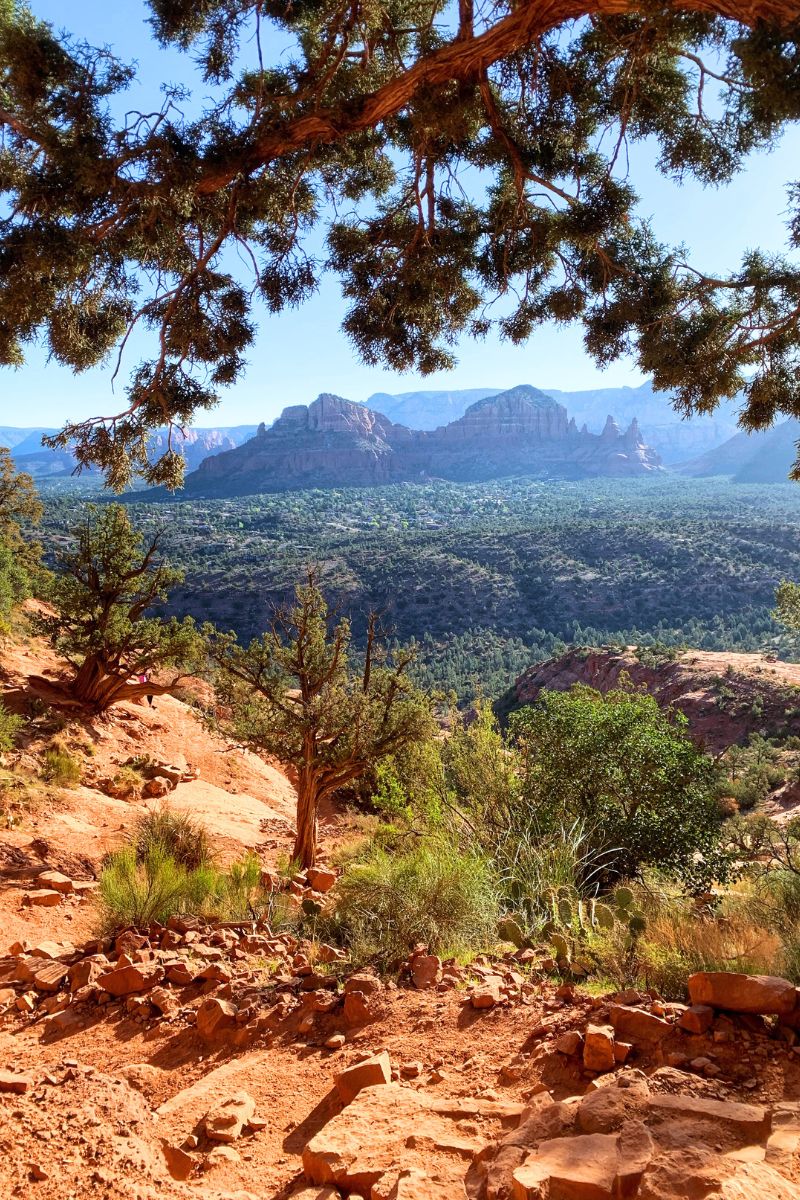
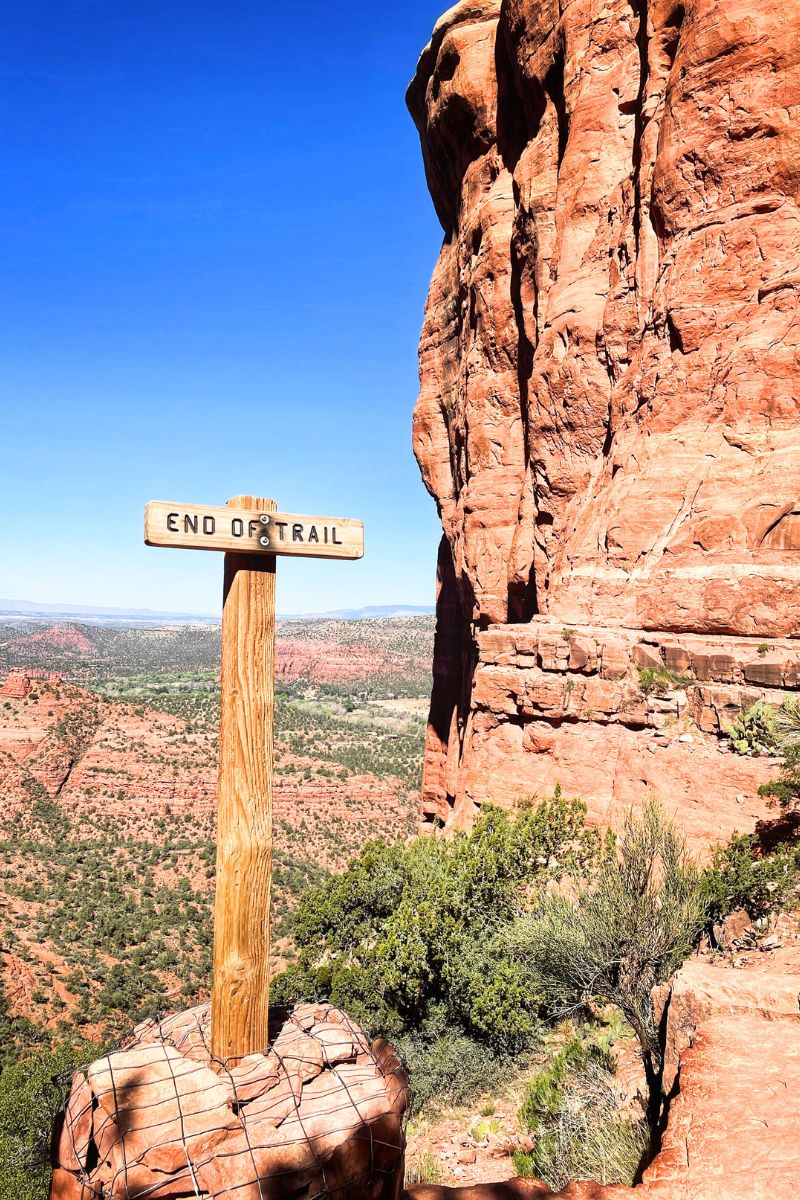
When you reach a wide saddle between two rock cliffs and see a sign saying “End of Trail,” you’ll know you made it!!
The Way Back Down
As you make your way down from the summit of Cathedral Rock, you’ll retrace the same steps you took to reach the top. The climb down cathedral trail is much easier than the climb up, offering you a chance to appreciate the breathtaking surroundings from a fresh perspective.
Although the descent is easier, still be cautious on the rockier stretches. Take it slow and steady to avoid any slips or stumbles.
Best Photo Spots
Reaching the trail’s end doesn’t mean the adventure’s done! There’s a whole lot more to explore up here and some really great photo opportunities! Let me show you where…
The Iconic Photo Spot
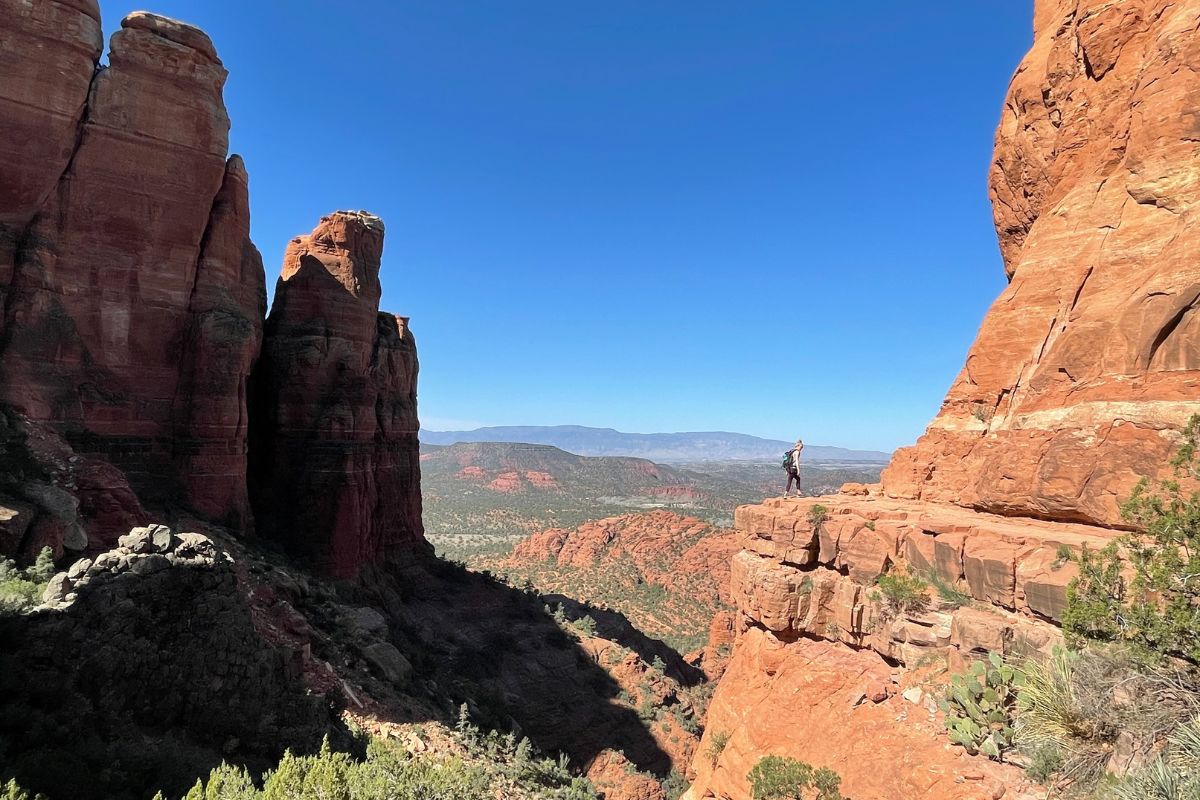
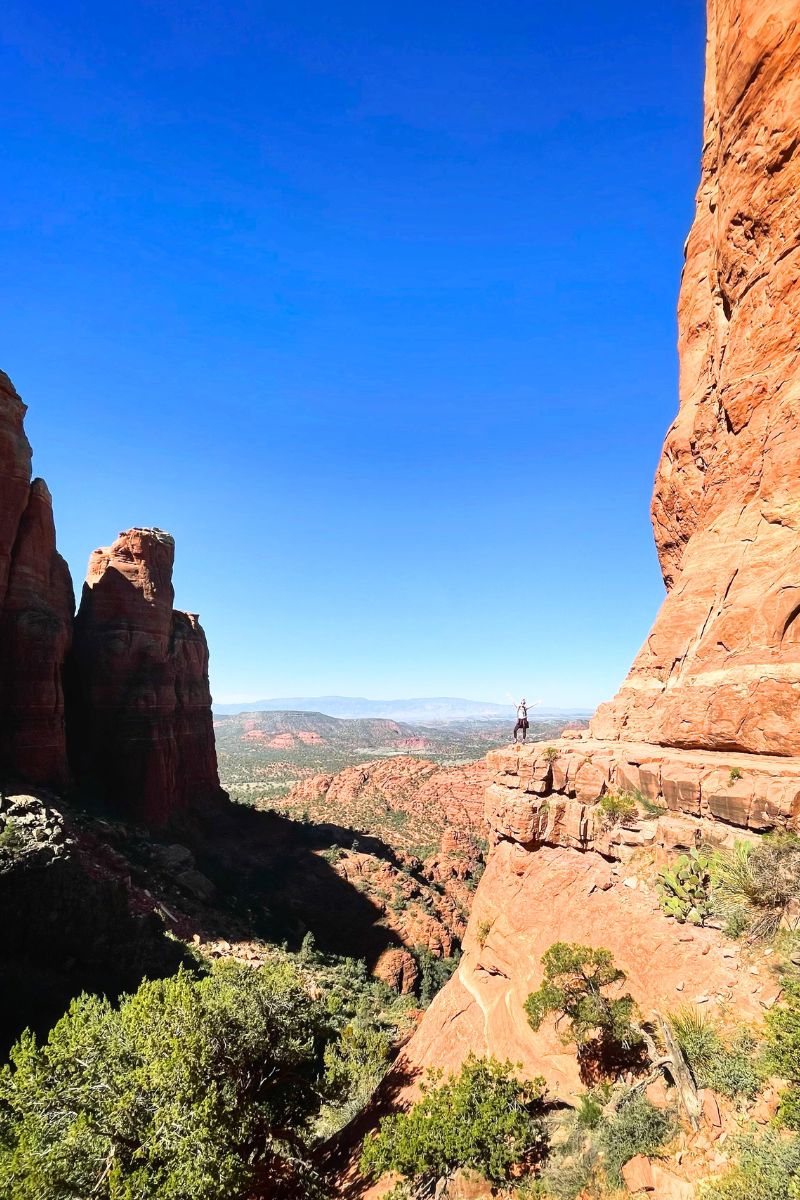
For the ultimate photo op, veer right at the “End of Trail” sign and stroll across the saddle to the ledge along the cliff face. Take it slow along the ledge until you reach the cliff’s point. Get someone on the saddle to snap a pic of you out there – it’s the iconic shot you don’t want to miss!
Needle Spire
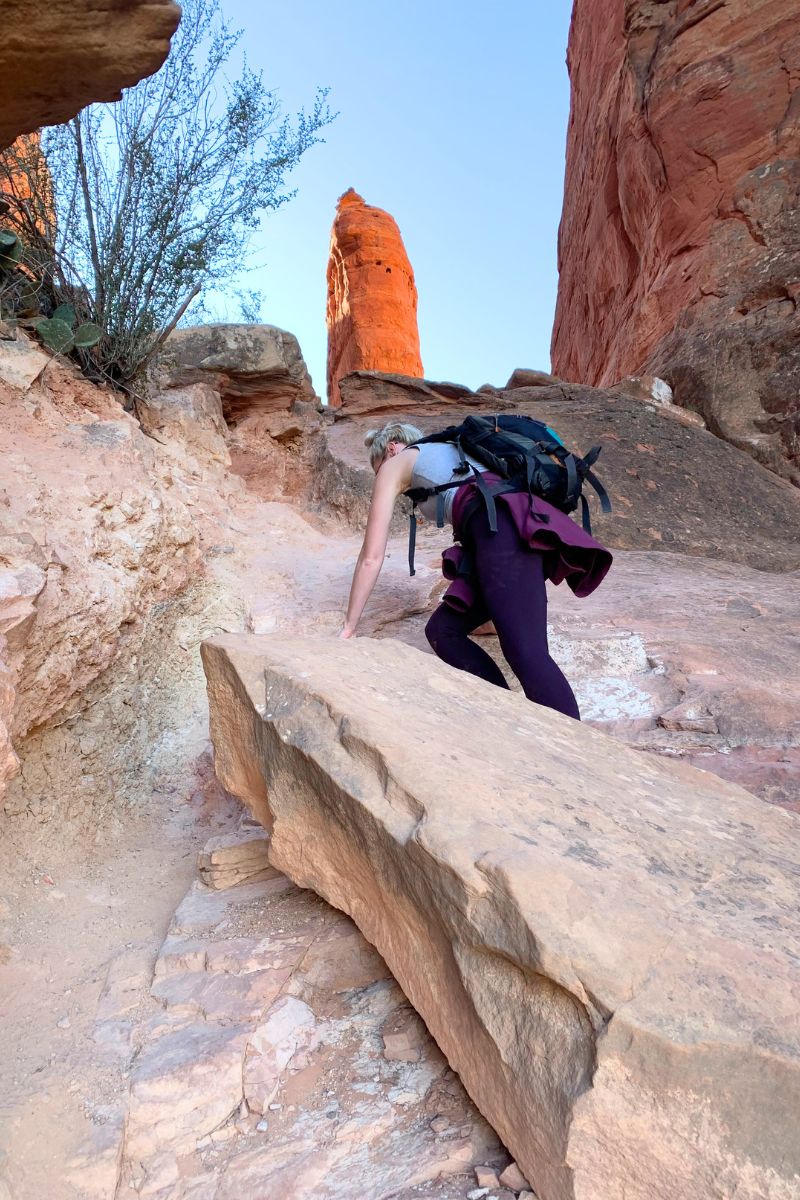
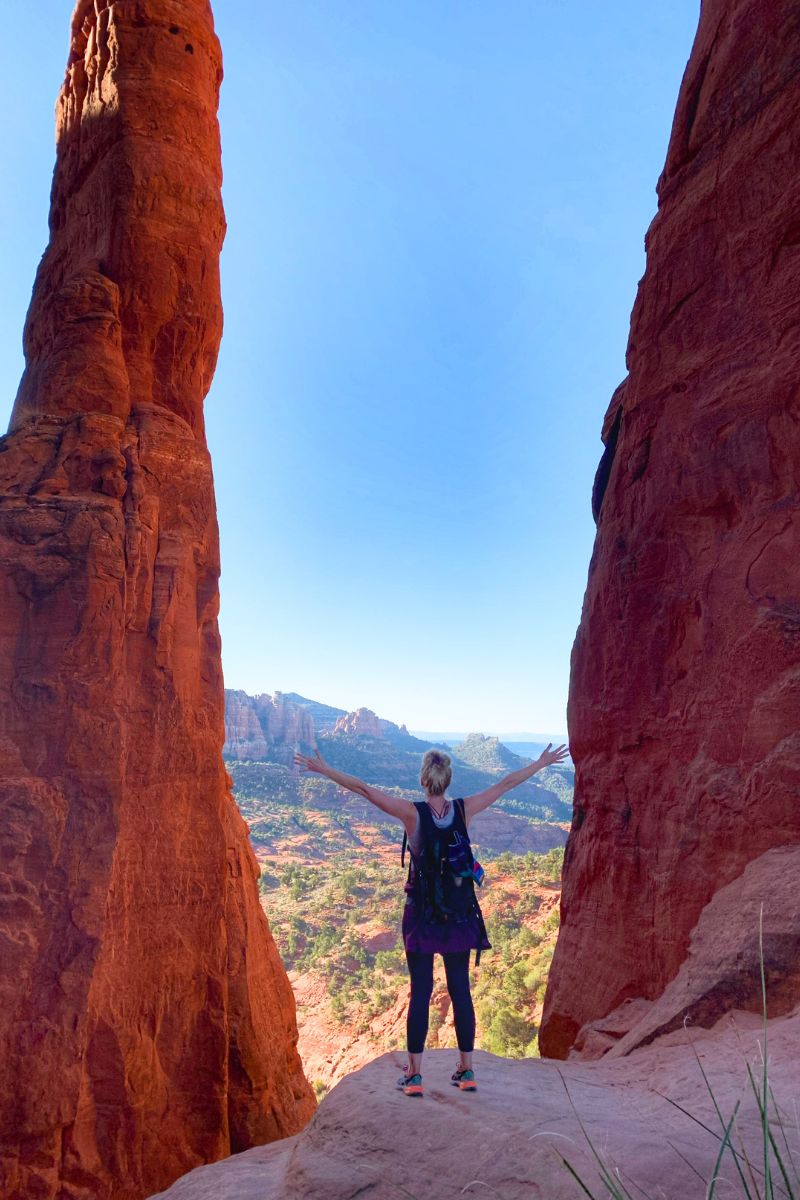
Now, let’s hunt down the Needle Spire! Hang a left at the “End of Trail” sign and follow a faint trail curving around the mountainside. There’s a bit of a steep stretch, around 100 yards or so, where you’ll do a bit more rock scrambling – nothing too wild, though.
Once you climb it, you’ll see a flat spot at the top – perfect for snapping photos with the spire.
Secret Trail
I’m going to let you in on a little secret!
The excitement doesn’t end at the Needle Spire. You haven’t seen it all yet!
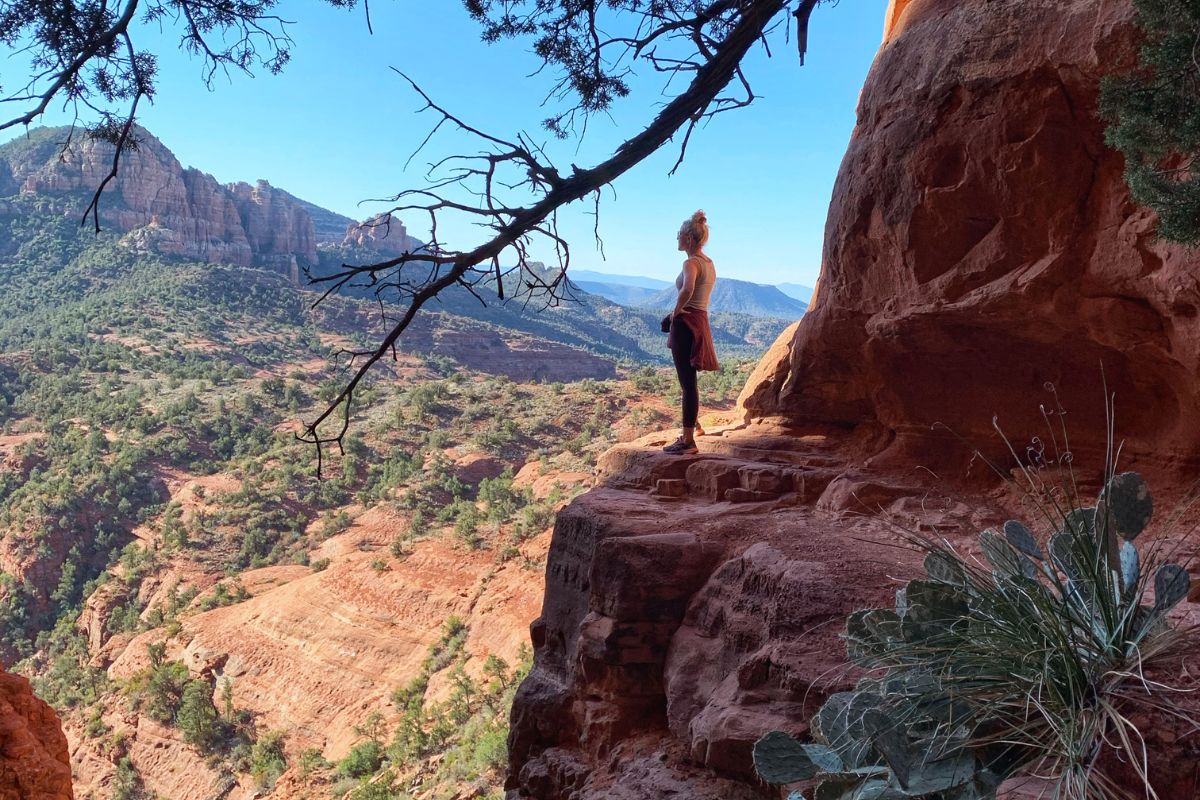
From the Needle Spire (if you’re up for it), take a narrow trail that descends down to the left of the needle spire. This trail squeezes between the spire and the rock wall. Once you get around behind the spire, go right, and you will see a small cliff ledge that leads out to another beautiful viewpoint for a photo.
But wait, there’s MORE!!
After you’ve wrapped up your photo session on that adorable little ledge, backtrack to the base behind the spire. Continue following down the faint trail on the left, weaving through some juniper trees.
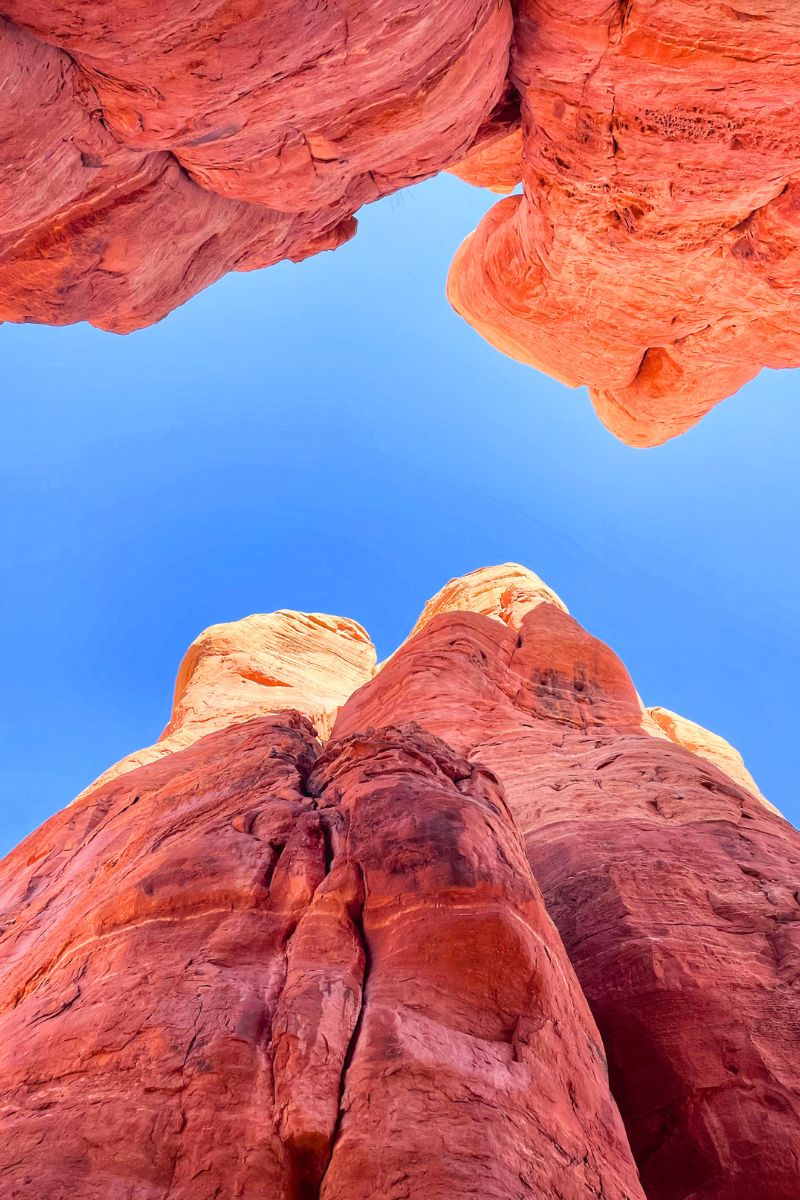
After you get through the trees, you’ll come to an opening with breathtaking cliffs all around you. Be sure to look up. The red rock spires contrasting with the blue sky are a sight!
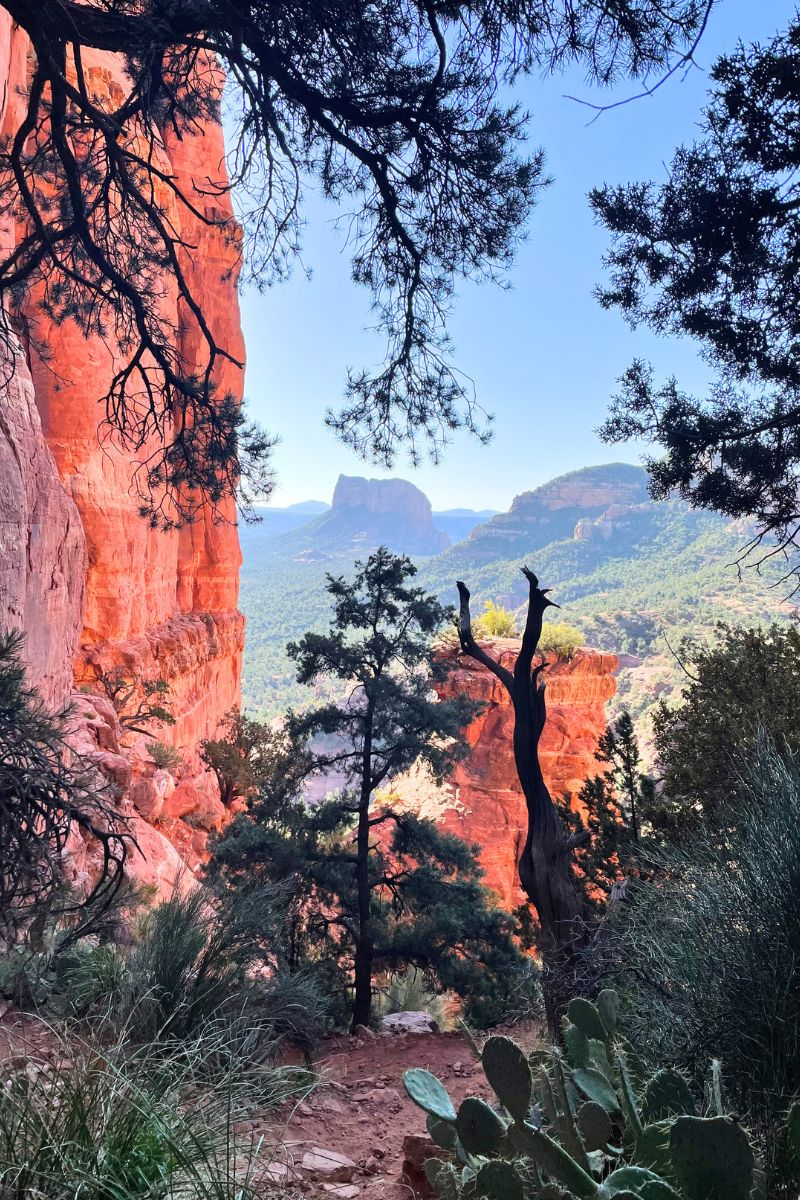
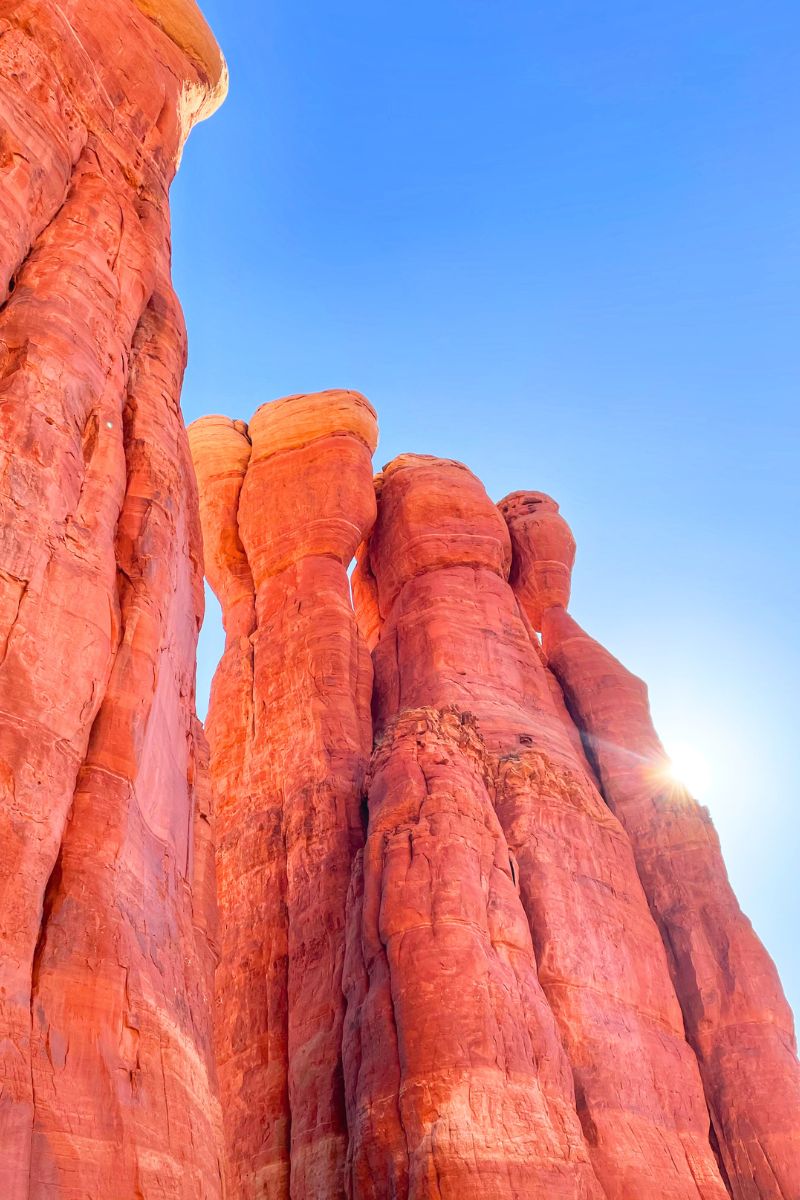
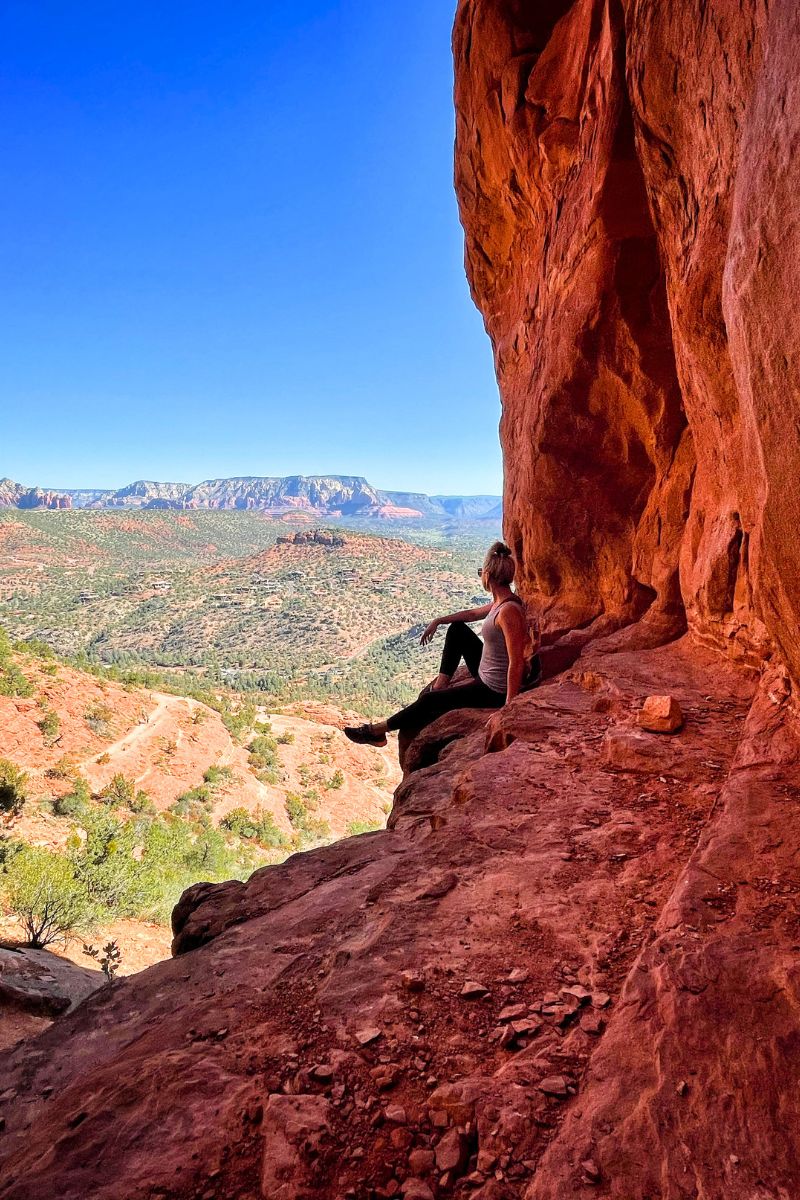
Feeling a bit adventurous? Climb up the rock ledge to your left, leading to a small landing nestled between two rock faces. It might not look like a trail, but the views from that landing are unforgettable!
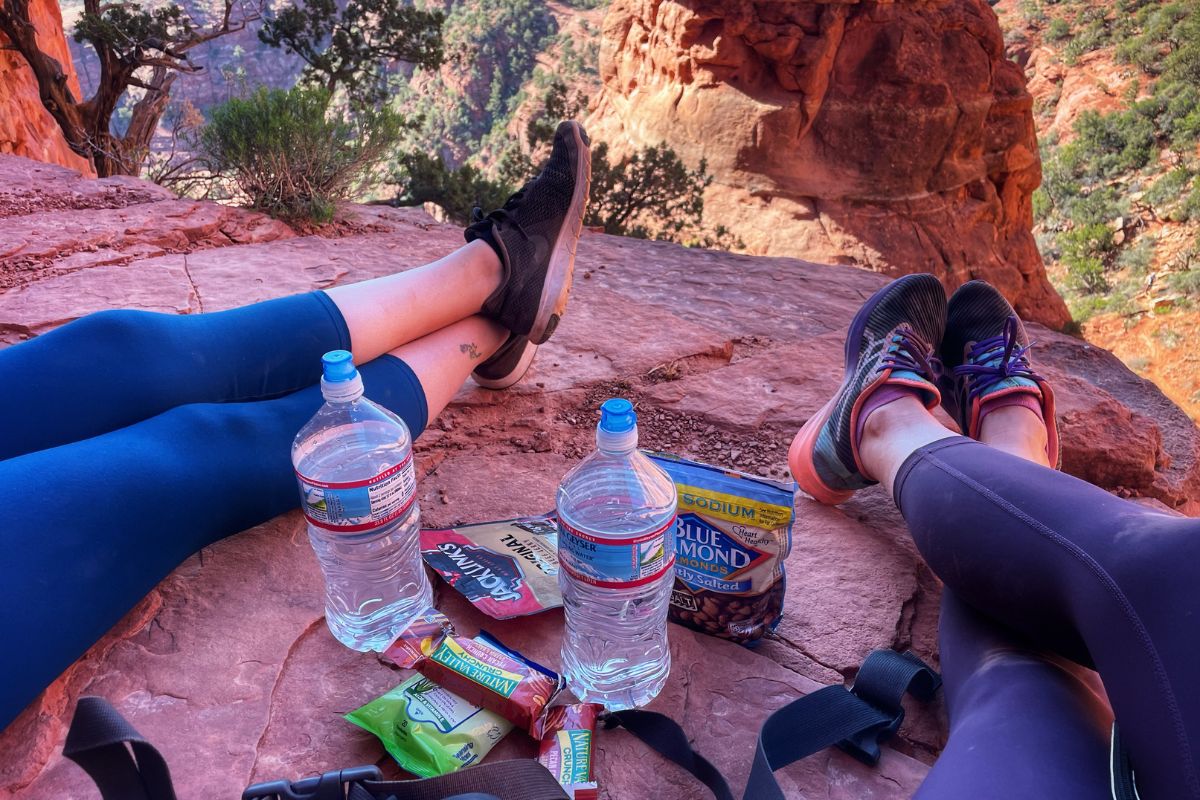
I spent an hour up there, munching on my packed lunch, and had the entire spot to myself! It’s a hidden gem not many know about, so if you crave some solitude, seek it out.
You won’t regret it!
Where’s the Vortex?
One of Sedona’s charms lies in its vortexes, and Cathedral Rock is home to one of these mystical energy centers.
Now, pinpointing the exact location of the Cathedral Rock Vortex remains a bit of a puzzle for me. Various sources offer different interpretations – some claim it’s at the base near a twisted juniper tree, while others insist it’s on the flat rock landing in front of the needle spire.
During a conversation with a local, while snapping pictures of the needle spire, I got a tip. According to him, if you take the trail left of the spire and loop around the back, you’ll find a cave on the right, housing the vortex.
Now, I can’t guarantee I’ve pinpointed it exactly, but word on the street is that this spot possesses a potent magnetic energy source, uniquely characterized as the only vortex with feminine energy. This quality is said to cause a sense of oneness, serenity, calmness, and ease.
Some visitors claim they experienced tingling sensations or intense emotions at this site. The decision of whether you sense the vortex’s energy is entirely yours to make.
It sure adds a touch of mystery and wonder to the Cathedral Rock experience, tho!
Tips for Hiking Cathedral Rock
Get ready for an awesome adventure as you tackle Cathedral Rock! I’ve got some tips to ensure you make the most of this experience:
Early Bird Gets the Uncrowded View
Opt for a very early morning hike to avoid crowds and witness the sunrise from the summit. The soft morning light casts a magical glow over the red rocks.
Capture the Sunset
If sunrise isn’t your cup of tea, consider a late afternoon hike for a captivating sunset at the summit. The changing colors of the sky against the red rocks create a mesmerizing scene. Just know that sunset is a popular time for photographers and Instagrammers. So expect it to be more crowded than at sunrise.
Wear Sturdy Footwear
Wear comfortable and sturdy hiking shoes with good traction. The terrain includes rocky sections that have been worn smooth and can be slippery. Proper footwear ensures a safer and more enjoyable hike.
Hydration is Key
Bring plenty of water to stay hydrated, especially if you’re tackling the trail in warmer weather. There are no water stations along the trail, so come prepared.
Pack Yummy Snacks
Bring along some snacks to refuel during your hike. Finding a scenic spot to enjoy a snack can add to the overall experience. I suggest finding a spot to the left, back by the Needle Spire.
Mind the Weather
Check the weather forecast before your hike. The trail can become slippery after rain, so be cautious if the weather is unpredictable.
Shield Yourself from the Sun
This trail offers no shade until you find shelter under one of the cliffs at the top, so I recommend you wear a hat and sunglasses and apply sunscreen for protection.
Follow Good Trail Etiquette
Respect fellow hikers and the environment. Yield to uphill hikers, stay on designated trails, and pack out all waste. Basically, just follow the seven “Leave No Trace” principles.
Essential Hiking Gear For Sedona
Summer Gear:
Day Backpack
The Osprey Daylite Plus daypack is my top choice for day hikes! It’s small, but it is mighty! You’d be surprised at what I’ve fit in there! Whether you’re out on the trails or just exploring the city, this daypack will have your back!
Water Bottle
Trust me on this one – the Grayl filter water bottle is a must-have. It’s been a total game-changer for me, making sure I’ve got clean and safe drinking water wherever my adventures take me! After dealing with a nasty stomach bug in Peru, there’s no way I’m risking that again – hence, the arrival of this water bottle into my life!
Hiking Boots
I can’t recommend the Solomon X Utra 4 enough! It’s been my personal favorite for a while now! It’s got the kind of traction you’ll need for the trails in Sedona!
Sunglasses
I’m in love with Foldies Sunglasses! I’ve been wearing them for over a year now, and they are my go-to for traveling! They fold down three times and slide right into your pocket. Perfect for someone like me who loves keeping it light and easy!
Winter Gear:
Merino Wool Base Layer
I’ve been wearing my Smartwool Merino Wool Base Layer for YEARS. I swear by them! I adore how these keep me cozy even in the chilliest weather, and the best part? They’re odor-resistant! So, no stinking after sweating my way through a weekend of hiking in Sedona.
Waterproof Hiking Pants
Being wet is not my thing, be it from rain, snow, or sweating – it always leads to feeling cold. And you know what I dislike more than getting wet? Being cold! That’s why these waterproof hiking pants are fantastic. They not only keep me dry but also avoid turning into a sweat trap, unlike many others I’ve tried.
Best Resources to Help You Plan Your Trip to Sedona
Looking to make the most of your time in Sedona? Take a look at my article, “Ultimate Sedona Itinerary for an Epic Weekend Getaway.”
I’ve already picked out the Best Hotels in Sedona with a View, making your accommodation choice a breeze. If you want to save on your hotel, go ahead and book through Hotels.com or VRBO and start racking up that One Key Cash!
Just a heads up – score extra One Key Cash by booking your flights and car rental through Expedia. Use it for more travel adventures and discounts down the road!
Planning to spend a few days around Sedona and need more fun ideas? Explore GetYourGuide or Viator for exciting tours and activities. Plus, enjoy the peace of mind that you’ll get a full refund if plans take an unexpected turn.
Make sure you don’t forget anything with this complete Sedona Packing List.
FAQ’s: Cathedral Rock Hike
Got questions about the Cathedral Rock hike? I’ve compiled the most frequently asked questions to help you prepare for an amazing adventure.
How long does it take to hike Cathedral Rock in Sedona?
The average hiking time for Cathedral Rock is around 1.5 to 2 hours. However, the duration can vary based on individual pace, stops along the way, and how much time is spent at the top.
Can a beginner hike Cathedral Rock?
While Cathedral Rock is considered a moderate hike, beginners can tackle it with proper preparation. Sturdy footwear and a sense of adventure are key.
Should I hike Cathedral Rock at sunset or sunrise?
The golden hour during both sunrise and sunset serves up stunning views and prime photo ops. However, it’s worth noting that sunsets are more popular, meaning you might find yourself sharing those picturesque viewpoints with more company than you like.
Can you see Cathedral Rock without hiking?
Yes, you can catch glimpses of Cathedral Rock from various viewpoints without hiking. However, the full experience involves the hike to the summit.
Is there a vortex at Cathedral Rock?
Yes, Cathedral Rock is believed to have a vortex. The vortex is associated with a unique feminine energy and is said to contribute to feelings of oneness, serenity, and calmness.
That’s a Wrap on The Cathedral Rock Hike
There you have it. All the tips and secrets of the Cathedral Rock hike in Sedona.
It’s not just a trail. It’s one of the best hikes, filled with stunning views, vortex mystery, and moments you’ll never forget. Whether you’re a seasoned hiker or just starting out, grab your gear, catch the golden hour, and explore the hidden secrets.
Now, lace up those hiking boots and hit the trail!
Talk to ya later!

