4 Day Sedona Itinerary for an Epic Weekend Getaway
Looking for the Ultimate Sedona Itinerary for an epic weekend? I’ve got you!
I spent four amazing days in Sedona exploring and hiking this beautiful desert town, so I could bring you this incredibly detailed itinerary.
Let me tell you!
The landscapes here are B-E-A-U-TIFUL!!
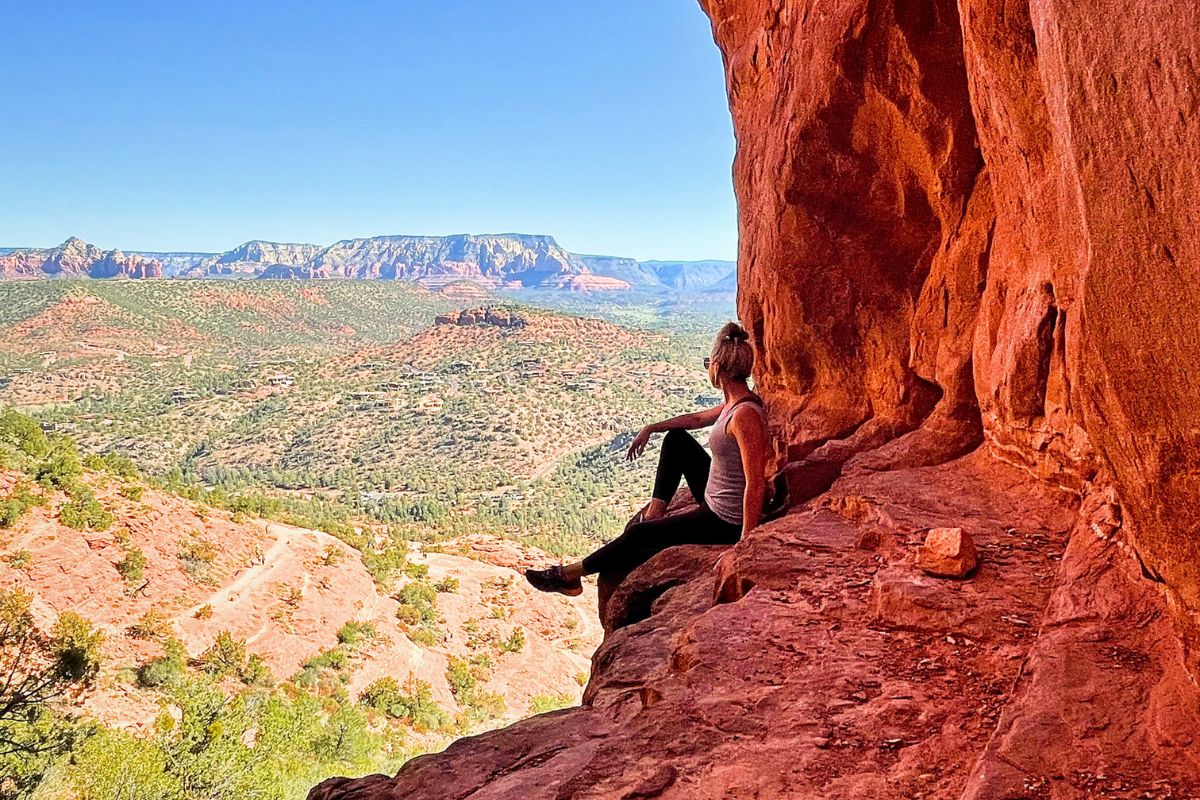
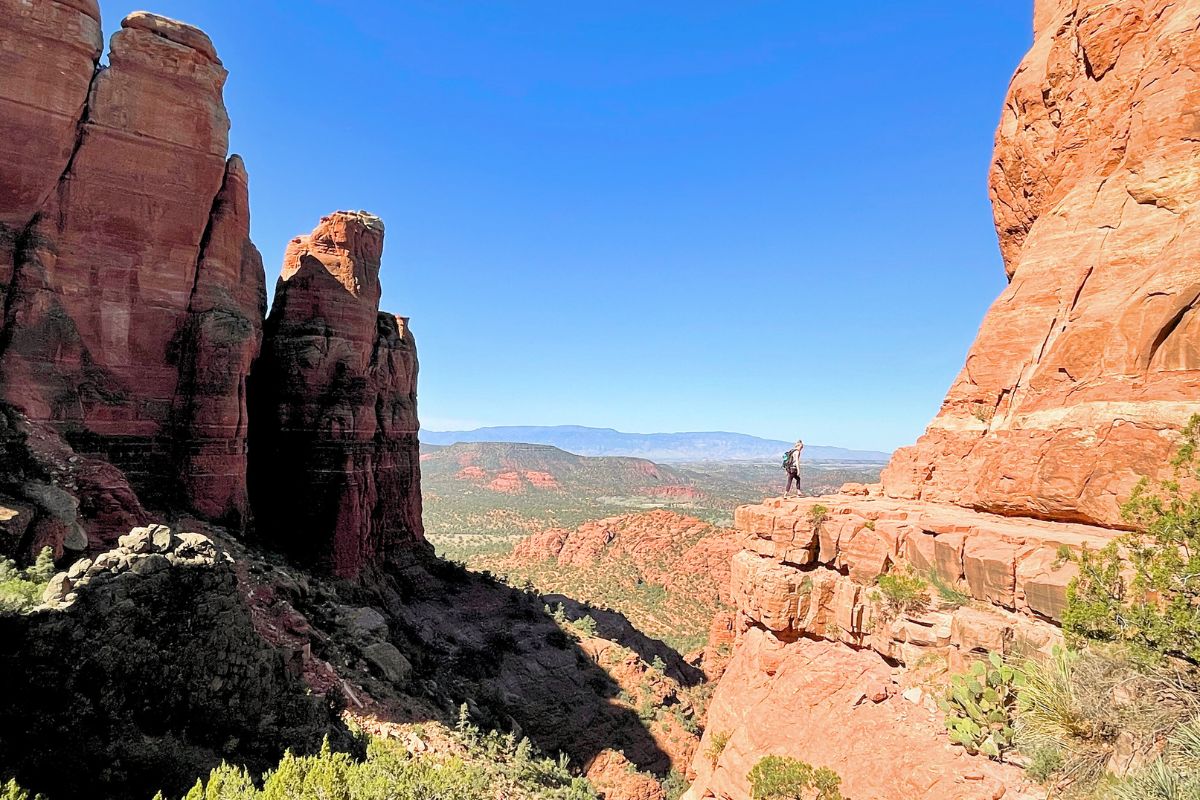
It went way beyond any images I had seen and any expectations I had. Stunning scenery surrounded me everywhere I went.
This 4 day Sedona Itinerary is packed with all the best things to do in Sedona, blending nature, culture, and relaxation.
Don’t worry. I’ve covered everything, so you won’t miss a thing!

Best Resources for Planning Your Trip to Sedona:
🛩️ Find affordable flights on Expedia and earn One Key Cash!
🚗 Rent your car on Expedia and earn more One Key Cash!
🏨 Book your stay with Hotels.com or VRBO and earn even more One Key Cash! Be sure to check out my article on The Best Hotels in Sedona With a View to help you make your choice.
🚌 Book your activities and tours with Viator and GetYourGuide. If your plans change, you’ll get a full refund.
🧳 Make sure you didn’t forget anything with this Sedona Packing List
Where is Sedona & How Do You Get There
Sedona sits right in the heart of Arizona, and one of its appealing quirks is the absence of an airport.
So, to get to this desert gem, you will have to make a choice: Fly into Phoenix airport, a scenic two-hour drive away, or Flagstaff, just a short 45-minute cruise. (I personally chose Phoenix because the flights were much cheaper!)
Once you’ve made that call, the next step is to grab the keys to a rental car and hit the road.
Make sure to take the Red Rock Scenic Byway, route 179, if you head up from Phoenix. It’s a stunning drive with several switchbacks.
Whichever airport you choose, the drive will be beautiful and well worth it when you get your first glimpse of the red rock formations!
Helpful Tip: Opt for the earliest flight there and a later departure on your last day to maximize your experience with this itinerary and make the most of your weekend!
Where Should You Stay in Sedona, Arizona
When it comes to picking the perfect spot to stay in Sedona, you’ve got a bunch of options to weigh in on.
Now, Sedona’s not exactly the cheapest place to visit in Arizona, but don’t worry, there are still some budget-friendly places. Just be sure to snag ’em early because they go like hotcakes!
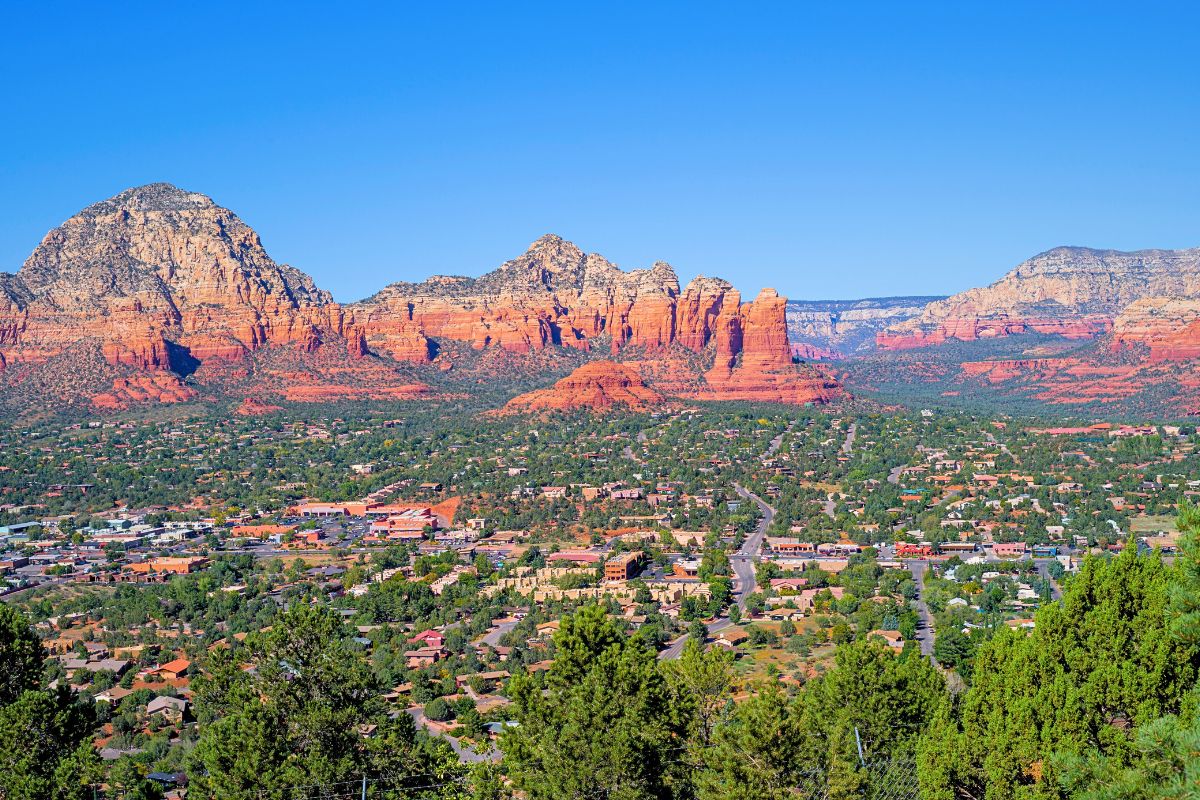
The Sedona region has three distinct areas you can choose to stay in:
Uptown Sedona:
Better known as “downtown Sedona,” is where all the excitement is at. It has a lively vibe with shops, galleries, and restaurants galore, all within steps of your accommodation. Staying here puts you in the local scene.
West Sedona:
If you are looking for a bit more peace, then West Sedona’s your jam. It’s surrounded by a more peaceful scene and not too far from popular hiking spots.
Village of Oak Creek:
This is where I chose to stay – at the Bell Rock Inn. It’s not smack in the center of the action, but that’s what I loved about it! It’s in a peaceful neighborhood surrounded by beautiful landscapes and hiking trails.
My room had a kitchenette and a fireplace, which was awesome since I visited in late September, and the evenings and mornings were a bit chilly.
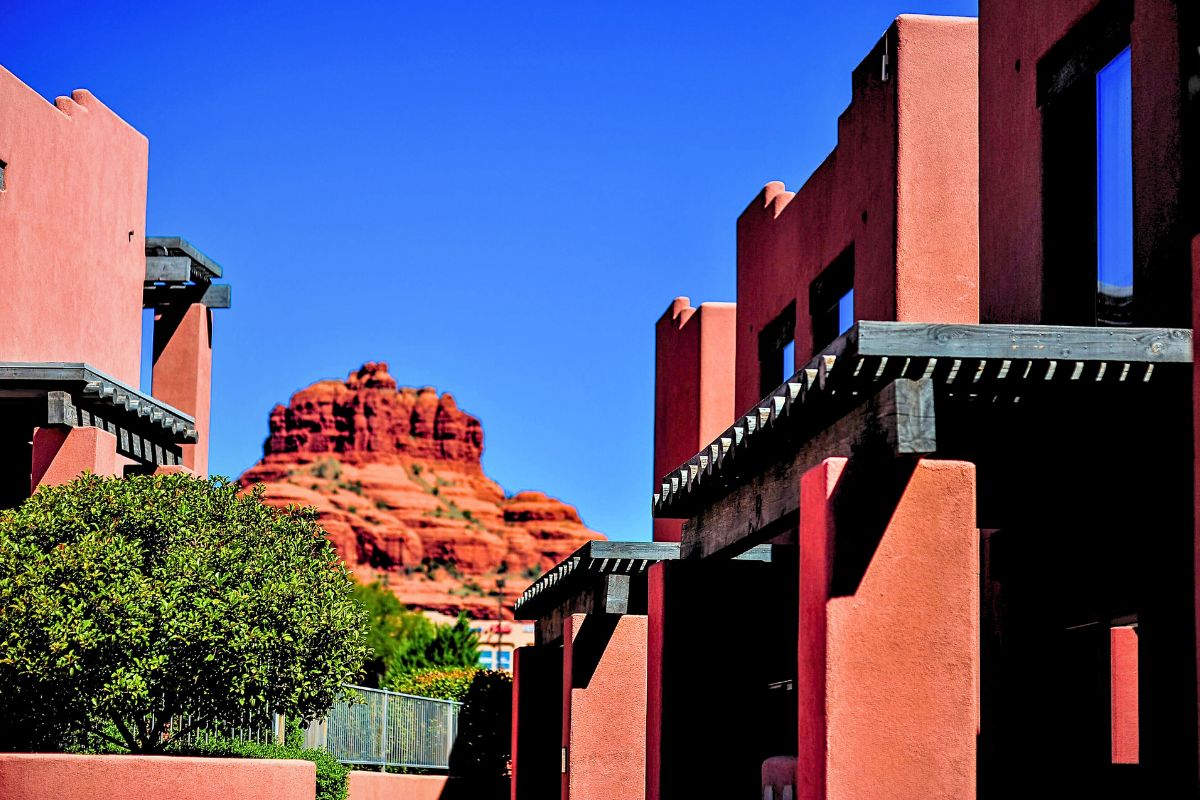
Just a heads up, you’ll need a short drive from West Sedona and the Village of Oak Creek to hit up the main shopping and dining in town. Perfect if you want that quiet getaway with easy access to both nature and the buzz of Sedona.
And, if you are looking for a taste of luxury, Sedona’s got some hotels with views that’ll knock your socks off! Be sure to check them out for an epic stay.
4-Day Sedona Itinerary for an Epic Weekend
This four-day Sedona Itinerary is going to include your travel days, and therefore, it will be jam-packed! I’ve included the most popular hikes, fun things to do in the area, food recommendations, and more!
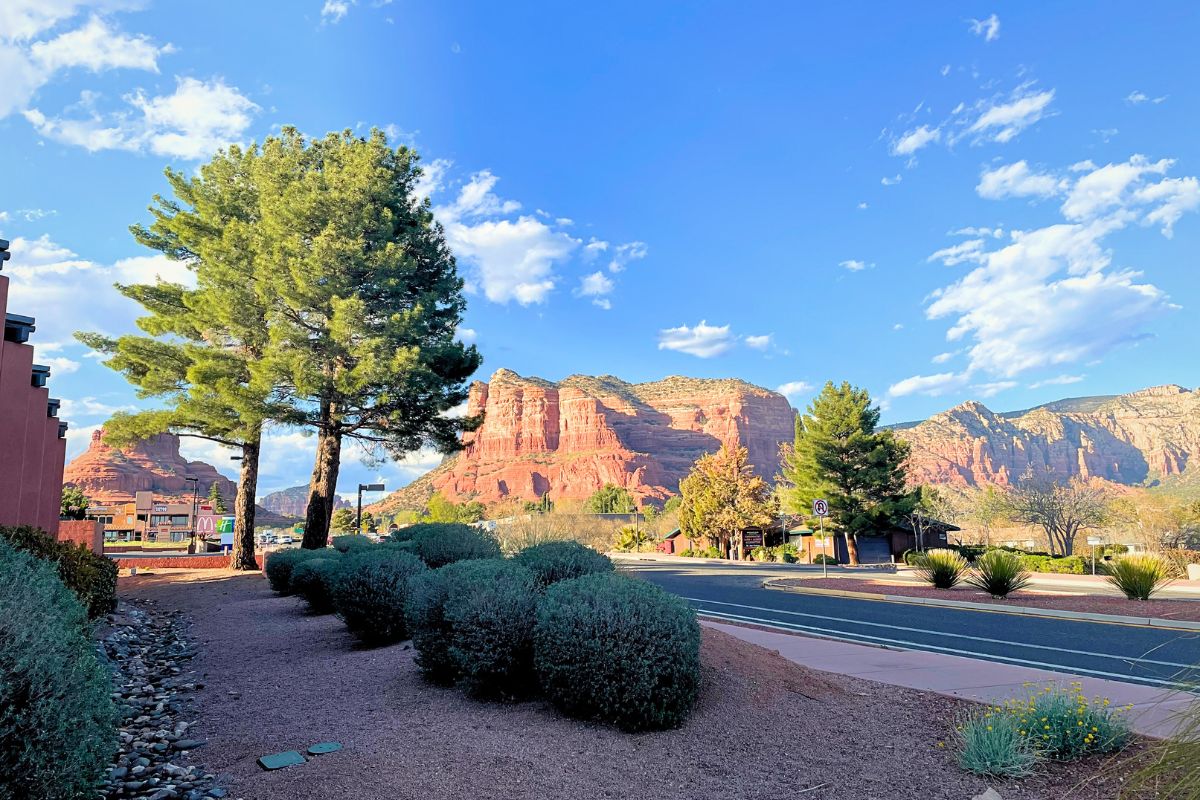
Day 1: Arrival + Evening Hike to The Subway Cave
Your epic weekend in Sedona begins with an early flight into Phoenix or Flagstaff. I highly recommend you try to arrive as early as possible to make the most out of your short visit.
You will then pick up your rental car and make the scenic drive to Sedona. Arriving early will also help you beat the traffic. (Hopefully!)
To make the most of your first day, see if you can get an early check-in to your hotel upon arrival. Then, hit the town for exploration and shopping.
Be sure to wander through the arts and crafts village. It’s a hidden gem filled with local creativity and one-of-a-kind pieces that you won’t want to miss!
Helpful Tip: Since this itinerary keeps you out and about most of the day, consider grabbing groceries while you’re in town. Stock up on items for breakfast and packable lunches. I personally stuck to eating out once a day, and it turned out to be a great money-saving strategy!
Early Dinner
Grab an early dinner at the Creekside American Bistro on their outdoor patio. They offer great food and beautiful views!
Subway Cave Hike
After your dinner, go on a memorable evening hike to the Subway Cave. This natural wonder offers a unique experience, especially during the magical hues of a Sedona sunset.
FYI: The hike to Subway Cave is a round trip of about 5.3 miles. Plan on dedicating roughly 3 and a half hours to the hike, giving yourself plenty of time to explore the ins and outs of the cave.
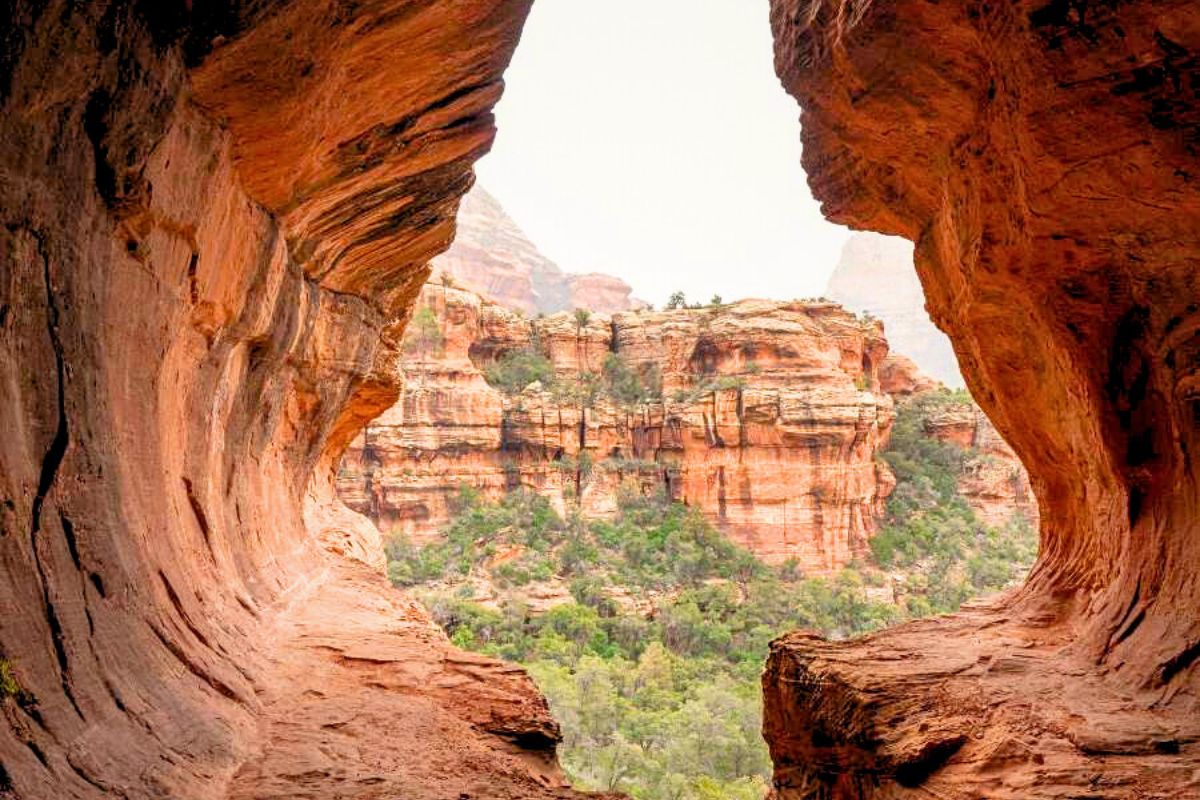
How to hike to the Subway Cave in Sedona:
To get to the Subway Cave, you’ll take the Boynton Canyon Trailhead.
Stick to that path, and don’t be tempted by the Boynton Vista Trail! As you go, follow the red sandy path. On your left, you’ll pass the Enchantment Resort.
You will pass four painted crosses – that’s your cue that you are on the right path.
The trail will get thick with more trees. You might feel like you’ve gone too far, but trust me, keep going.
After about two miles, you’ll spot the turn-off for the Subway Cave trail. Look out for the “Alligator Juniper Tree” – about an hour into your hike. It’s a large tree with bark that looks like alligator skin.
The path you want is just to the right of that tree. If you’re ever in doubt, ask fellow hikers passing by. Lucky for me, someone had created an arrow out of rocks on the ground to help me find my way. Hopefully, it’s there for you, too!
Once you hit that turn-off, it’s another 10-15 minutes, and boom, you’re at the entrance of the Subway Cave.
Helpful Tip: There are two ways to get up into the cave. You can go straight up the rocks or take the rim trail to the left. I chose to take the rocks straight up, and on the way down, I took the rim trail.
Let’s be sure to give these beautiful spots and their surroundings the respect they deserve. Always practice LEAVE NO TRACE – no graffiti, and whatever you bring in, take it back out! Let’s work together to preserve these places for many generations to come!
Day 2: Devil’s Bridge + Secret Cave
Start day two with an early rise to beat the heat (you will be happy you did!) and head out on a relatively easy hike to Devil’s Bridge.
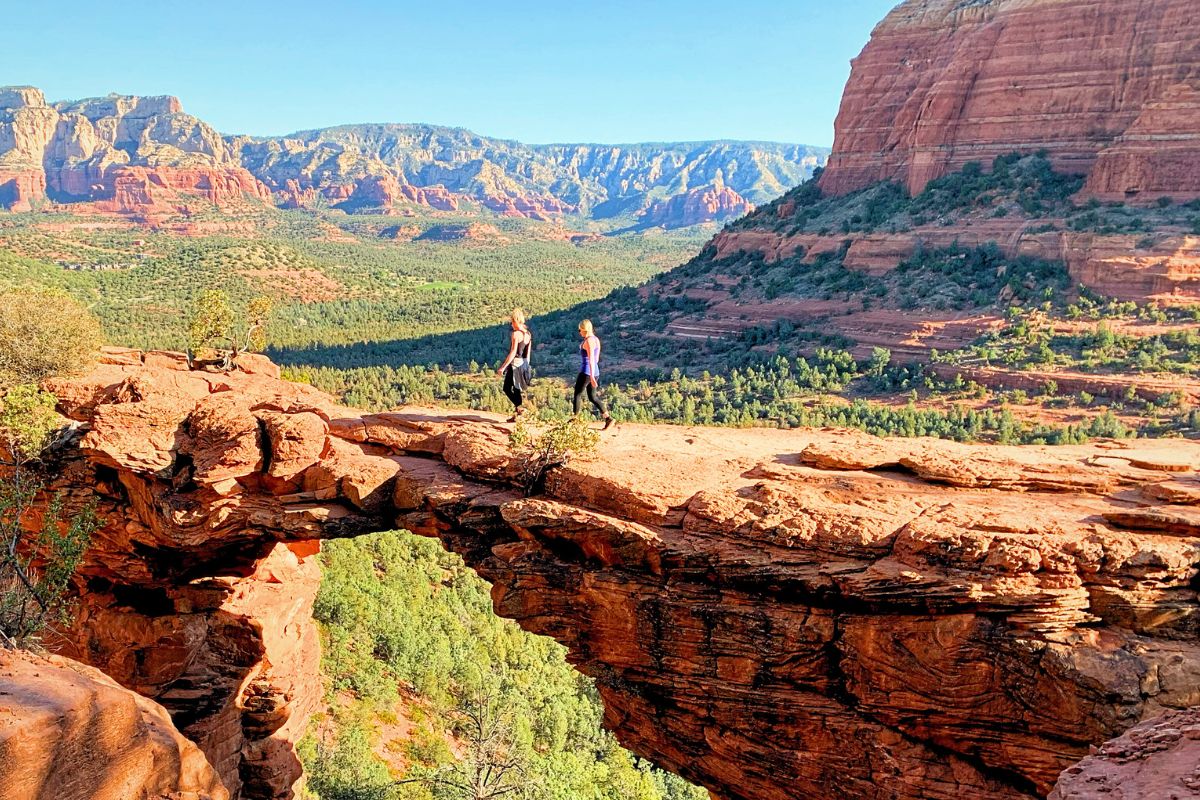
Hike to Devils Bridge
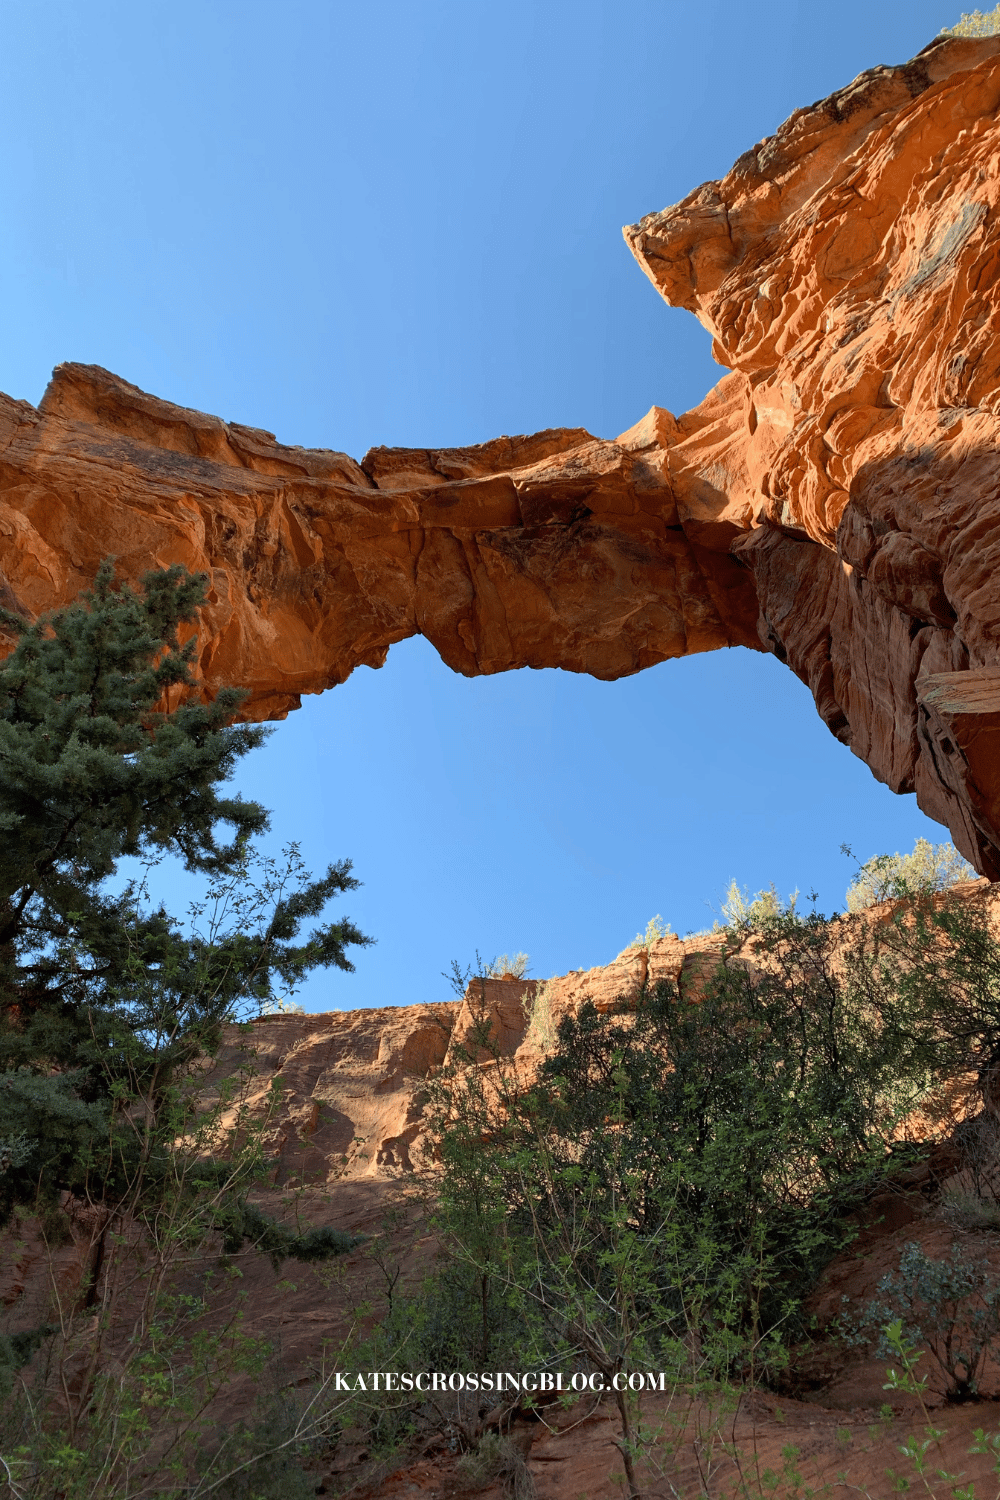
Devil’s Bridge is easily the most famous place to see when you visit Sedona. It’s literally the first thing that pops up on Instagram when you search Sedona, and because of this, it attracts so many visitors!
This is another reason why you will want to wake up before the sun, so you can beat the crowds!
Parking space is very limited, and arriving during peak hours on the weekend will probably mean you won’t get a parking spot. Even when I arrived at 6:30 am, I had to park a half mile down the road from the parking lot!
So What I’m saying is… GET THERE EARLY!
The sunrise view from this iconic natural arch is nothing short of spectacular!
FYI: The hike covers roughly 6 miles round trip, and you’ll likely spend about 4 hours completing the hike. This allows for stops for pictures along the way and some extra time for your moment at the top to capture that bridge picture.
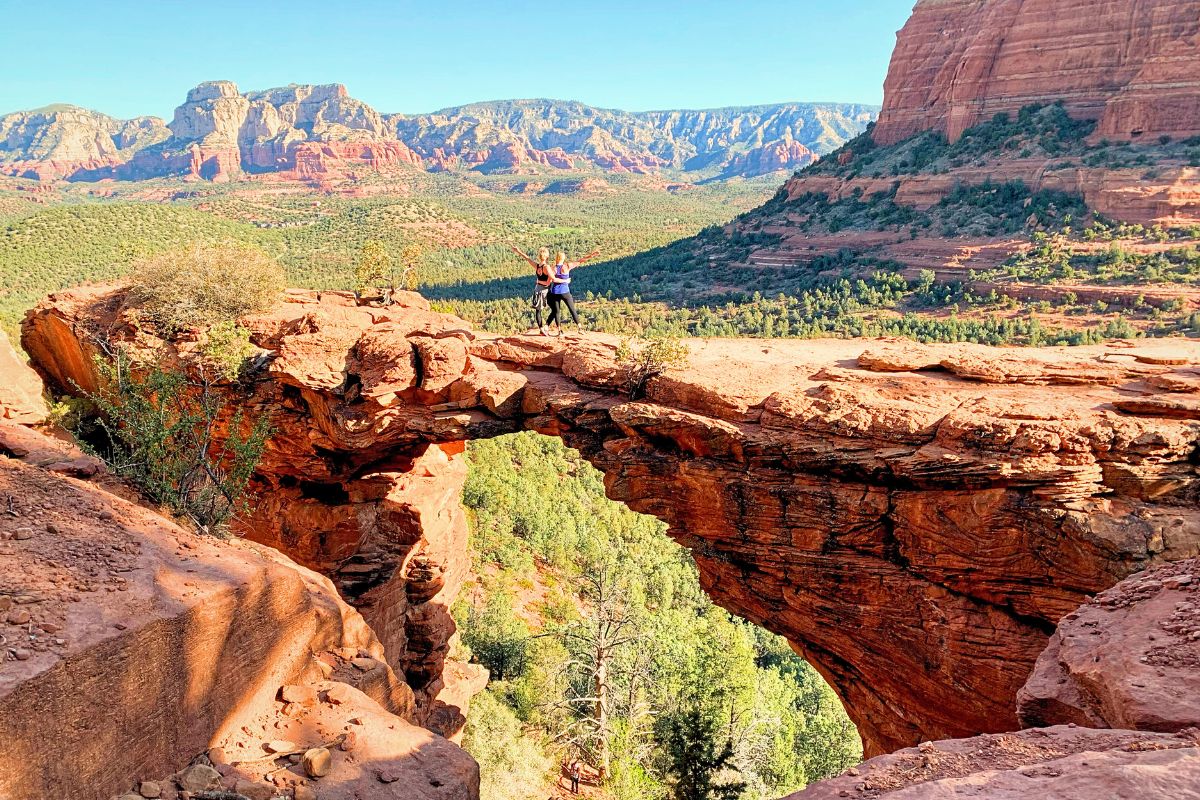
How to get to the Devils Bridge:
There are four routes you can take to get to Devil’s Bridge. I’m only going to explain the one I chose, which came highly recommended to me by a local.
That is the Chuck Wagon Trail via the Mescal Trailhead.
To reach the Mescal Trailhead, you can park in the lot located off Long Canyon Road.
Although this route is the longest among the four routes, it offers better views and is relatively easy with minimal elevation gain.
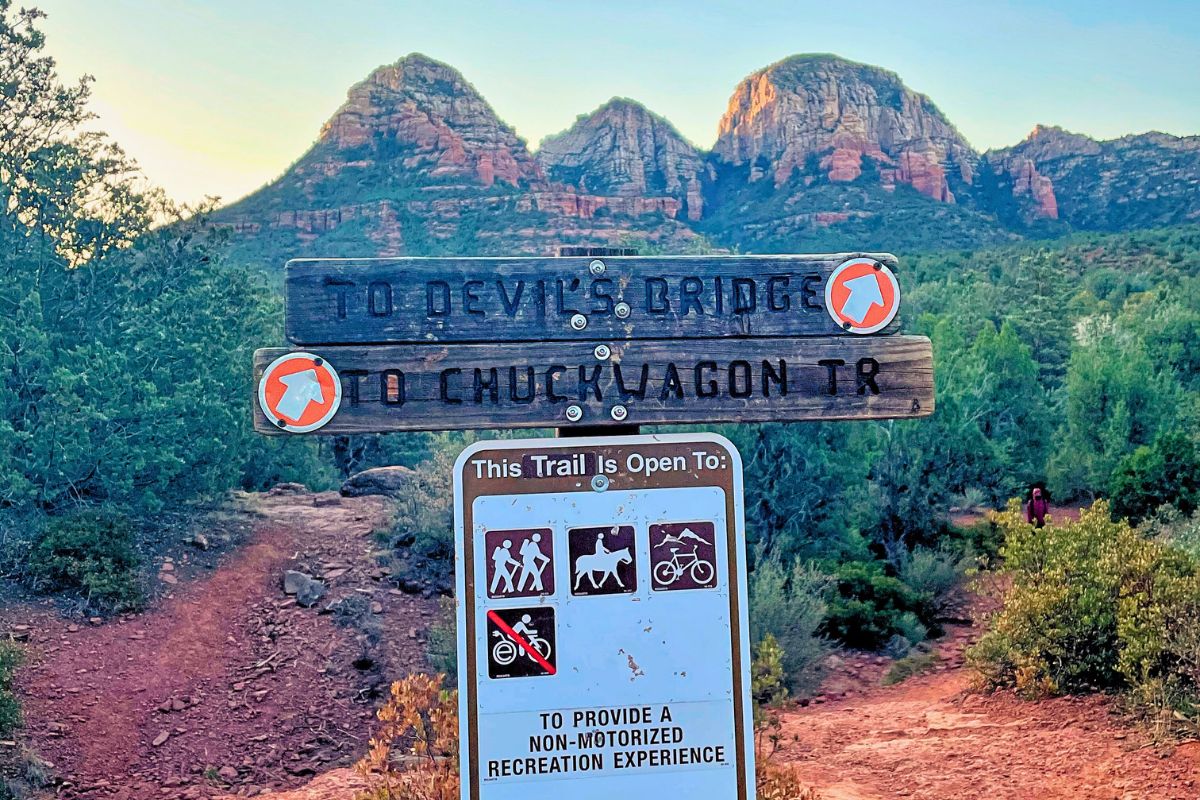
The Hike to Devils Bridge:
The trail is clearly marked the entire way except for one point where the trail seems to vanish. At this point, it turns into a dry creek bed – just follow it until you spot the clearly marked trail again.
Honestly, this part of the trail feels less like a hike and more like a nice stroll.
The Mescal Trail eventually merges with the Chuck Wagon Trail, which leads to the official Devil’s Bridge Trail.
Once you hit the Devil’s Bridge Trail, the real adventure begins. It basically turns into a giant staircase to the top! Luckily, it’s not for very long.
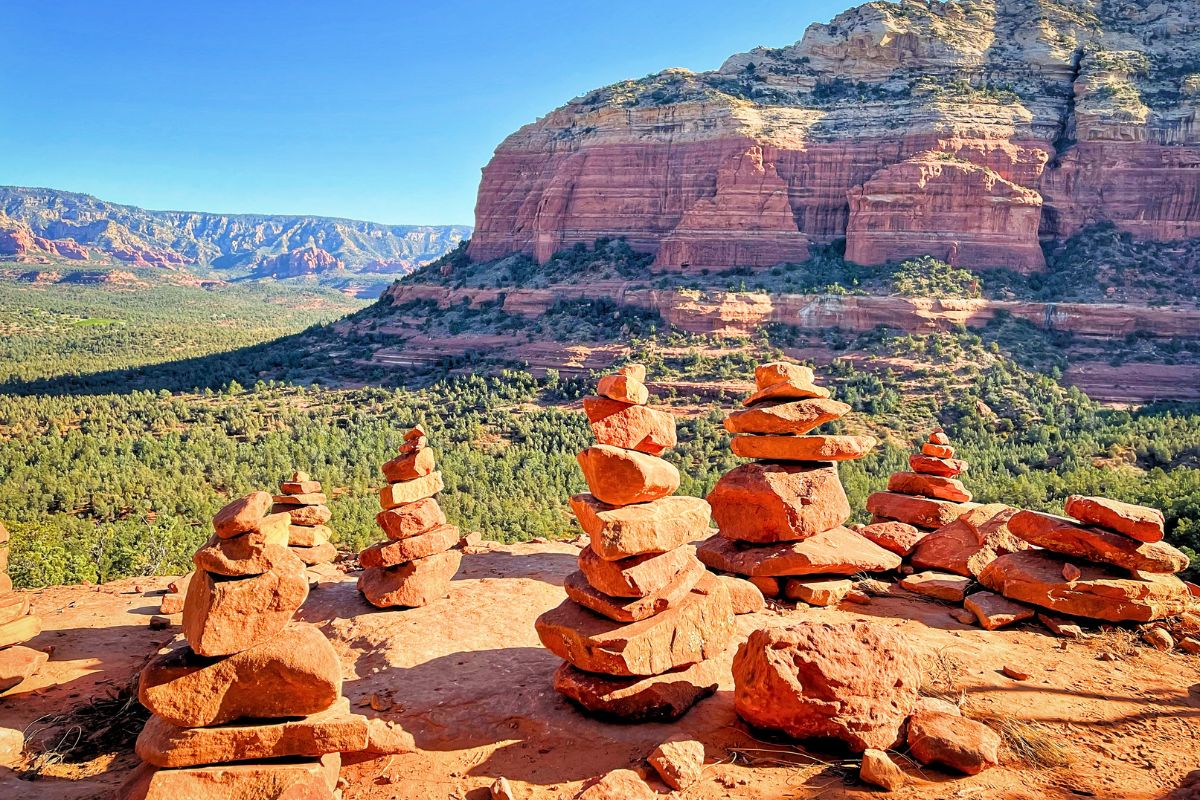
Halfway up the steep staircase, there is a beautiful overlook of the Red Rock Canyon, where you can rest and catch your breath. This is good because the views will just take your breath away again!
The final push to the top will be a bit of a scramble over rocks and a lot more stairs! But seeing and walking across the bridge will be worth it.
FYI: I started the hike before sunrise, in the dark, and even then, there was a line to get my photos on the bridge. I had to wait about 15 minutes. After spending around 30-45 minutes soaking in the views at the bridge, the line had gotten ridiculously long! The wait must have grown to well over an hour!
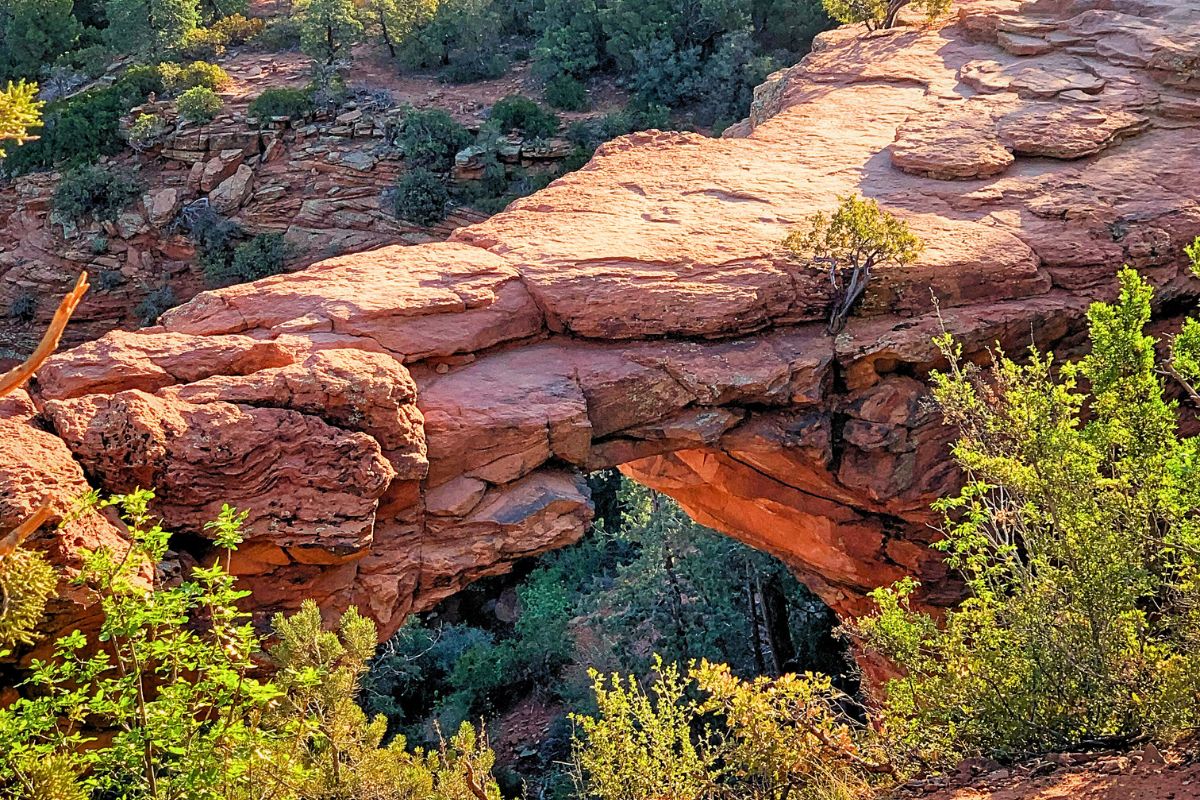
Helpful Tip: In contrast to other well-known hikes in Sedona, like Cathedral Rock, the Devil’s Bridge hike doesn’t require buying a Red Rocks Pass. So parking is FREE!
You’ll finish your Devil’s Bridge Hike fairly early and have time to set out to discover the mystical energy of one of the four Vortexes in Sedona.
Boynton Canyon Vortex
I chose to stop at the Boynton Canyon Trailhead again and find the Boynton Canyon Vortex since it was closest to me.
How to get to the Boynton Canyon Vortex:
After parking, proceed along the Boynton Canyon Trail until you arrive at the junction of the Boynton Vista Trail. The Vista Trail ends at the vortex site and is an easy, short hike. It took me about 25 minutes to find the vortex.
Helpful Tip: If your flight got in too late on day one to do the evening Subway Cave hike, now is the perfect time to fit it into your itinerary. It’s about an hour and a half hike from the Vortex to the cave. But then you’ll still have to hike the hour and 15 minutes out.
So, I guess ask yourself: How worn out are you feeling right about now?
(If you choose to add the Subway Cave Hike to your itinerary here, follow the instructions to the cave under Day One above.)
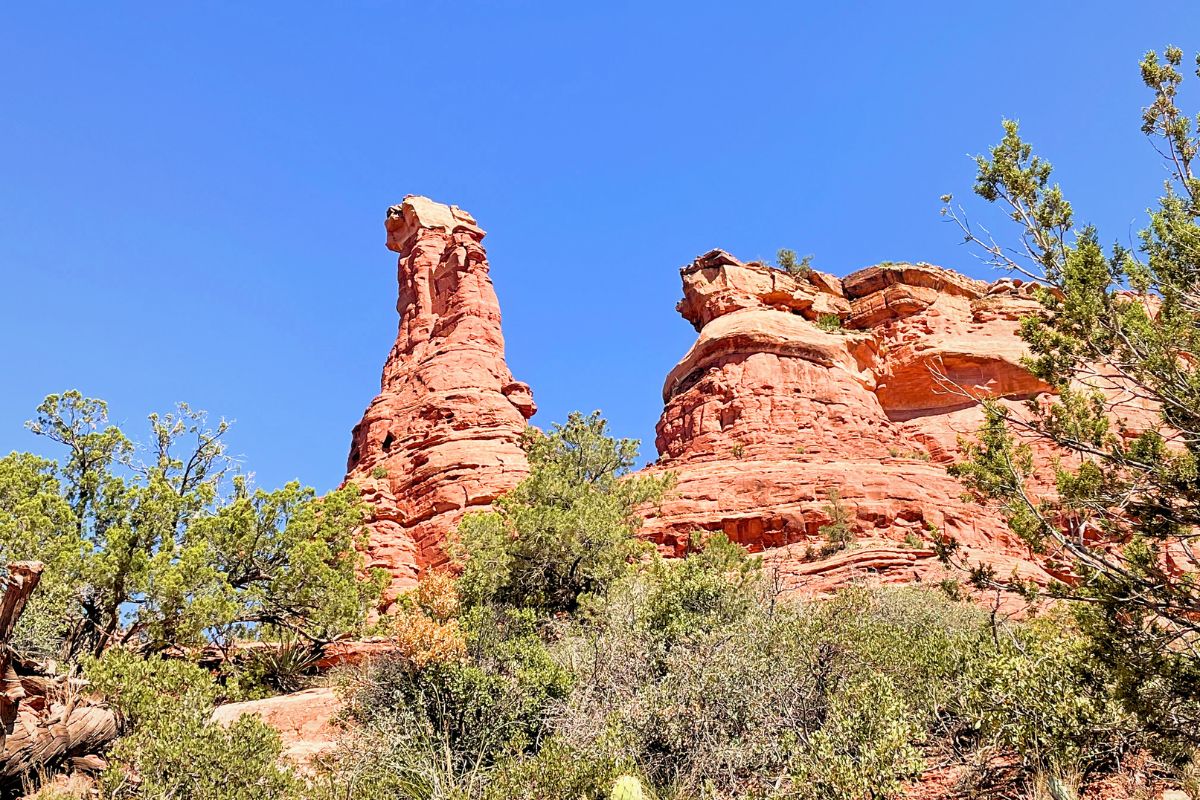
Lunch Time:
After all your hiking, I bet you’re hungry!!
Grab lunch at the Open Range Grill and Tavern and enjoy gorgeous views while you stuff yourself with delicious food and a cold beverage! Cheers to an awesome day so far my friend!
After your belly is full go get out of the heat and relax by the pool at your hotel! My hotel, the Bell Rock Inn, has a fantastically refreshing pool!

Soldiers Pass Secret Cave & The Seven Sacred Pools
As the evening approaches, embark on one more hike to the Secret Cave and the Seven Sacred Pools. Enjoy how the setting sun plays with the colors of Sedona before the day ends!
FYI: The trail covers a distance of 5 miles round trip, and you should plan on dedicating approximately three hours to complete the hike.
How to get to the Secret Cave and the Seven Sacred Pools:
There are two parking areas for this hike:
The first is the Soldier Pass Trailhead Parking area.
This parking area only has 15 parking spots which fill up really fast! You can not park on the residential road outside the parking area, or YOU WILL GET A TICKET! Also, this is a gaited parking lot which is only open from 8 am to 6 pm.
Because you will be doing an evening sunset hike and won’t be back by 6 pm, you will want to take the second option.
The second option is the Jordan Road Trailhead parking lot. This parking lot is much bigger, and it is not gaited, so you can come and go when you want.
Helpful Info: There is a parking fee of $5 at the Jordan Road Trailhead. However, if you possess a National Parks Pass or a Red Rock Pass, you’re exempt from the charge. There’s a credit card-accepting machine conveniently located at the trailhead.
The Hike to The Seven Sacred Pools:
From the Jordan Road Trailhead parking lot, you’ll want to take the Cibola Pass Trail. This trail starts to the right of the gaited dirt jeep road.
A short walk from the gait, the trail will join up with the Soldier Pass Trail. Don’t worry. There will be a wooden sign marking the way.
Go left and follow the Soldier Pass Trail.

You will quickly come to a giant sinkhole called Devil’s Kitchen.
After checking out the sinkhole, continue following the well-marked trail to reach the Seven Sacred Pools. The pools are about a half-mile walk from the sinkhole and are particularly beautiful at sunset!

The Hike to The Soldier Pass Secret Cave:
After getting your pictures with the pools, continue down the Soldier Pass Trail.
The trail will wind through the trees, offering beautiful views intermittently. A little over a half mile from the pools, you’ll come to a wooden sign pointing to the right for Soldier Pass. Take the small trail to the right.
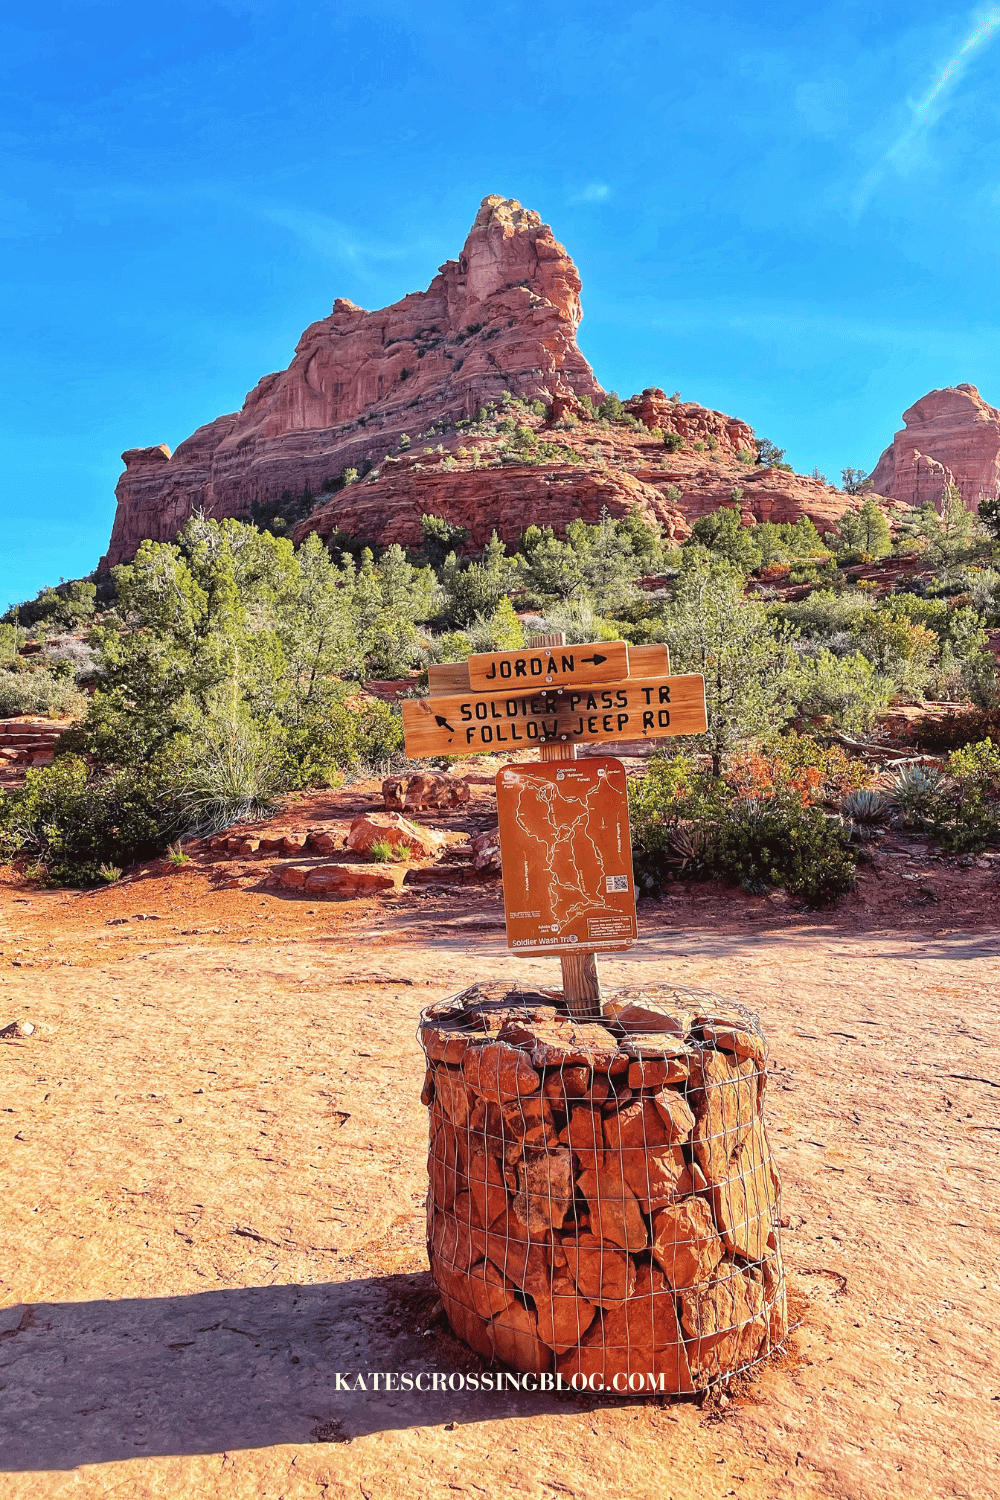
FYI: This will be the last directional sign you’ll see. The trail gets a bit confusing from here!
After a short walk, you will see a pile of rocks encased in wire fencing at a fork in the trail. You’ll want to take the right fork in the trail!
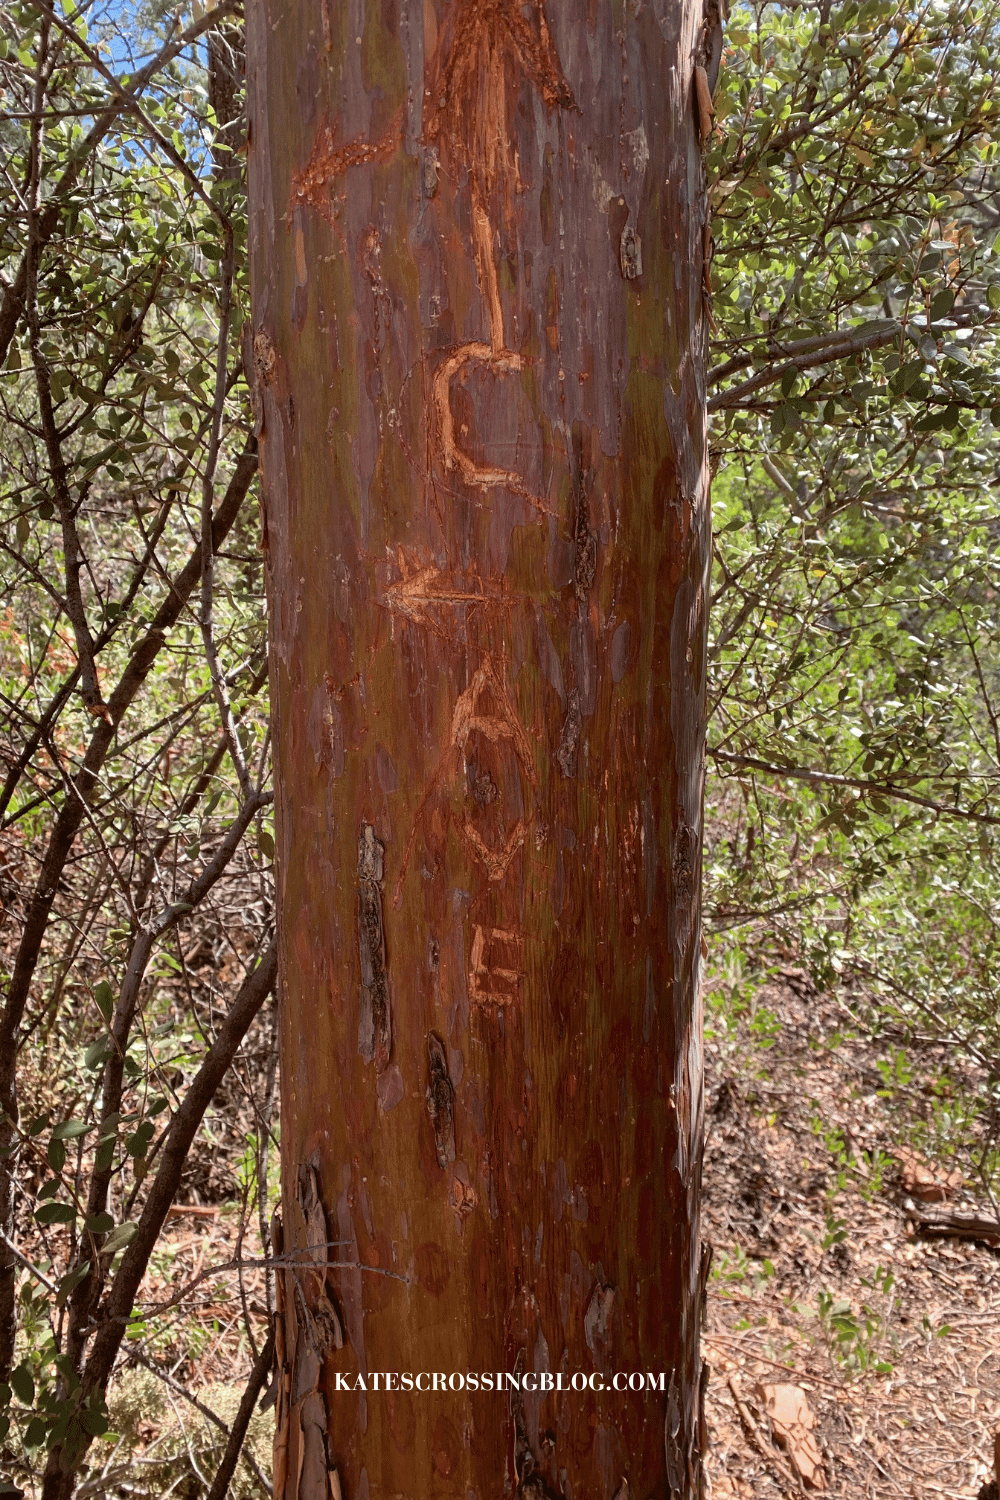
Keep going till you come to another fork in the trail. You will see two signs: a wilderness sign nailed to a tree and a sign on the ground that says trail. DO NOT follow the trail sign!
You will want to go RIGHT! Right will lead you to the cave.
The trail will go up a short incline, leading you into an open mesa. From here, you will want to keep left when crossing the mesa until you see the well-used trail leading you up to the cave.
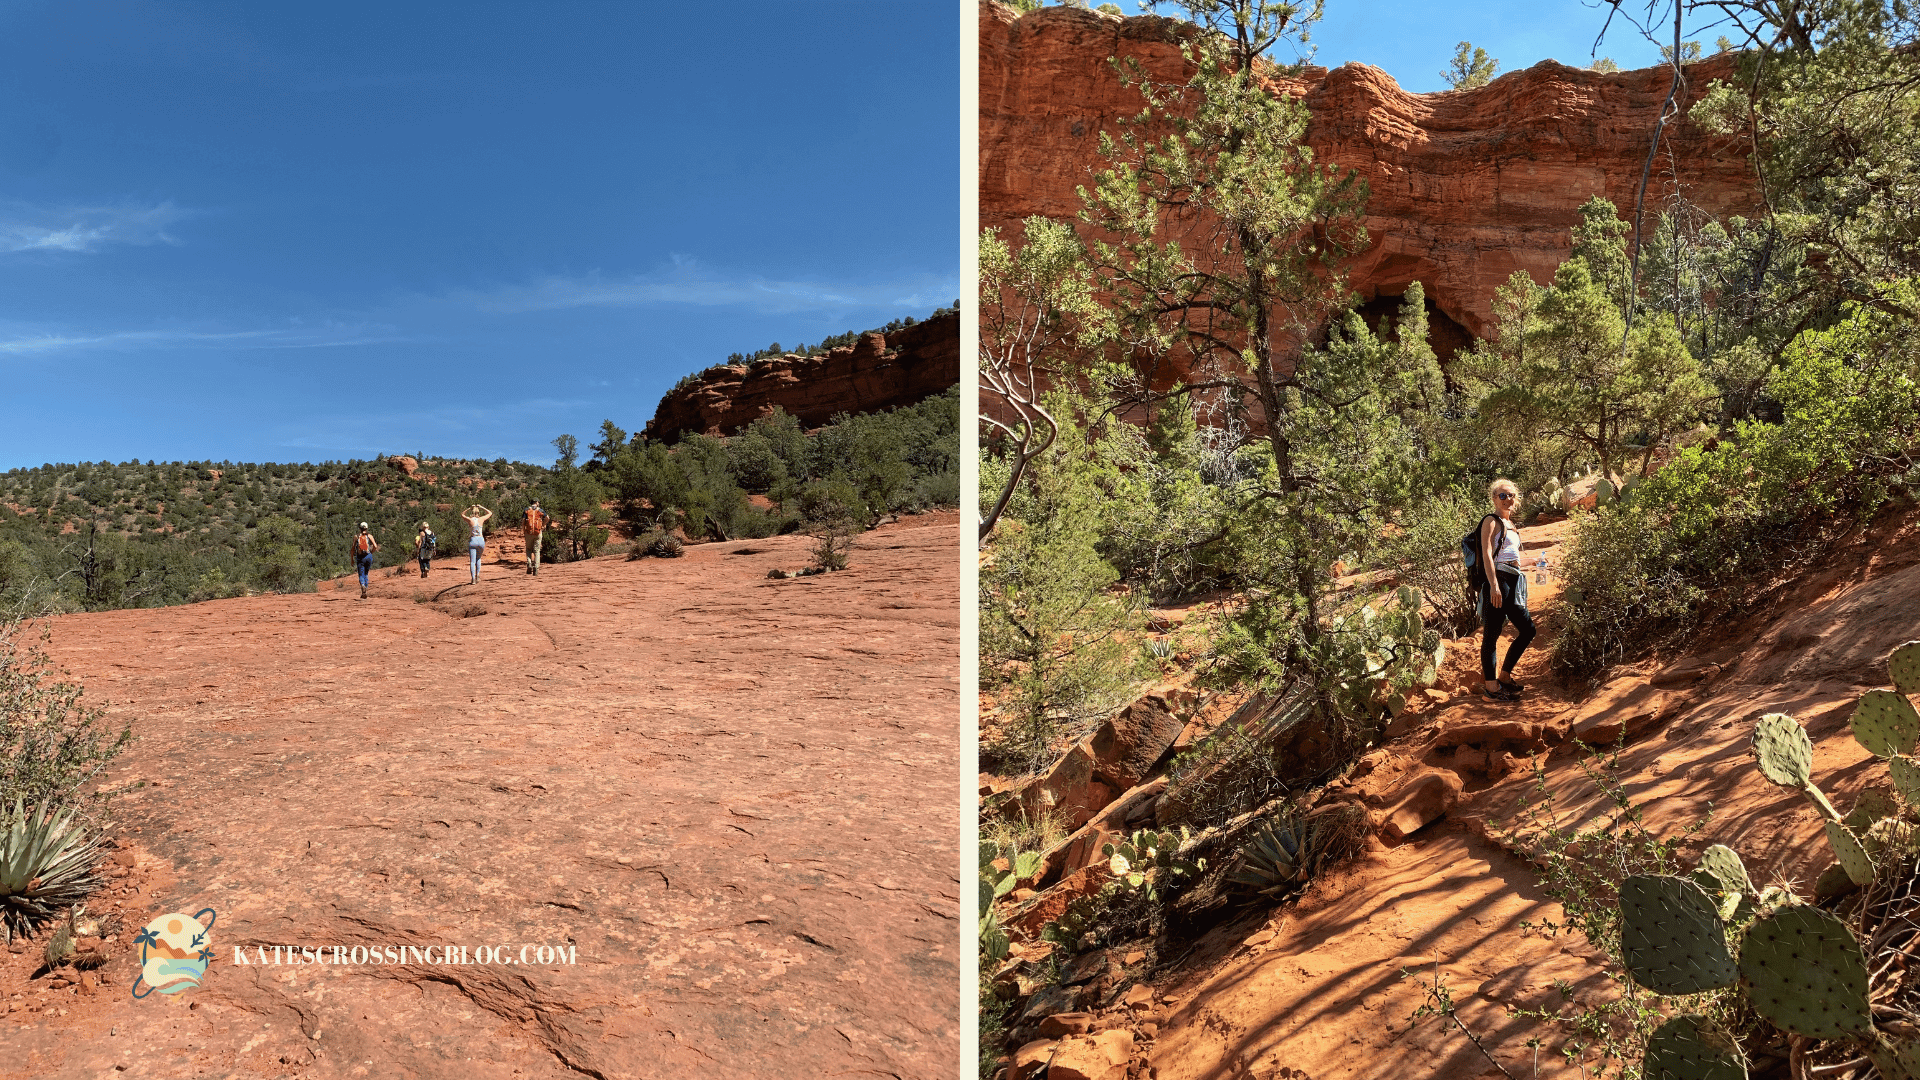
The trail gets quite steep, so take your time!
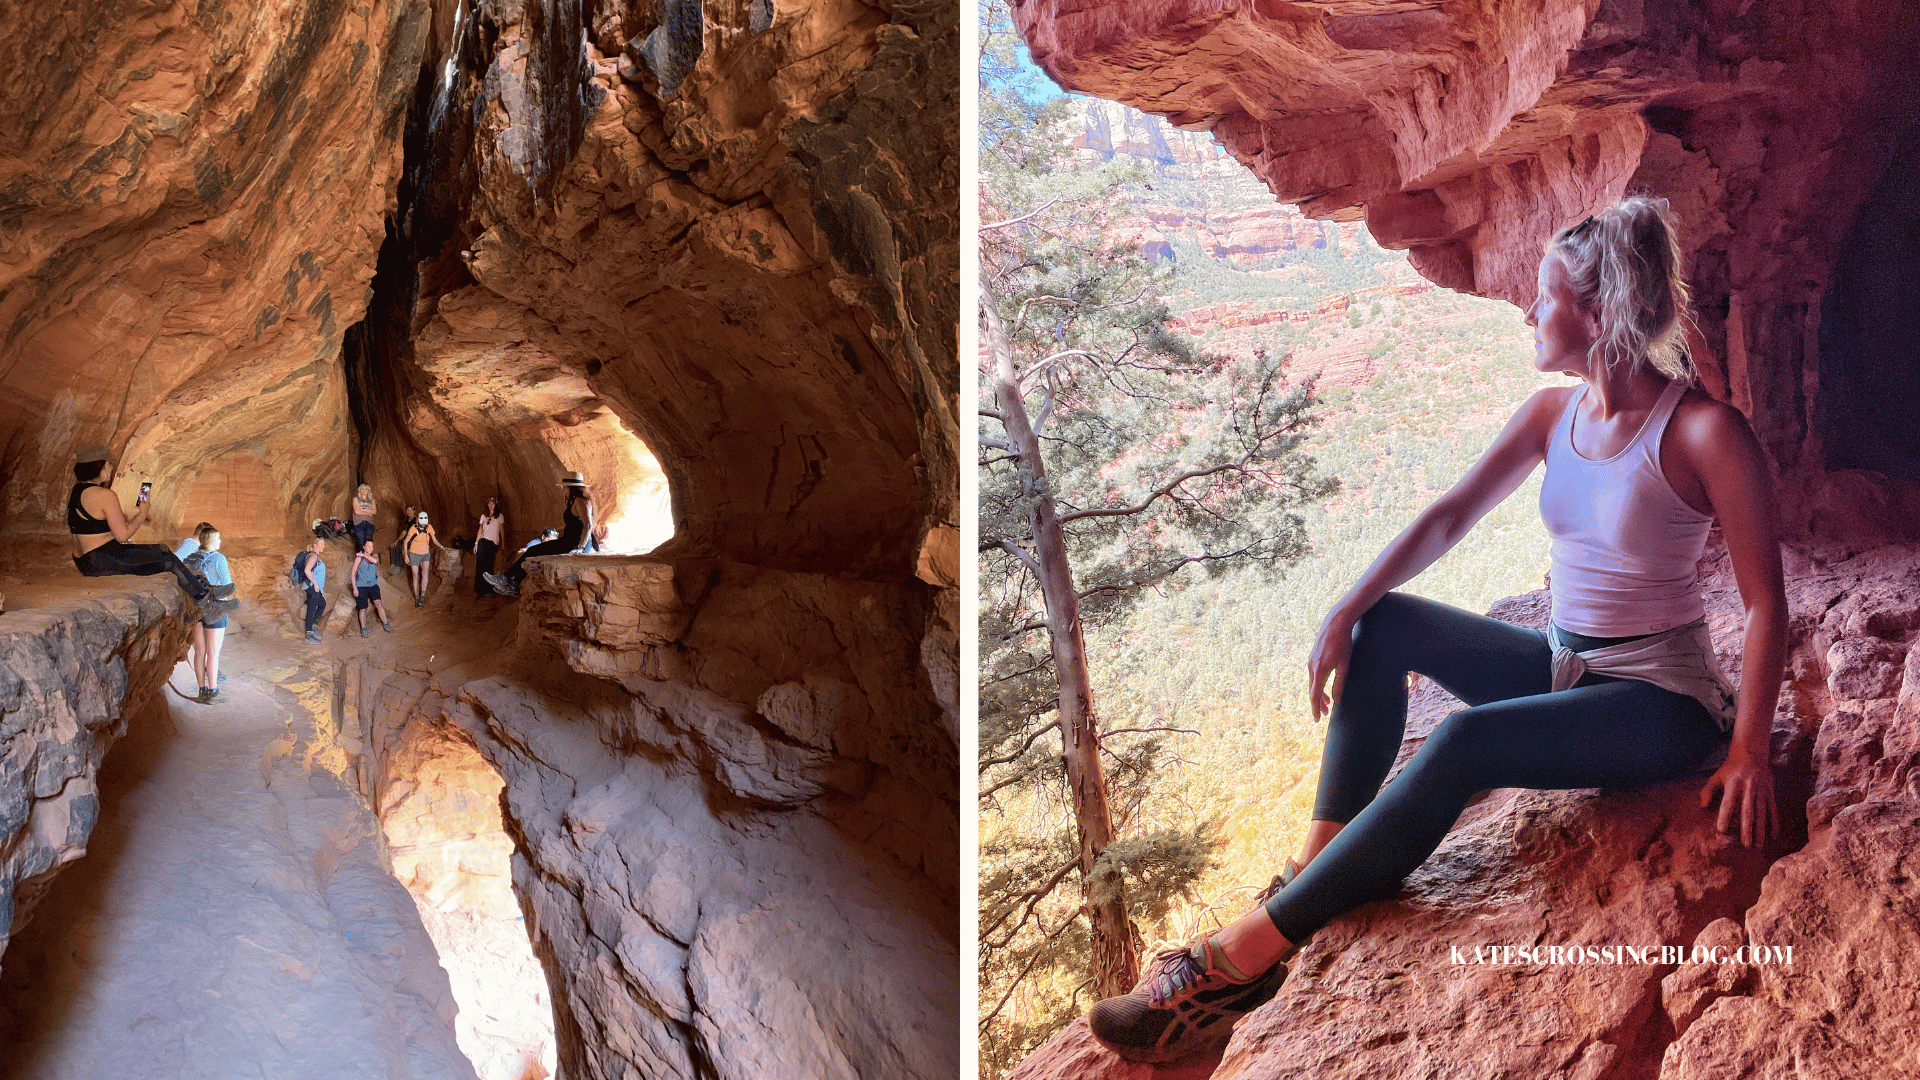
Head to the right arch in the cliff wall to climb into the cave.
Fair Warning: The climb into the cave is tricky! Even trickier coming down. So, climb at your own risk and know your limits!
Day 3: Cathedral Rock + Slide Rock Park
Yes, you guessed it!
You’ll Rise and shine early again on day three for a sunrise hike to Cathedral Rock. The panoramic views will make the early wake-up worth it. I promise!!
Alright, alright! I get it!
You’re probably pretty beat by now. So, if getting up early isn’t in the cards for you today, no worries. Just turn today upside down – kick it off with Slide Rock Park and save the hike to Cathedral Rock for sunset. That way, you can catch some extra Z’s and still check off everything on your list.
Hike Cathedral Rock
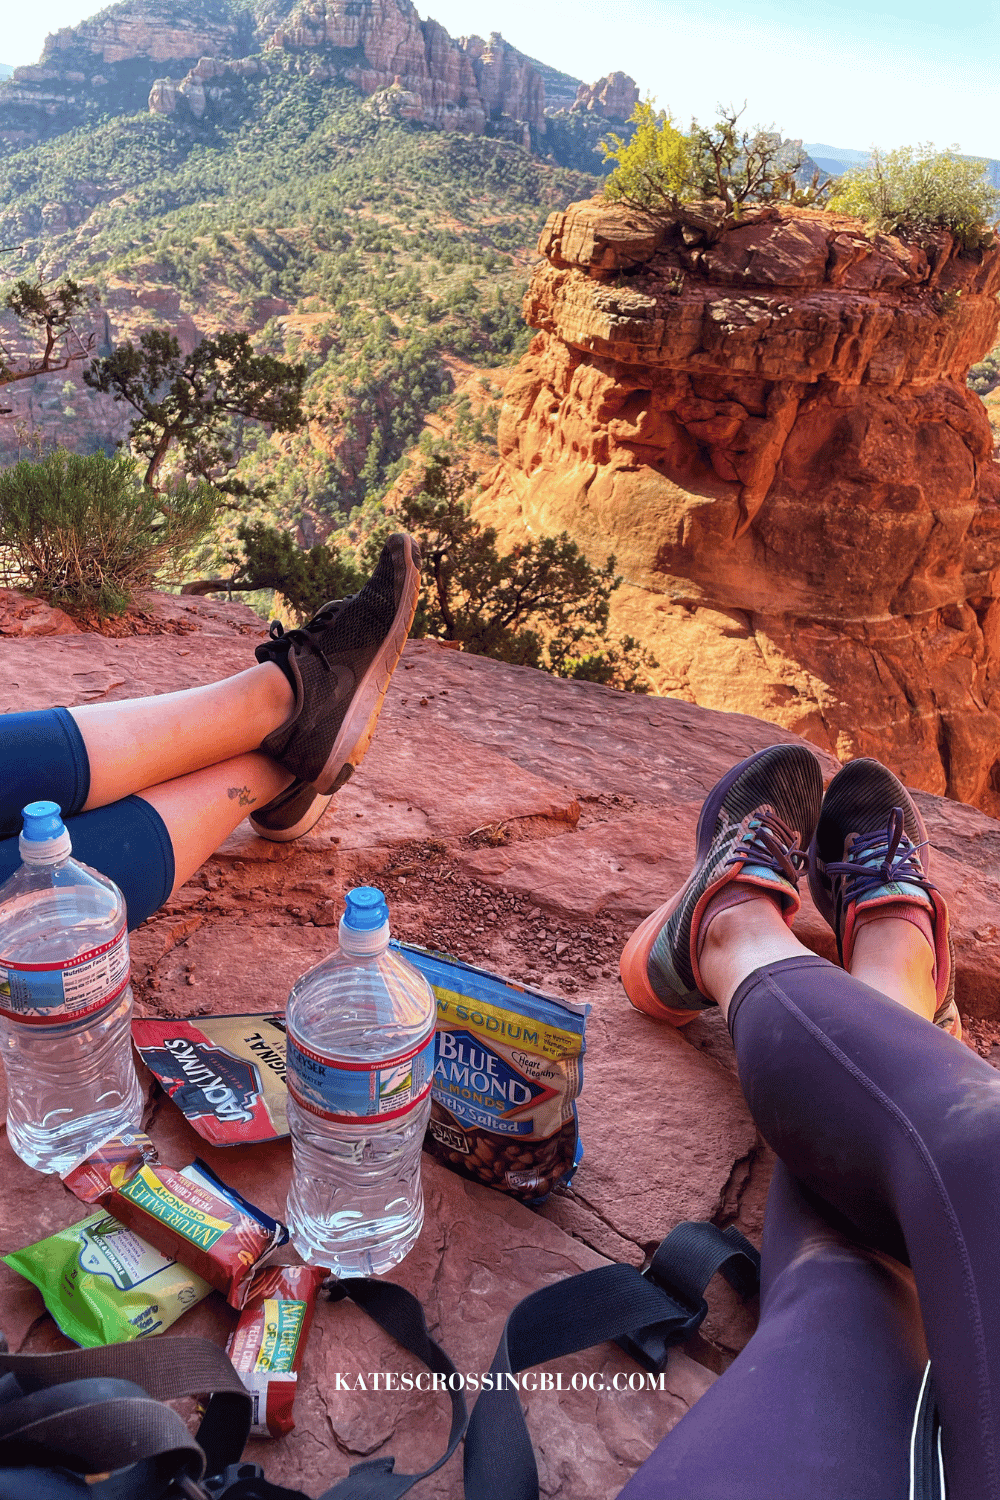
Pack snacks or a lunch to eat at the top amidst the epic views!
FYI: This hike into Cathedral Rock is a short but STEEP 2.4-mile round trip hike and will take you about two hours to complete. However, once you get to the top, you will not want to leave! I spent about 1 and a half hours at the top, exploring all the rock formations and ledges!
How to get to Cathedral Rock:
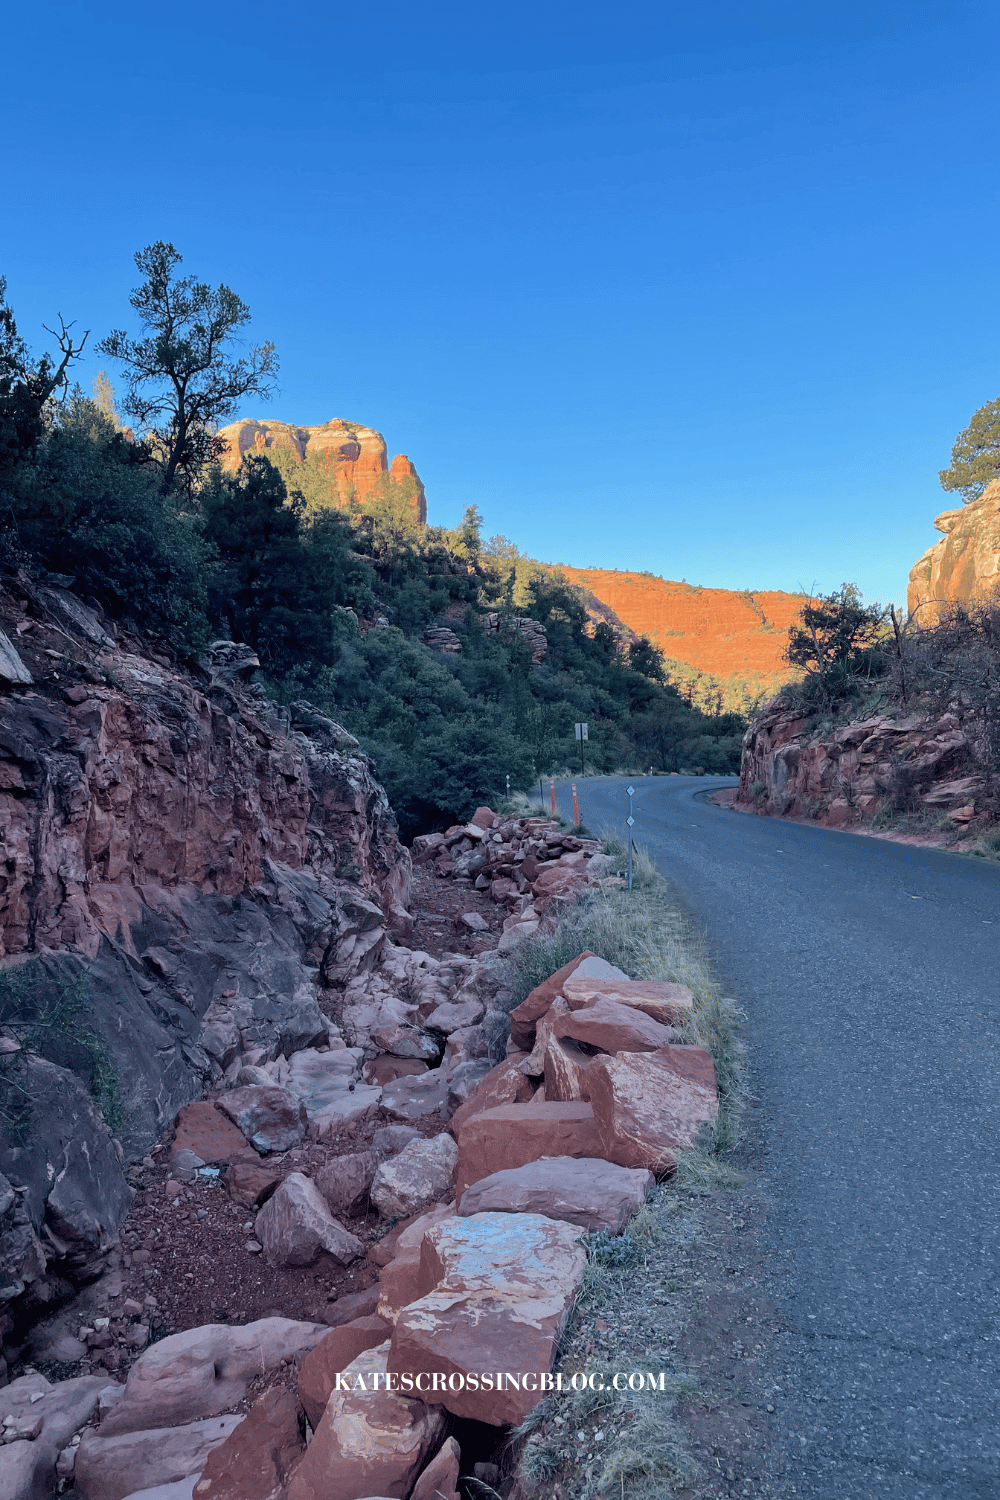
Finding parking at Cathedral Rocks trailhead can be a bit of a challenge, especially if you’re not an early bird. Stay patient, though, as spots tend to open up fairly quickly.
In case the designated lots on Back O Beyond Road for Cathedral Rock are full, another option is to park at the Little Horse Trailhead.
I opted for this option since the designated lots already had a line of cars waiting when I showed up at 6 am. Hands down, this is one of the most popular hikes in Sedona, and personally, it’s my absolute favorite from the trip!
The Little Horse Trailhead is about a mile down the road and costs $5 to park or a Red Rock Pass.
Walking from there along a paved road adds an extra 25 minutes to your hike. You might even hitch a ride like I did. Overall, the additional 25-minute walk isn’t too bad – it’s all on flat ground.
Hiking Cathedral Rock Trail:
The hike kicks off at the Cathedral Rock Car Park. The trail is easy to spot and well-defined.
The initial stretch offers an easy stroll until around 0.3 miles, where you’ll hit the intersection of Cathedral Rock Trail and Templeton Trail. Beyond this point, the ascent becomes steeper.
Because the trail is well-traveled, keeping on track isn’t too challenging—just follow the crowd and pick your way up the rock faces.


Once you have covered over half a mile of rock, a sign saying “End of Trail” means you made it!!

Finding Cathedral Rock Votex:
Circle back, take a left at the “End of Trail” sign, and hike up some rocks to the popular needle spire photo spot.
The Cathedral Rock Vortex is also located in this direction. Veer to the right as you stand, looking at the needle spire. It’s nestled within a cave. See if you can find it.
I spent a good hour exploring the spires and cliffs to the left! This direction had some of the most scenic spots and gorgeous red rock formations in all of Sedona.

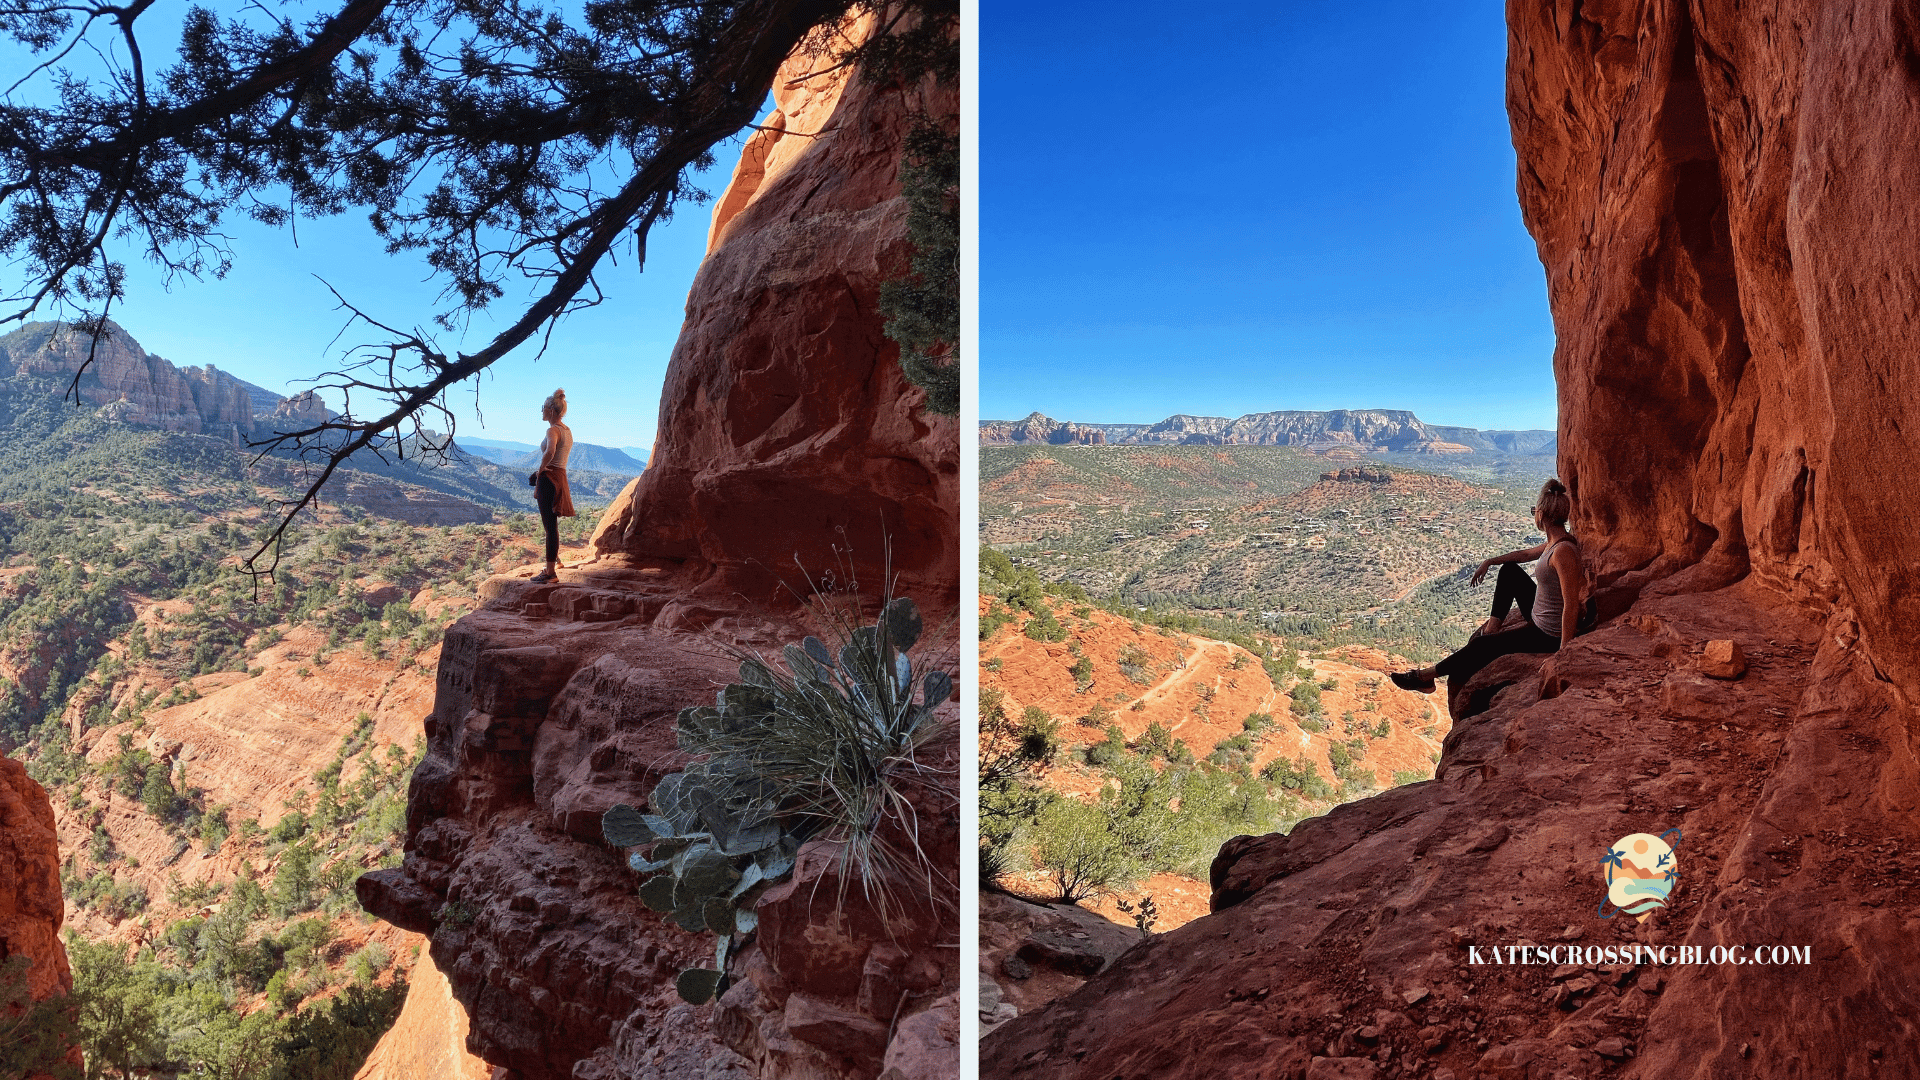
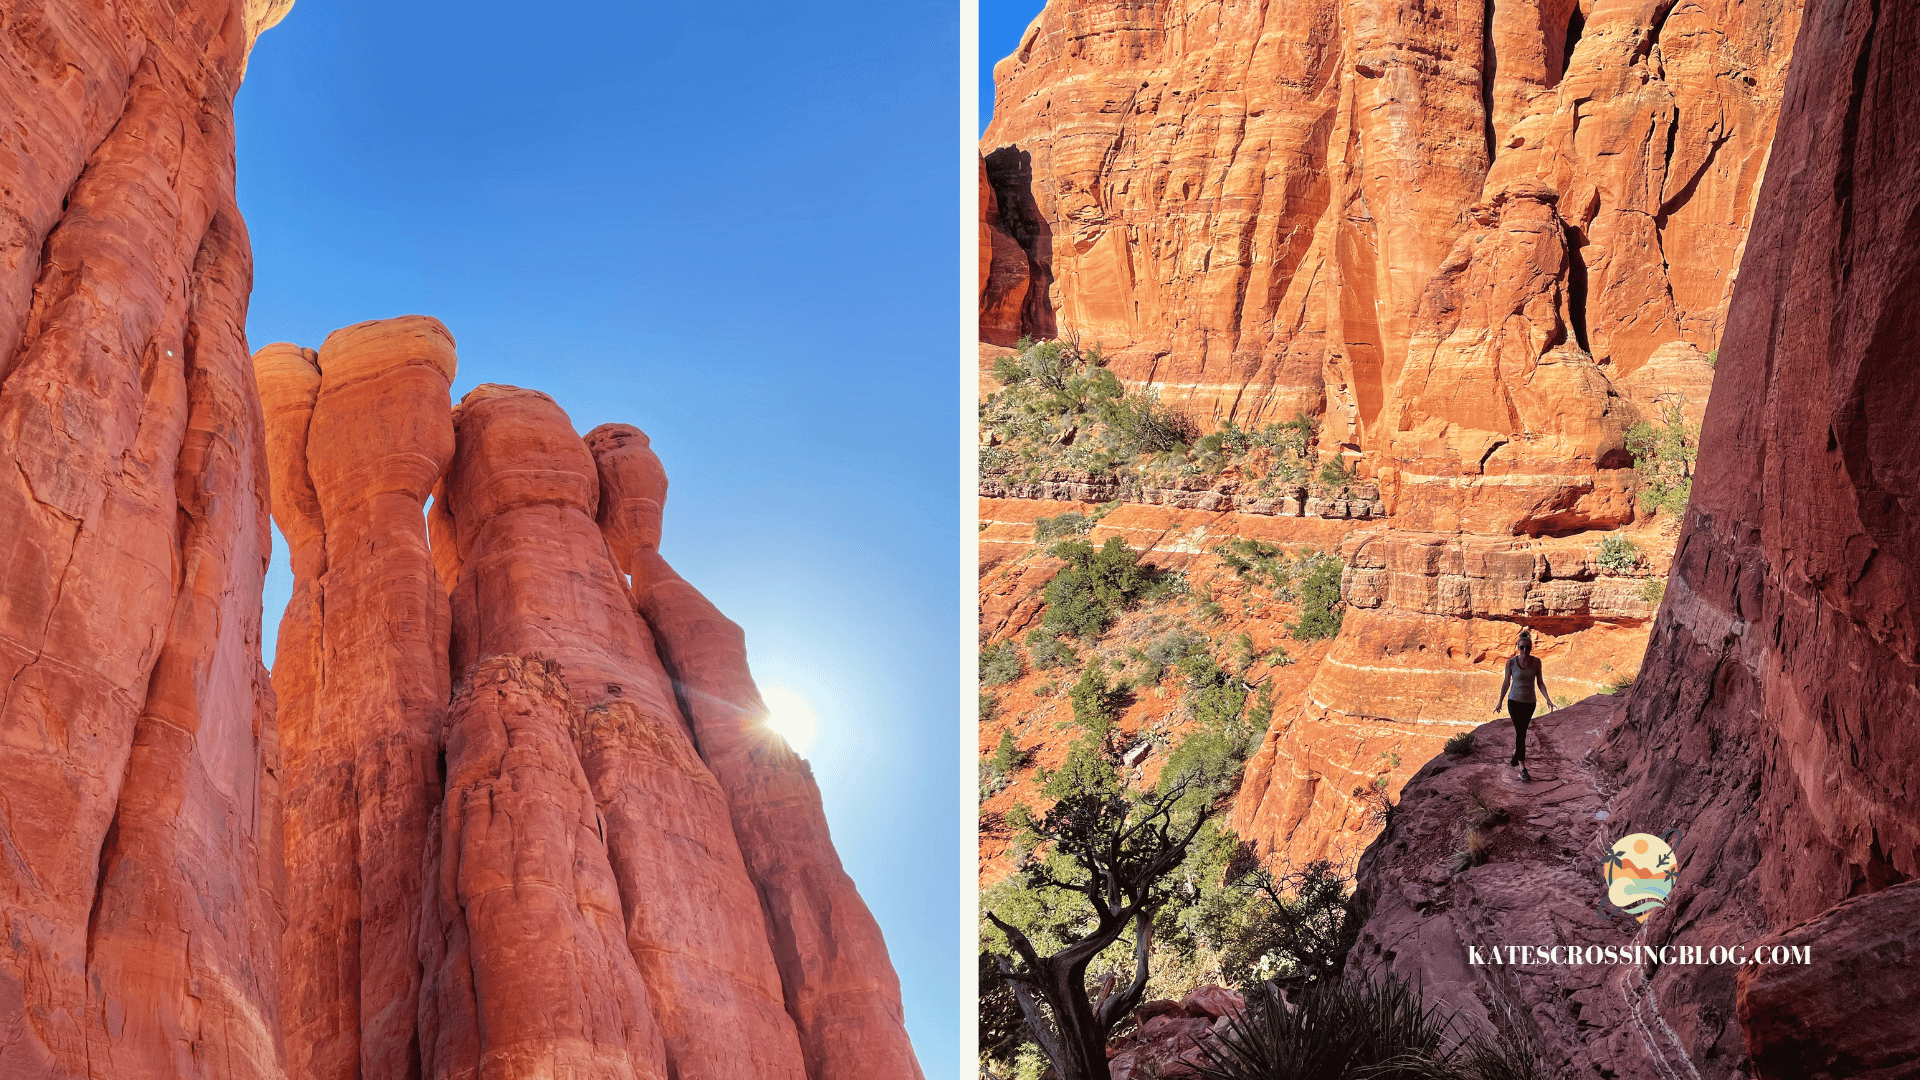
Word of Caution: Much of the trail is uphill along rock that has been worn completely smooth because of the sheer volume of people hiking. I advise against attempting the Cathedral Rock Trail in rainy, snowy, or icy conditions. Certain parts of the trail were challenging, even in dry weather!
Also, when you’re on those cliff ledges, watch your step, seriously! Take it easy, be careful, and whatever you do, avoid any daring stunts.
Unfortunately, accidents have happened, and safety comes first. Let’s make sure we all enjoy the views without any unnecessary risks!

Slide Rock Park
Now that you’re all filled up with the most stunning views in Sedona let’s go unwind at Slide Rock Park! Where natural waterslides and cool pools provide a refreshing escape from the Arizona heat.
How to get to Slide Rock Park:
It’s in Oak Creek Canyon, just a short drive outside the famous Sedona, Arizona. The drive will take you about 10 minutes and is only about 7 miles away.
Now, heads up. Slide Rock Park is a popular destination, especially in the heat of the season!
Expect a busy parking lot and a crowd at the Slide Rock Area if you are visiting during these peak times. You might encounter a line as visitors wait to pay at the machine or to the attendant for parking.
FYI: I visited in the middle of the day during September and waited for about 15 minutes to pay and park. Keep in mind, though, it was during the shoulder season, but the weather was still quite warm.
From the parking lot, it’s a short ten-minute stroll to Slide Rock. At first, there’s a sidewalk, but then it switches to a staircase down to the river, and after that, it’s more of a trail.
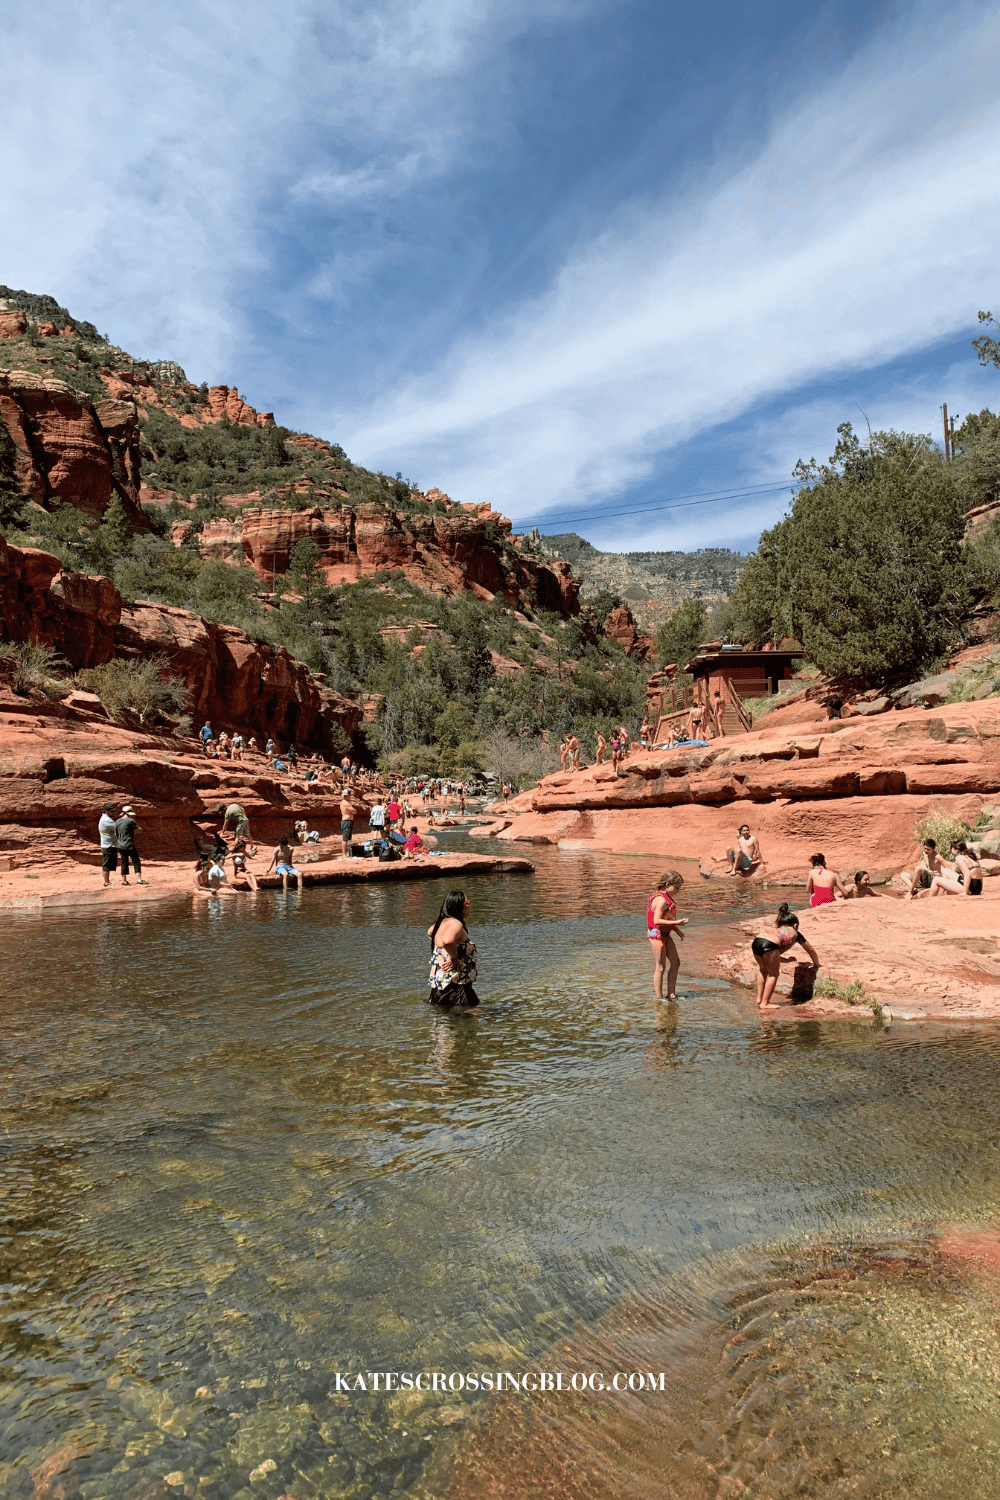
Take it easy finding a comfy spot along the river as the rocks can be slippery – you catch my drift? Slide Rock, literally!
Oh, and fair warning, the water’s pretty darn cold. It’s not everyone’s vibe, but hey, it’s a sweet escape in Arizona heat.
Check out the prices on the Slide Rock State Park website, as they vary by date.
Dinner
Wrap up your day with a fantastic dinner at The Hudson, savoring the best meal with a view as the grand finale!
Grab a seat on their balcony and witness the sunset painting the stunning landscapes of Sedona.
Keep in mind that reservations are limited, and walk-ins rarely find seating. So, be sure to book in advance! You’ll be happy you put in that effort to secure a patio table at this restaurant!
Day 4: Montezuma Castle National Monument + Departure
Good Morning! Today is your final day. It’s time to bid farewell to Sedona.
You’re Sad? I’m sad, too! We’ve had a lot of fun, tho, haven’t we?
Well, I’ve got one more unique thing in store for you today.
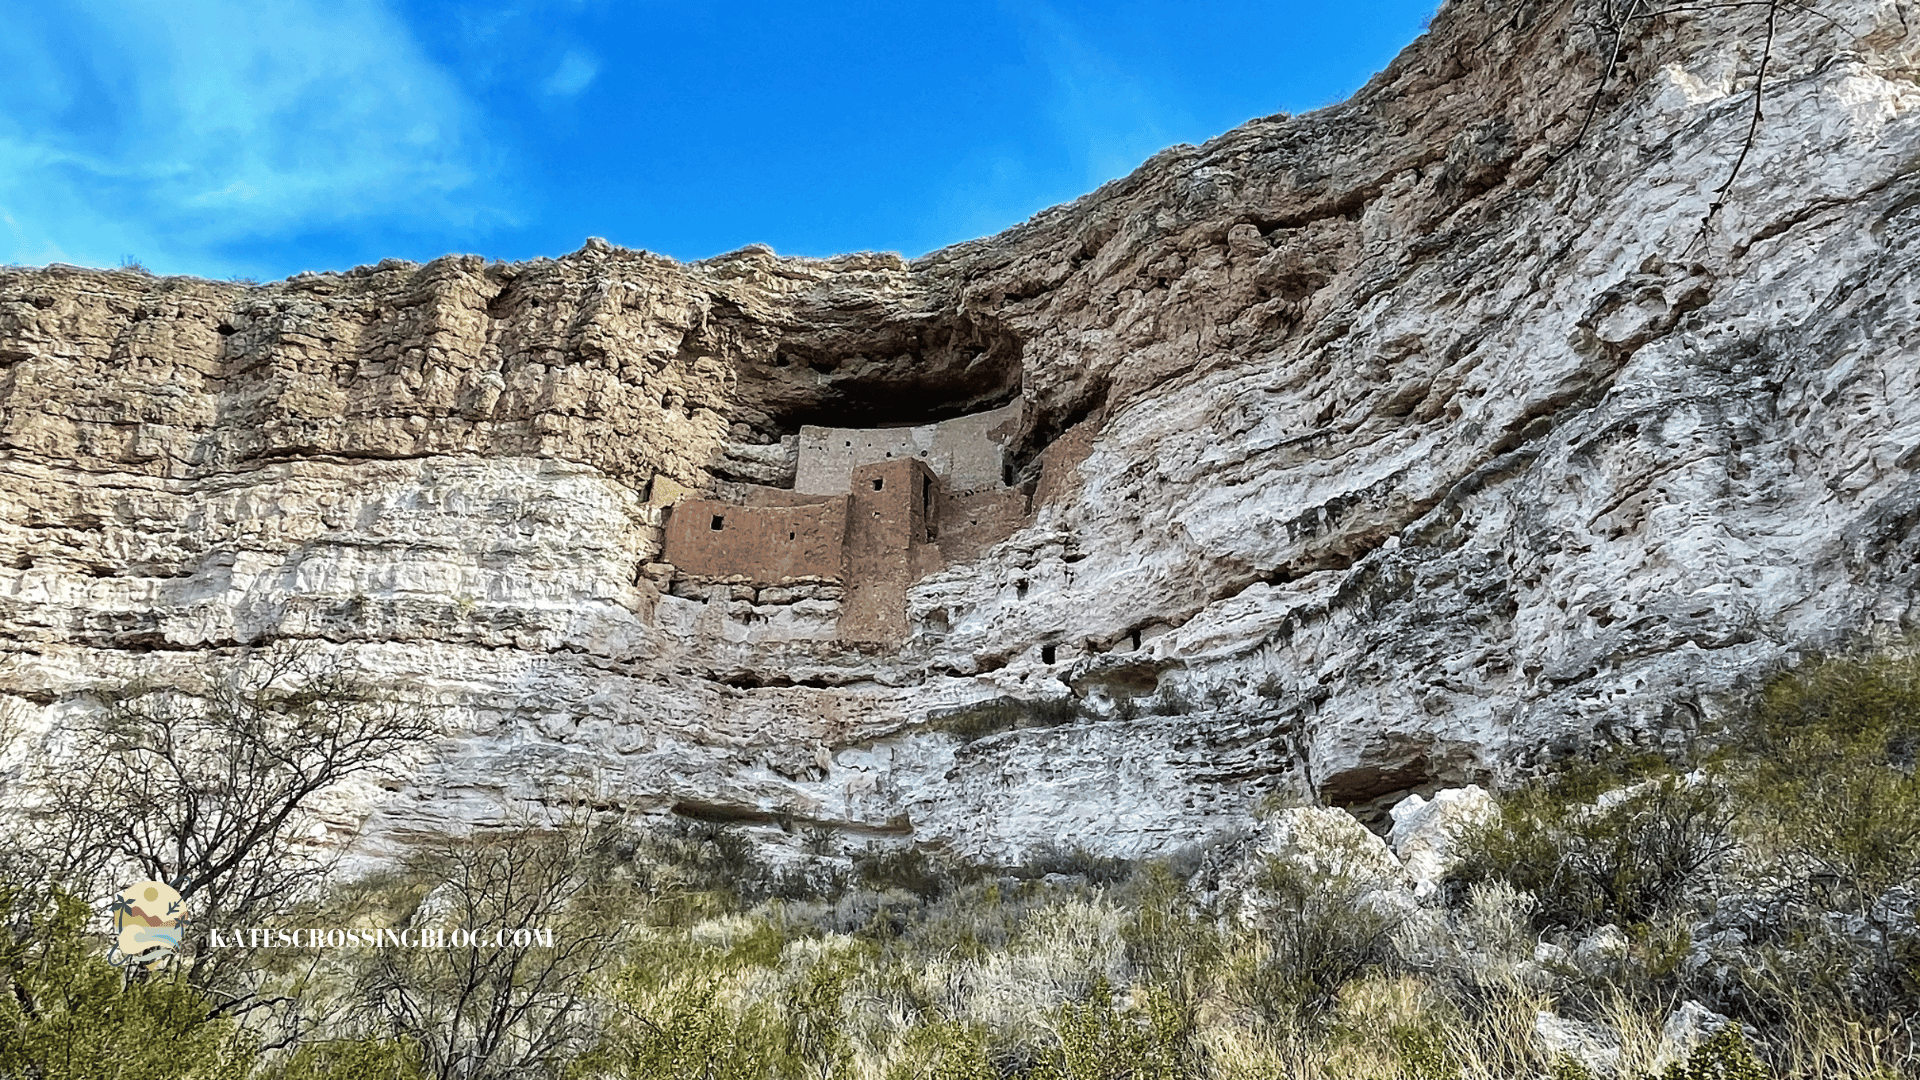
Montezuma Castle National Monument
Montezuma Castle is halfway between Flagstaff and Phoenix on Montezuma Castle Rd in Camp Verde, Arizona, approximately a 35-minute drive from Sedona.
Whether you’re heading back to the Phoenix or Flagstaff airport, it’s definitely worth a visit.
So, what exactly is Montezuma’s Castle?

It’s a historic Native American limestone cliff dwelling that belonged to the Sinagua tribe from around 800 years ago, and it stands at 20 rooms tall.
The main path at Montezuma Castle is a 1/3-mile loop that guides you past the dwellings, through some cool-looking trees, and along a creek. Don’t forget to pause at the signs to delve into the history of the Sinagua people and their architectural marvel.
Entrance requires a fee of $10 per adult (16 years old and over), or you can use your National Park Pass if you have one.
I suggest planning for at least an hour but feel free to take your time and soak in the experience for as long as you want.
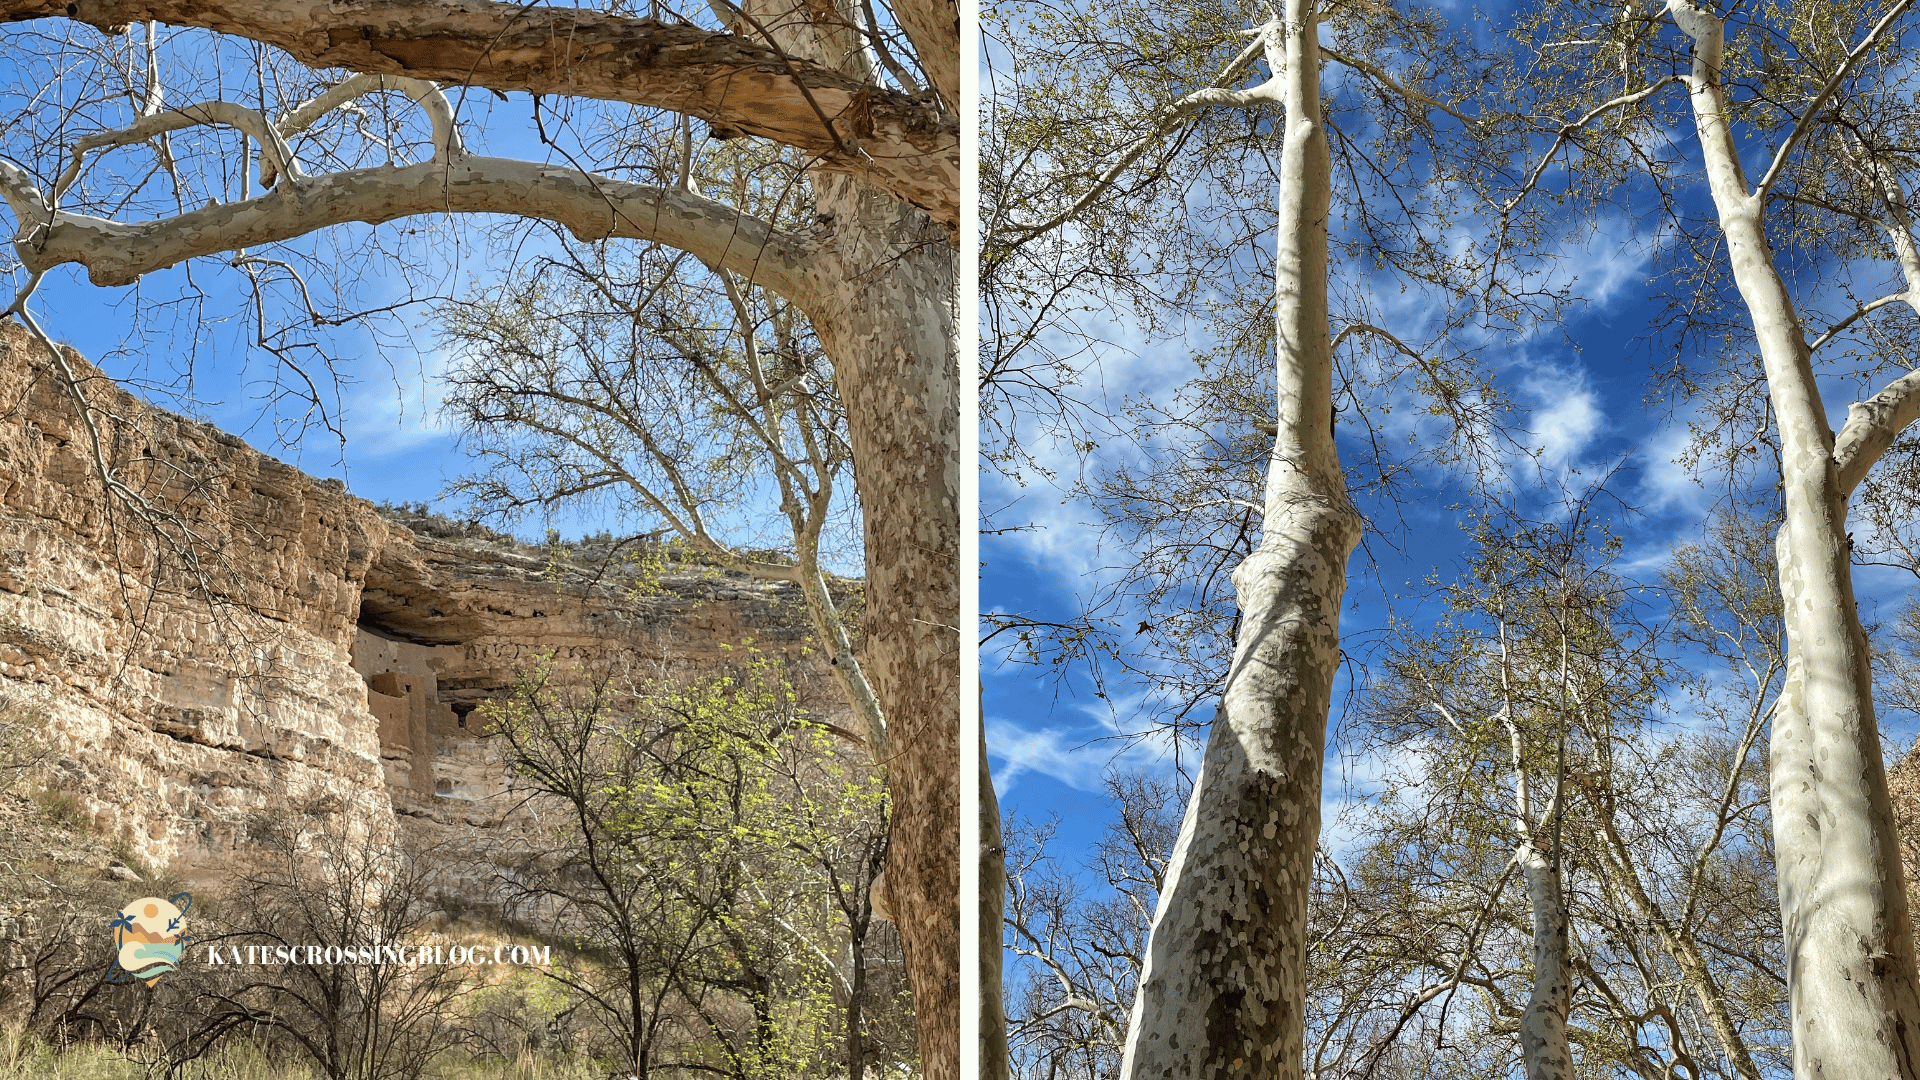
After taking in those amazing cliff dwellings, head back to Phoenix or Flagstaff and return your rental car.
Depart with unforgettable memories of a truly epic weekend getaway.
I really hope you had a blast following this itinerary!

More Sedona Adventure Ideas
If you’ve got an extra day to explore this adventure town, don’t worry! There’s a whole lot more to see!
If I ever find myself back in Sedona (which is totally the plan), you bet these activities are at the top of my to-do list!
- Hike into all four Vortexes or take a Vortex Tour – since this is one of Sedona’s most interesting and biggest draws for visitors. Can you feel the energy?
- Hike to the Birthing Cave – I hear this cave is pretty neat and not really popular yet. YET! I want to see for myself.
- Hike the West Fork Trail – I’ve been told that this hike is one of the best hikes in Sedona and resembles the Narrows in Zion but on a smaller scale. And way less crowded!
- Take a day trip to Page, Arizona, and see Horseshoe Bend and Antelope Canyon – because the canyon has been on my bucket list for forever! This would have to be a guided tour, of course.
- Take a hot air balloon ride over the Sedona desert at sunrise – because I love hot air balloons, and I saw them every morning I was there. It just looked so magical!
Most Popular Tours: In case Tours are More Your Thing
- Sedona Helicopter Tour: Dust Devil Tour
- Sedona Stargazing Tour
- The Original 4 Winery Tour
- Half-day Sedona Sightseeing Tour
- Best Vortex and Chakra Tour of Sedona
- Small-Group Grand Canyon Complete Tour from Sedona

Sedona Essentials!
Don’t go to Sedona without these essentials!
Day Backpack
The Osprey Daylite Plus daypack is my top choice for day hikes! It’s small, but it is mighty! You’d be surprised at what I’ve fit in there! Whether you’re out on the trails or just exploring the city, this daypack will have your back!
Water Bottle
Trust me on this one – the Grayl filter water bottle is a must-have. It’s been a total game-changer for me, making sure I’ve got clean and safe drinking water wherever my adventures take me! After dealing with a nasty stomach bug in Peru, there’s no way I’m risking that again – hence, the arrival of this water bottle into my life!
Hiking Shoes
I can’t recommend the Solomon X Utra 4 enough! It’s been my personal favorite for years! It’s got the kind of traction you’ll need for the trails in Sedona!
Sunglasses
I’m in love with Foldies Sunglasses! I’ve been wearing them for a year now, and they are my go-to for traveling! They fold down three times and slide right into your pocket. Perfect for someone like me who loves keeping it light and easy!
Travel Card
If you’re just starting out on your travel hacking journey, no worries! My favorite travel card is great for beginners!! It’ll hook you up with $750 in rewards after you spend $4,000 in the first 3 months.
Then you’ll also get lounge access, score 10x points on hotel bookings, get global entry and even enjoy free TSA pre-check!
(Want another reason why I love this card – I hacked a two-week trip through London, France, Switzerland, Austria, and Germany and didn’t have to pay a penny! NO JOKE! That’s how much I swear by this card.)
FAQ’s: Visiting Sedona
Planning a trip to Sedona and have some more questions? Here are the answers to the most frequently asked questions to help make your visit as smooth and enjoyable as possible.
How many days do you really need in Sedona?
I’d say plan for a solid 3 to 4 days in Sedona to soak in all its beauty and explore everything it has to offer.
What is a good month to visit Sedona?
The best months to visit Sedona are typically in the spring (March to May) and fall (September to November) when the weather is pleasant and outdoor activities are enjoyable. I visited in September, and even though the daytime temperatures were still in the upper 70s, the mornings and evenings were absolutely ideal for hitting the trails!
Do I have to deal with passes for the hikes?
Well, it depends. Some hikes might need a pass, so it’s smart to check ahead. Having a Red Rocks Pass or National Parks Pass can make life easier for multiple hikes.
Should I worry about parking at the hikes?
Parking can be a bit tricky, especially during busy times. The early bird catches the worm, you know? Consider showing up early or exploring less crowded hours. And look into shuttle services or alternative parking spots.
Can you enjoy Sedona without hitting the trails?
Absolutely! Sedona’s got tons to offer beyond hiking – art galleries, spa days, scenic drives, and cultural spots. No hiking boots required.
Is Sedona a walkable town?
While the town itself is great for a leisurely walk, having a car makes it easier to explore the wider Sedona area, especially those scenic trails and viewpoints. But in town, feel free to enjoy the stroll and check out the shops and restaurants on foot.

That’s a Wrap: 4 Day Sedona Itinerary
This 4 Day Sedona Itinerary is your VIP pass to an adventure you won’t forget!
I hope you have an amazing weekend!
Talk to you later!
Ready for more adventures? Follow me on Instagram and Facebook for the latest updates and travel tales! I’ll Love Ya Forever!!

